Today MS released the much awaited CU3 for Exchange 2013. The download is 1.5GB almost as big as the previous versions. The major fix/factor here is the calendar forwarding issue that MS say has been fixed that was a problem with the release of CU2 and CU2v2.
Lets start. First I will put one of my Exchange Servers in Maintenance Mode. Best practice as I have seen if you don’t do this DAG copies give problems. Here are the 4 commands I will be running. You can make this a PS1 script but I like making sure each command has successfully completed. Start Maintenance Mode:
- Set-MailboxServer <Server Name> -DatabaseCopyActivationDisabledAndMoveNow $True
- Set-ServerComponentState –Identity <Server Name> –Component HubTransport –State Draining –Requester Maintenance
- Suspend-ClusterNode –Name <Server Name>
- Set-MailboxServer –Identity <Server Name>–DatabaseCopyAutoActivationPolicy Blocked
(**You need to open up the Exchange Management Shell as Administrator or point 3 will give you a permission error**)
Now we need to first prepare the Schema and AD before we can proceed with the installation.
From an elevated prompt you can run the following commands:
- Setup.exe /PrepareSchema /IAcceptExchangeServerLicenseTerms
- Setup.exe /PrepareAD /IAcceptExchangeServerLicenseTerms
(**Note you need to have RSAT tools installed to prepare AD etc. You can do so by running the following command from the Exchange Management Shell: Add-WindowsFeature RSAT-ADDS)
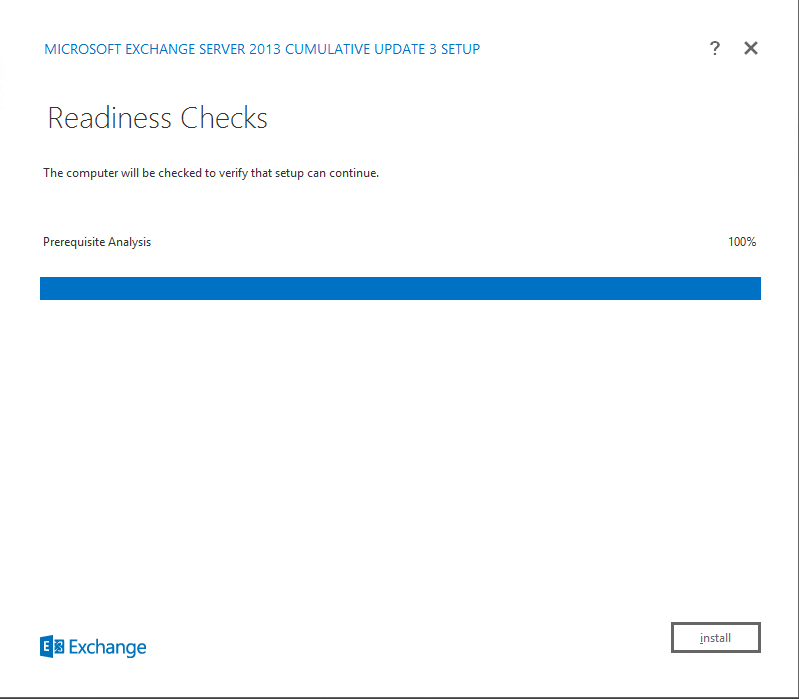
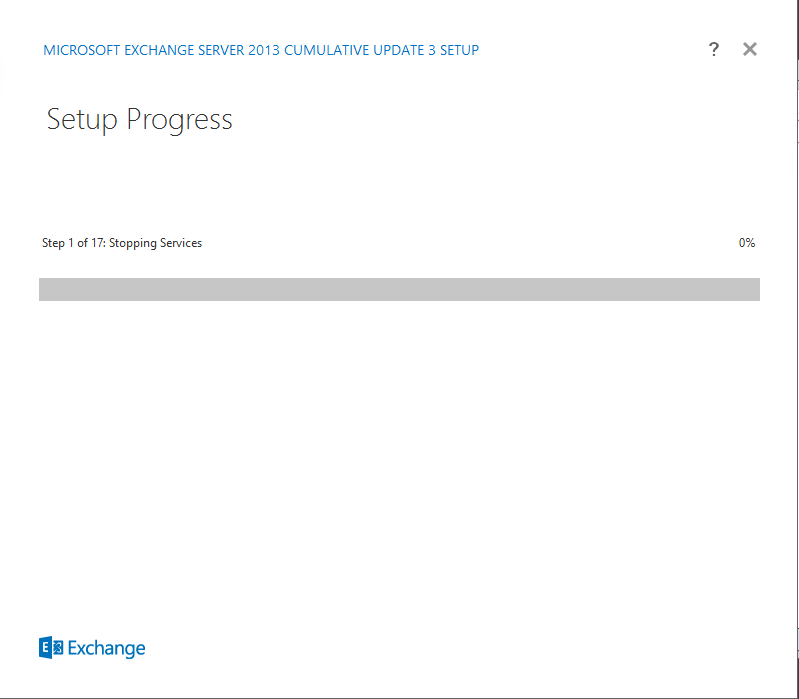
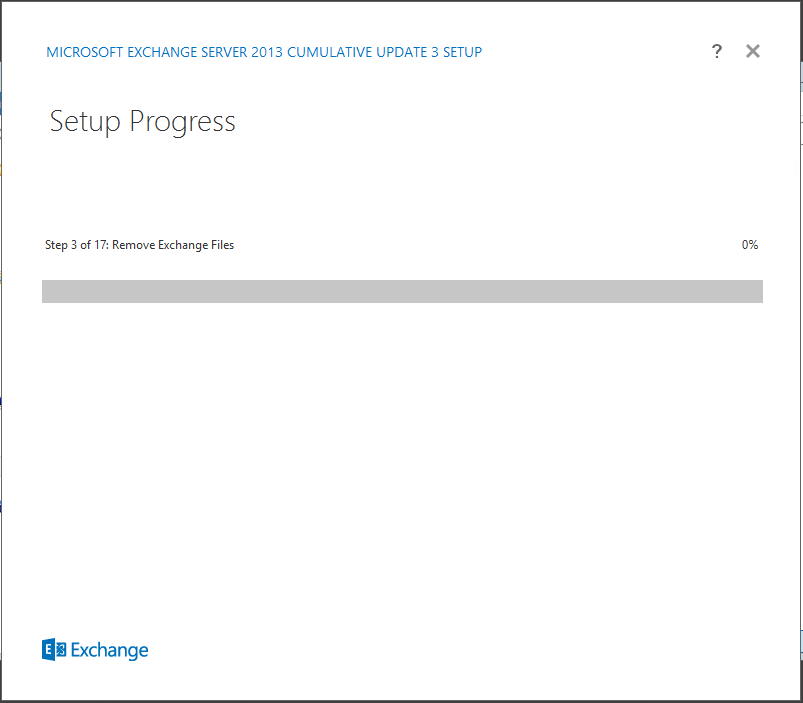
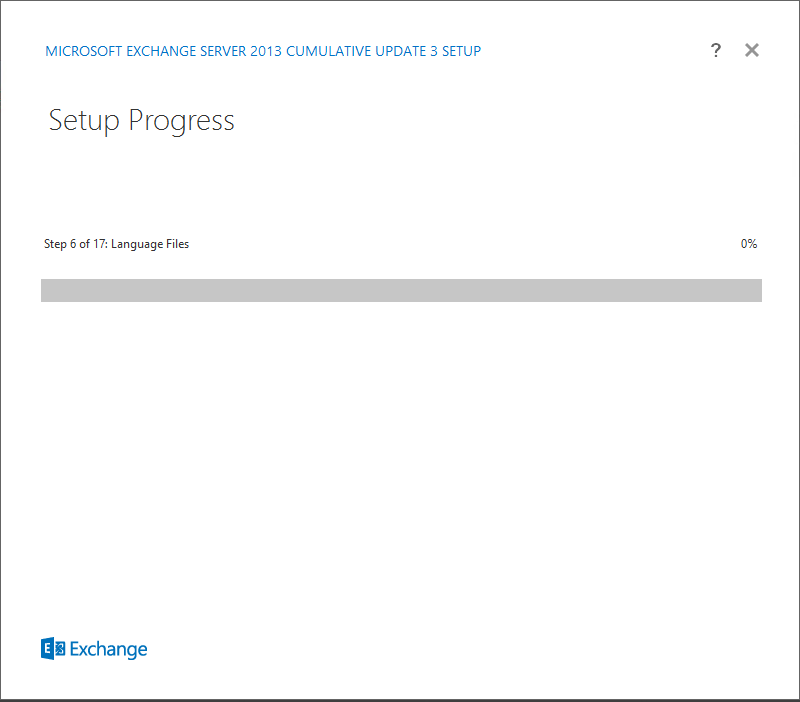
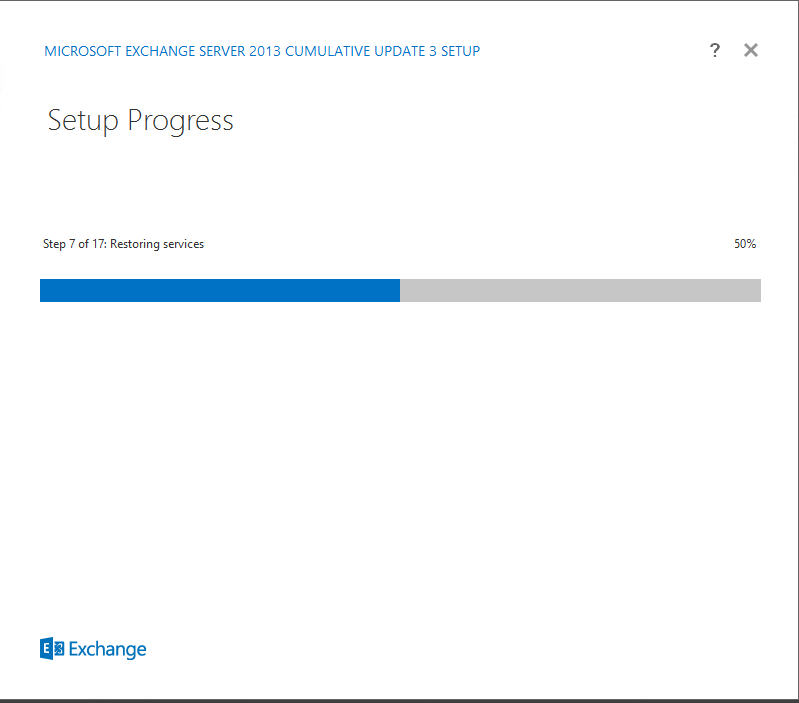
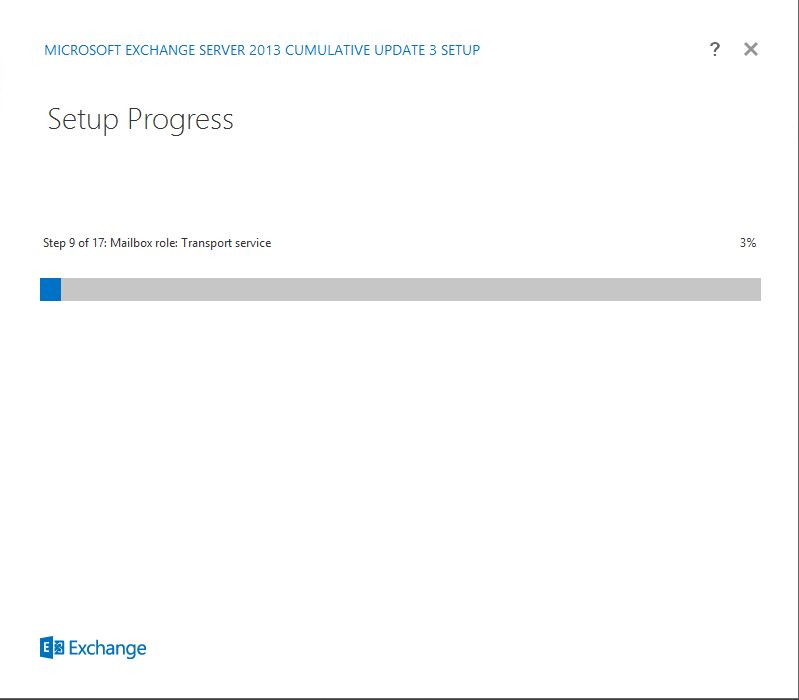
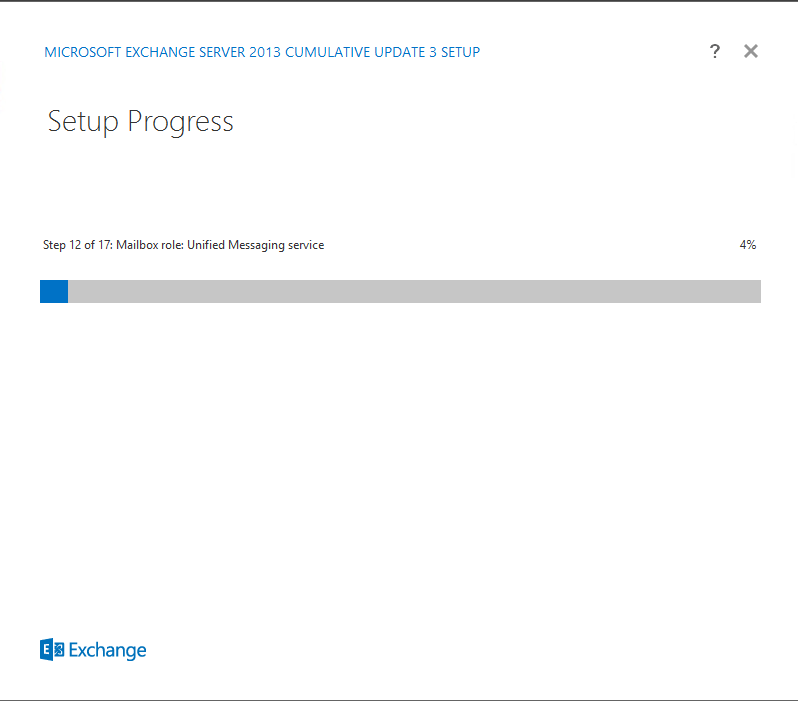
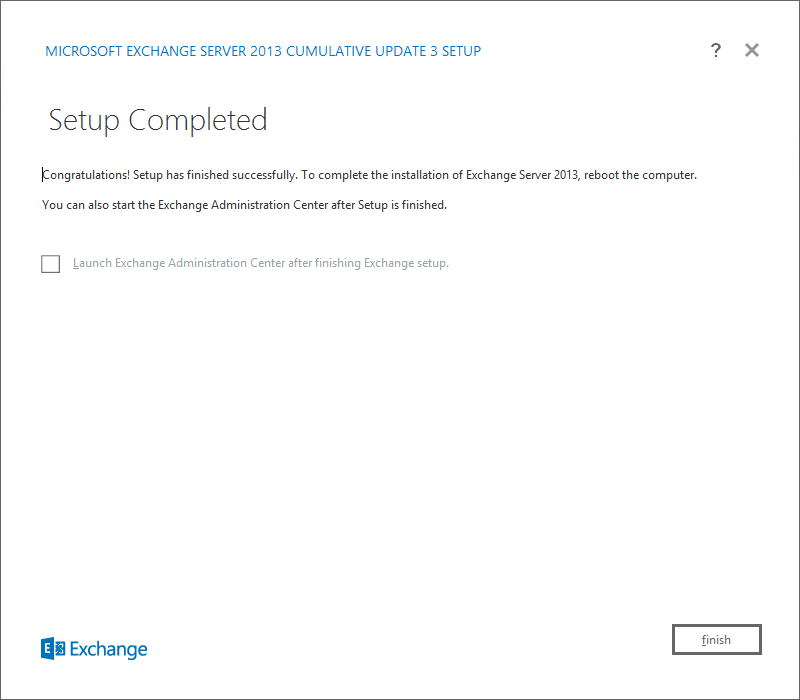
Once both commands have run and finished you can now run the Exchange 2013 CU3 setup. It will check for any updates which you can skip and the proceed to the upgrade screen. (Screen captures included below)
Now that the setup has completed we need to take the server out of maintenance mode to resume normal operation. We need to run 4 commands again to Stop Maintenance Mode:
(**Remember you need to run these commands as an administrator from an elevated Exchange Management Shell)
- Set-MailboxServer –Identity <Server Name> –DatabaseCopyAutoActivationPolicy Unrestricted
- Resume-ClusterNode –Name <Server Name>
- Set-ServerComponentState –Identity <Server Name> –Component HubTransport –State Active –Requester Maintenance
- Set-MailboxServer –Identity <Server Name> –DatabaseCopyActivationDisabledAndMoveNow $False
Now that everything is online you can check the DAG Status etc.
Hope it helps
