This guide shows how to perform mailbox moves and to monitor them.
- Open up the Exchange Management Console.
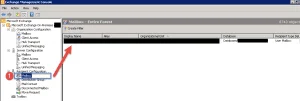
- Expand Recipient Configuration and then click on Mailbox.
- A list of all the users mailboxes will show on the right and will show on which the mailbox currently resides.
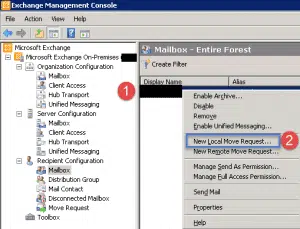
- Step 1 -> Right Click on the users mailbox.
- Step 2 -> Click on “New Local Move Request…”
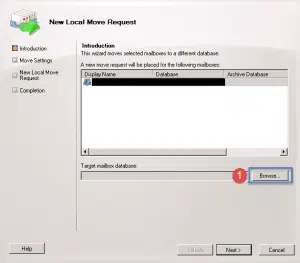
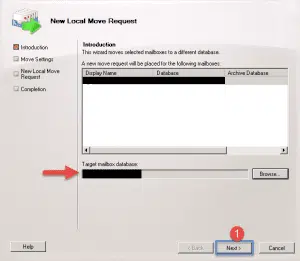
- The New Local Move Request Window will come up.
- Step 1 -> Click on the Browse button to select a database to move the user to.
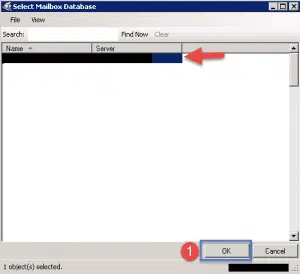
- Select the Database and then click on the ok button.
- Once you made you selection on the previous screen it will show under the target mailbox database.
- Step 1 -> click next.
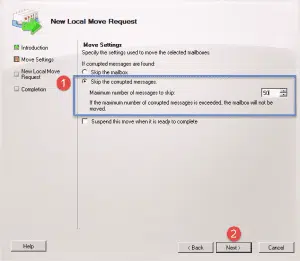
- Step 1 -> You can select to skip corrupted messages and enter in a value as shown above.
- Step 2 -> Click Next.
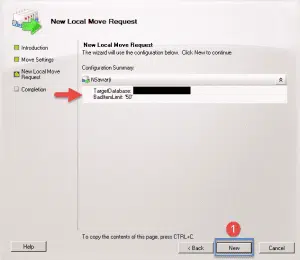
- On the summary page you can see the options you selected previously.
- Step 1 -> Click on the New button to submit and start the mailbox move.
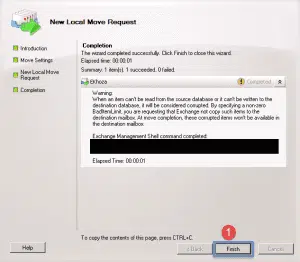
- Step 1 -> Click the finish button.
Monitor Mailbox Move:
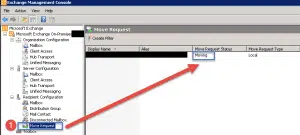
- Go back to the EMC (Exchange Management Console) and click on Move Request.
- On the right hand side it will the status.
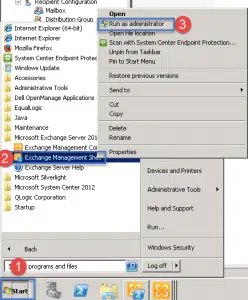
If you want to monitor the mailbox move from the EMS (Exchange Management Shell) then open up the EMS as Administrator.
- Step 1 -> Click Start.
- Step 2 -> Expand Microsoft Exchange Server 2010 and right click on Exchange Management Shell.
- Step 3 -> Click on Run as Administrator.
- The EMS will open up.
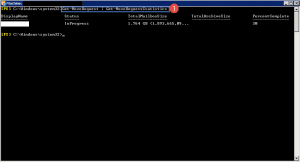
- Step 1 -> run the following command: Get-MoveRequest | Get-MoveRequestStatistics
- This will show the status, size of the mailbox and the Percent complete.
- Once the move is complete you can go back to the EMC and right click on the move request and clear it.
Hope it helps

