This guides goes through the steps to install and configure Lync 2013 Persistent Chat
Steps:
- Create new Persistent Chat server in Topology Builder.
- Prerequisites – Installation.
- Lync 2013 Control Panel – Configuration of Chat.
Configure Topology
Open up Topology Builder on your Frontend Server.

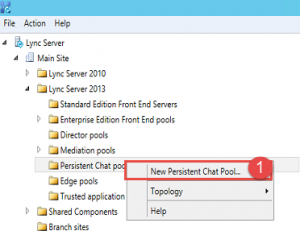
- Expand your site and then right click on Persistent Chat Pool.
- Step 1 -> Click on New Persistent Chat Pool.
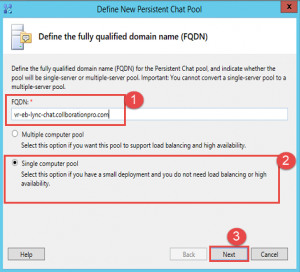
- Step 1 -> Enter in the FQDN of your Chat server.
- Step 2 -> Select Single Computer Pool.
- Step 3 -> Click Next.
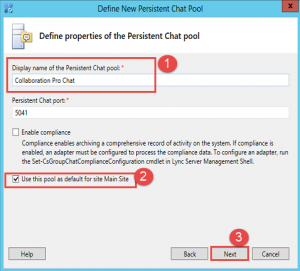
- Step 1 -> Enter in a Display Name.
- Step 2 -> Ensure the check box is selected as shown above.
- Step 3 -> Click Next.
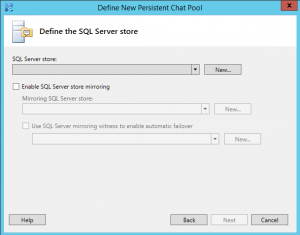
- The next window as shown above is to define the SQL Server Store.
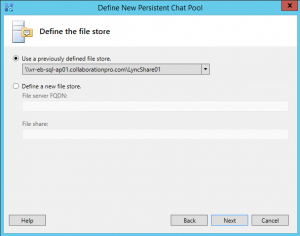
- Select the first radio button to use a previously defined file store.
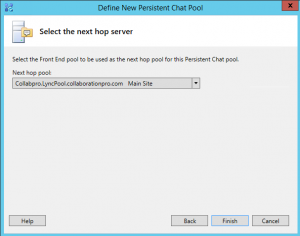
- Leave the default and then click Finish.
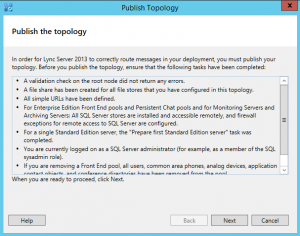
- We are going to publish the Topology. Click the action menu an then Publish Topology.
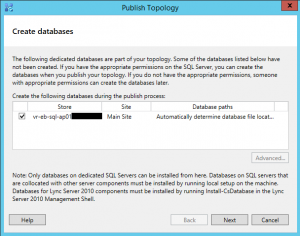
- Click Next.
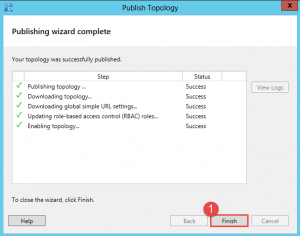
- Once all the databases have installed you should see the screen above.
- Click the finish button.
Persistent Chat Server Install and Configuration:
I’m not going to list all the steps to show the installation for Windows Identity Foundation 3.5, I will show you the feature that needs to be installed only.
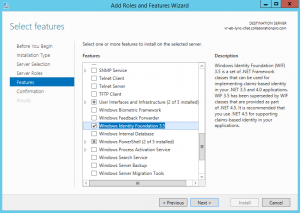
- Click Next and then Install.
- Install Lync as per normal.
Configuration of Chat – Lync Control Panel
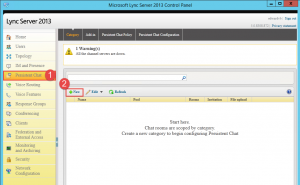
- Login to the Lync Control Panel.
- Step 1 -> Click on Persistent Chat.
- Step 2 -> Click the +New button.
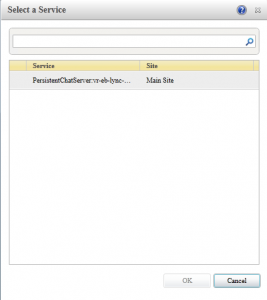
- Select the Service above and then click OK.
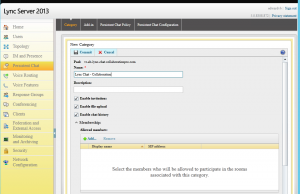
- Fill in the Name you would like to use.
- You can also fill in a description.
- Select the 3 checkboxes.
- Click the commit button.
Hope it helps.
