This guide shows you how to install Exchange 2013 prerequisites on Windows Server 2008 R2 as well as introducing an exchange 2013 server into an existing Exchange 2010 site.
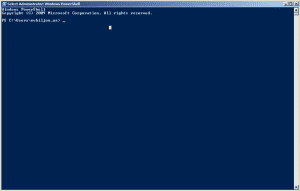
- Open up PowerShell as Administrator.
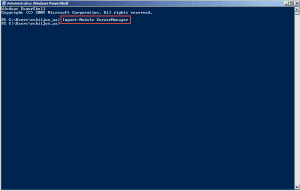
- Run the command Import-Module ServerManager and press enter.
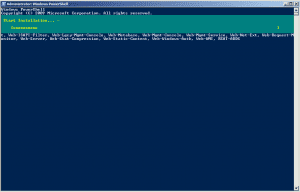
- Run the following command:
- Add-WindowsFeature Desktop-Experience, NET-Framework, NET-HTTP-Activation, RPC-over-HTTP-proxy, RSAT-Clustering, RSAT-Web-Server, WAS-Process-Model, Web-Asp-Net, Web-Basic-Auth, Web-Client-Auth, Web-Digest-Auth, Web-Dir-Browsing, Web-Dyn-Compression, Web-Http-Errors, Web-Http-Logging, Web-Http-Redirect, Web-Http-Tracing, Web-ISAPI-Ext, Web-ISAPI-Filter, Web-Lgcy-Mgmt-Console, Web-Metabase, Web-Mgmt-Console, Web-Mgmt-Service, Web-Net-Ext, Web-Request-Monitor, Web-Server, Web-Stat-Compression, Web-Static-Content, Web-Windows-Auth, Web-WMI, RSAT-ADDS
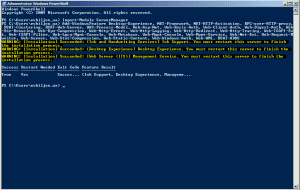
- Once the command has run you can reboot your server.
Software Installation:
- Filter Pack x64
- Filter Pack X64 SP1
- Dotnet 4.5
- UCMA Runtime.
- Windows Management Framework 3.0
- 1-KB974405-x64 (same install as Windows Management Framework 3.0, no steps included)
- 1-KB2533623-x64 (same install as Windows Management Framework 3.0, no steps included)
- 1-KB2619234-x64(same install as Windows Management Framework 3.0, no steps included)
Filter Pack x64:
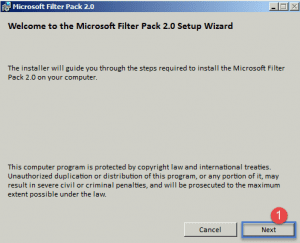
- Double click the .exe, once it starts you will see the screen above.
- Step 1 -> Click Next.
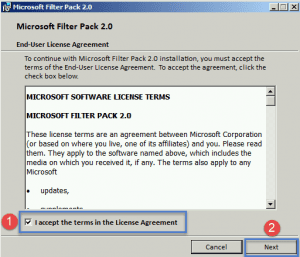
- Step 1 -> Accept the license agreement by selecting the checkbox.
- Step 2 -> Click Next.
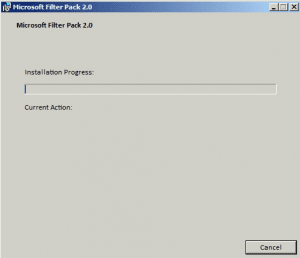
- Installation Process.
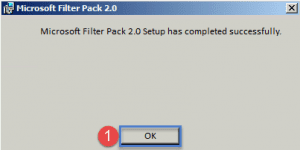
- Click Ok as the installation is complete.
Filter Pack x64 SP1:
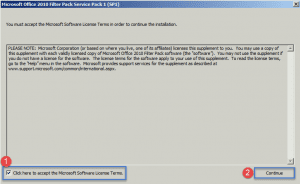
- Double click the setup file, when the screen above shows, accept the license agreement by selecting the checkbox (Step 1)
- Step 2 -> Click Continue.
- The process will determine what needs to be updated and will then install the Service Pack.
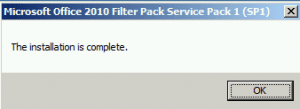
- Click OK as the installation is complete.
Dotnet 4.5:
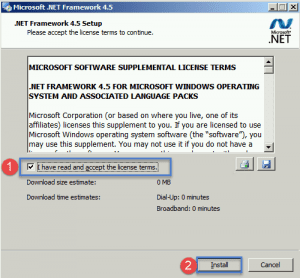
- Double click the setup. The above screen will show.
- Setup still preparing.
- Step 1 -> Accept the license agreement by clicking the checkbox.
- Step 2 -> Click Install.
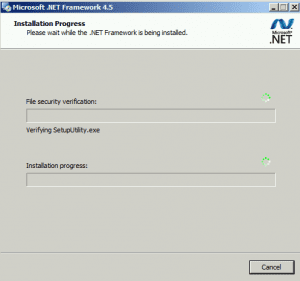
- Installation in progress.
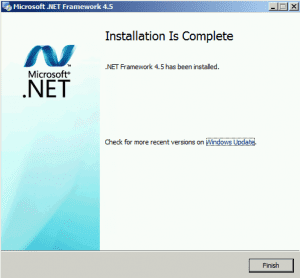
- Click Finish.
UCRUNTIME:
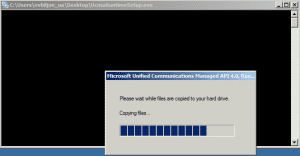
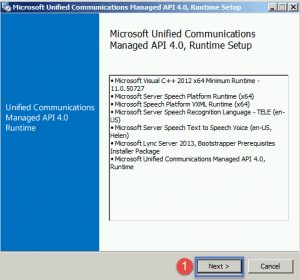
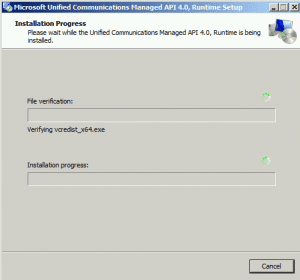
- Double click the Setup file. The following screen and dos box will come up.
- Step 1 -> Click Next.
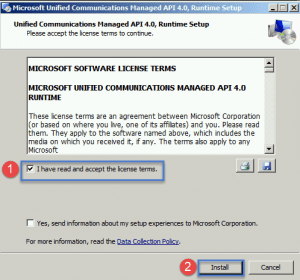
- Step 1 -> Accept the license agreement.
- Step 2 -> Click Install.
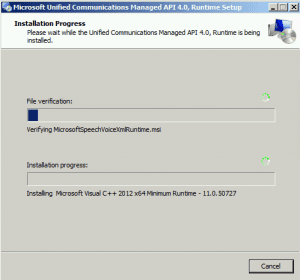
- Install in progress.
- Installation progress continued.
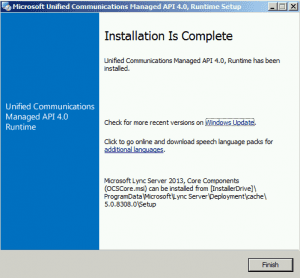
- Click the Finish button.
Windows Management Framework:
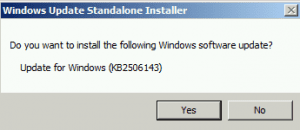
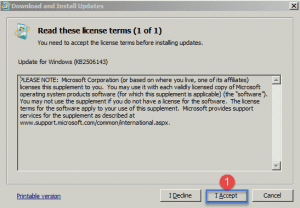
- Double click the install file. When the screen above shows click Yes.
- Step 1 -> Accept the license terms.
- Installation in progress.
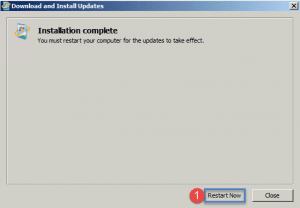
- Once the installation completes, you need to reboot. Click the Restart Now button.
Exchange 2013 Installation:
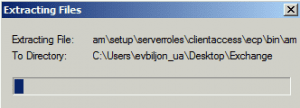
- Double click the setup. The above screen will show.
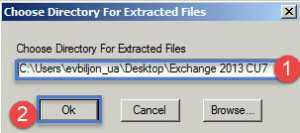
- Step 1 -> Enter in the location to extract the setup to.
- Step 2 -> Click Ok
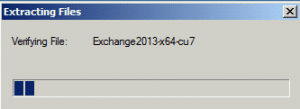
- Extraction in process.
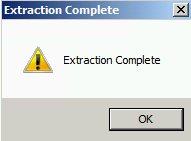
- Click OK.
- Double click the setup.exe in the folder you extracted the files to. The following splash above will show.
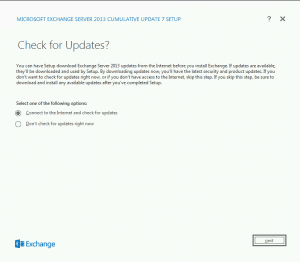
- Leave as is and click Next.
- Setup copying files.
- Setup initializing.
- Click Next to start.
- Accept the license agreement and then click next.
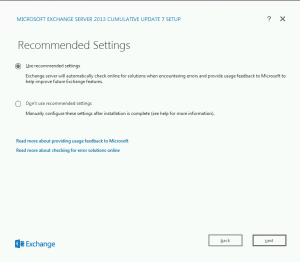
- Use the recommended settings. Click Next.
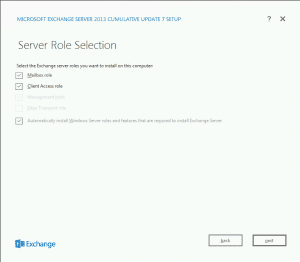
- Select the roles and then click next.
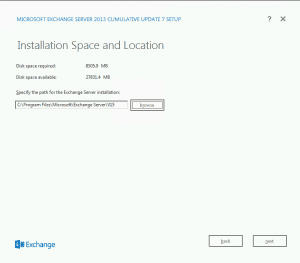
- Click Next.
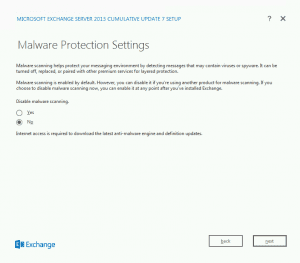
- Leave the default, click next.
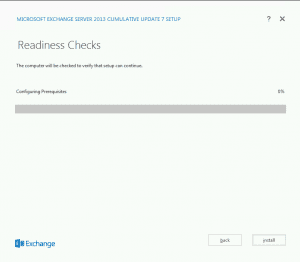
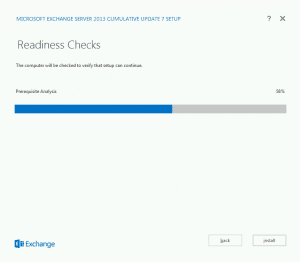
- Readiness checks running.
- Prerequisite Analysis.
- Once the checks are complete, click install.
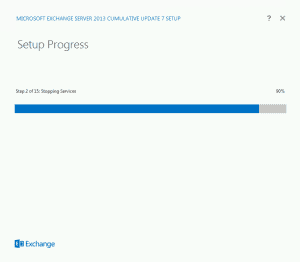
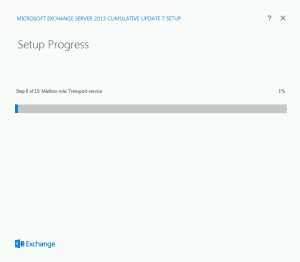
- Step 1.
- Step 2.
- Step 3.
- Step 4.
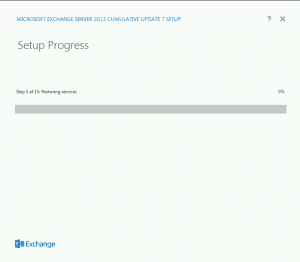
- Step 5.
- Step 6.
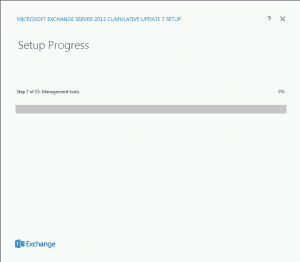
- Step 7.
- Step 8.
- Step 9.
- Step 10.
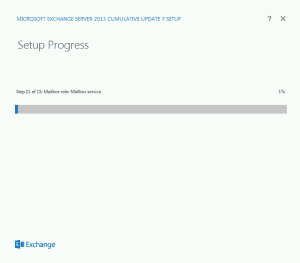
- Step 11.
- Step 12.
- Step 13.
- Step 14.
- Setup is now complete. You can launch the Exchange Admin console by selecting the checkbox and then clicking finish.
You now have a fully functional Exchange 2013 server in your environment. The next steps are to configure your send connectors to include your new server as well as your receive connector and anything else. You can now start your migration of Mailboxes to Exchange 2013.
Hope it helps.
