This guide shows you how to install Web Application Server for Lync 2013. In this install we will complete the following:
- Prerequisites Installation
- WAC Installation
- WAC Language Pack Installation
- Configuring of the Lync Topology
Prerequisites:
You need to run PowerShell as Administrator. Once launched run the following commands:
- Import-Module ServerManager
- Add-WindowsFeature Web-Server,Web-Mgmt-Tools,Web-Mgmt-Console,Web-WebServer,Web-Common-Http,Web-Default-Doc,Web-Static-Content,Web-Performance,Web-Stat-Compression,Web-Dyn-Compression,Web-Security,Web-Filtering,Web-Windows-Auth,Web-App-Dev,Web-Net-Ext45,Web-Asp-Net45,Web-ISAPI-Ext,Web-ISAPI-Filter,Web-Includes,InkandHandwritingServices,NET-Framework-Features, NET-Framework-Core, NET-HTTP-Activation, NET-Non-HTTP-Activ, NET-WCF-HTTP-Activation45 –Source G:\Sources\sxs
- *Remember to include the –Source Switch*
- After the install reboot the server.
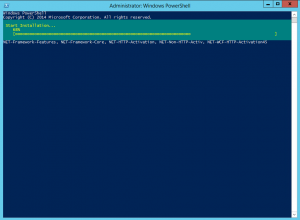
- Once the above command is pasted into PowerShell you can see the progress bar in green.
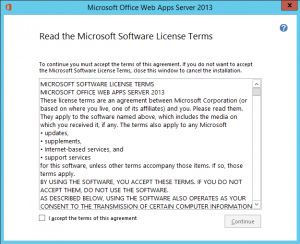
- Double click ISO file downloaded.
- Once open, run the setup.
- The above screen will show.
- Click the box to accept the terms and then click Continue.
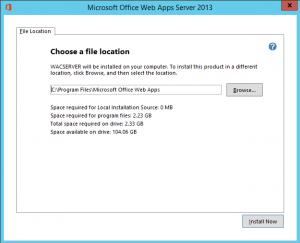
- Leave the default location and click Install Now.
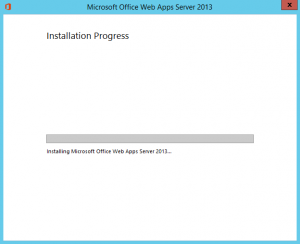
- Progress Screen.
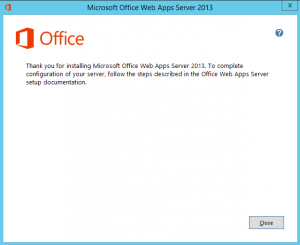
- Once done click the Close button.
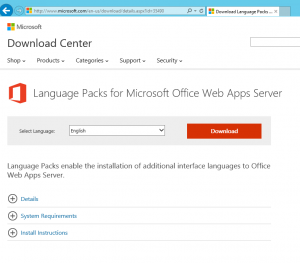
- The next step is to install the language packs.
- You can go to the link as shown in the screenshot.
- Click the download button.
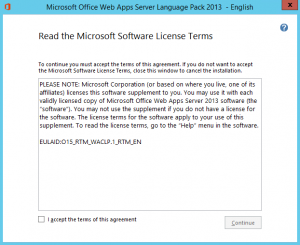
- Once downloaded run the file.
- Again accept the terms and then click continue.
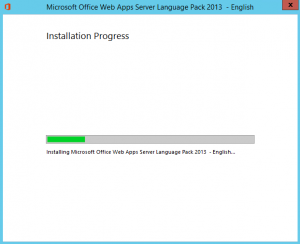
- Progress Screen.
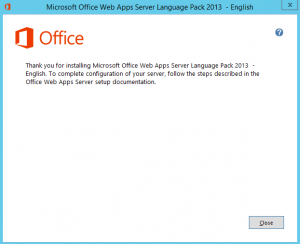
- Once complete click the close button.
Configure Lync Topology
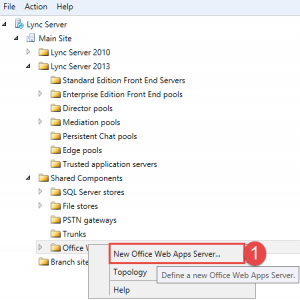
- Open up Topology Builder and then expand your Lync server. Expand Shared Components and then right Click Office Web Apps and Click on “New Office Web Apps Server as shown above.
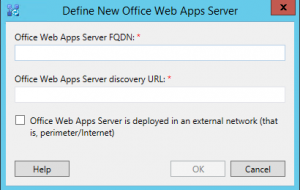
- Enter in the FQDN of your server and then click OK.
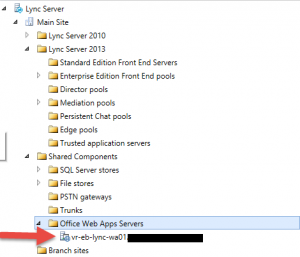
- Once added it will show under Office Web Apps Servers.
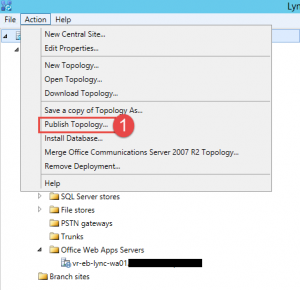
- The final step is now to publish the changes. Click on the Action Menu and select Publish Topology.
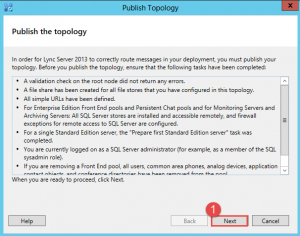
- Click Next.
- At the next screen select the Central Management Store.
- Another window will come up while it runs through all the steps.
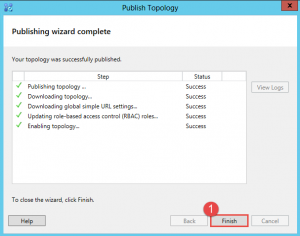
- Once complete your Topology should have been updated.
- Click the Finish button.
Hope it helps.
