Installing Lync Server 2013 Standard Edition on Windows 2012 Standard
This guide shows you how to:
- Install prerequisites for Lync 2013.
- Install Lync Server 2013.
- Configure DNS.
- Build Topology.
- Install Lync Server System.
- Add and Enable users using the Lync Control Panel.
- Client office 2013 setup
- Client Login to Lync 2013.
Requirements:
- Active Directory Domain Controller – Server running Windows Server 2012 Standard Operating System.
- Domain name is test.com
- DNS Role.
- Certificate Authority Role.
- Lync Frontend Server running Window Server 2012 Standard.
- Windows Server 2012 Installation.
- Server to be joined to the domain. (Steps not included)
- Prerequisites for Lync 2013 Installation.
- Windows Identity Foundation Role Installation. (Steps not included, you can add this from Server Manager)
- Silver Light installation. (Download the stand alone package and run the install, Steps not included)
- Additional Information: To avoid event ID 32402 and 61045 on the Frontend Servers you can add the following registry key from an elevated command prompt:
Reg Add “HKEY_LOCAL_MACHINE\System\CurrentControlSet\Control\SecurityProviders\Schannel” /V “EnableSessionTicket” /D 2 /T REG_DWORD /F
_____________________________________________________________________________________
Install Windows Server 2012 – Lync Frontend Server
This document lists the steps to install Windows Server 2012.
Attach the media (if it’s a virtual machine) or insert the DVD into the DVD drive and then boot the Virtual/Physical Machine.
A screen will show loading. When it completes you will get the screen below.
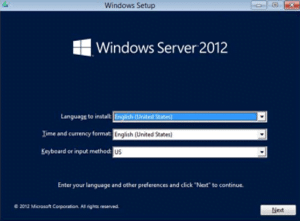
- Select your language, time and Keyboard method.
- Click Next.
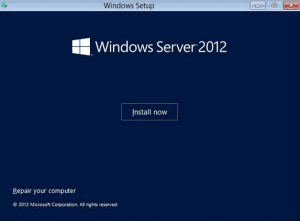
- Click on the “Install Now” button to start the installation.
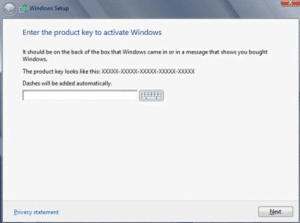
- Enter in your product key and then click Next.
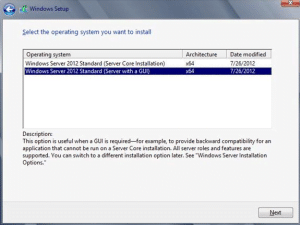
- Make your select if you want a GUI or Core installation and then click Next.
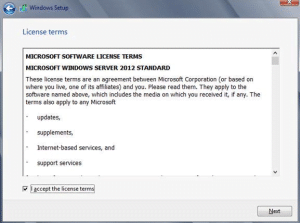
- Click on the checkbox to accept the license terms and then click Next.
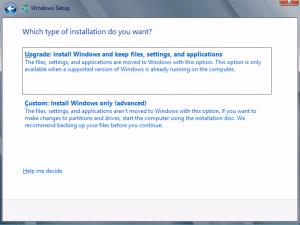
- We are going to do an Custom Installation as this is a new install on a system with no OS.
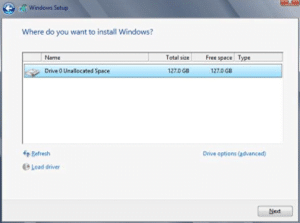
- Select the partition you want to install on or create your custom partitions and then click Next.
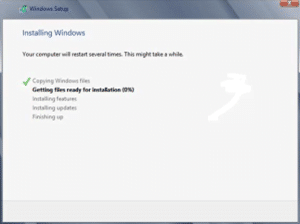
- Progress screen. Sit back and wait for the install to complete.
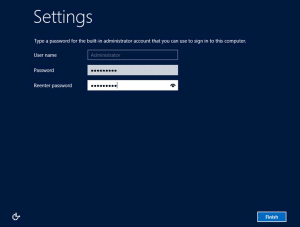
- Once the setup has completed and after several reboots you will get to this screen. Enter in the local Administrator password and confirm it. Once done click Finish.

- Once done you will get the login screen. Press any key on the keyboard for the screen to show display the screen below.
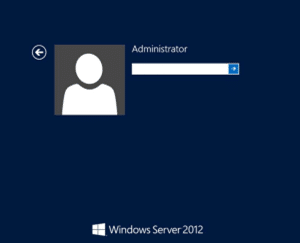
- Type in the password you just created to login to the system.
__________________________________________________________
Prerequisites:
Open up an elevated PowerShell window and run the following command:
- Add-WindowsFeature RSAT-ADDS, Web-Server, Web-Static-Content, Web-Default-Doc, Web-Http-Errors, Web-Asp-Net, Web-Net-Ext, Web-ISAPI-Ext, Web-ISAPI-Filter, Web-Http-Logging, Web-Log-Libraries, Web-Request-Monitor, Web-Http-Tracing, Web-Basic-Auth, Web-Windows-Auth, Web-Client-Auth, Web-Filtering, Web-Stat-Compression, Web-Dyn-Compression, NET-WCF-HTTP-Activation45, Web-Asp-Net45, Web-Mgmt-Tools, Web-Scripting-Tools, Web-Mgmt-Compat, Desktop-Experience, Windows-Identity-Foundation, Telnet-Client, BITS -Source D:\sources\sxs
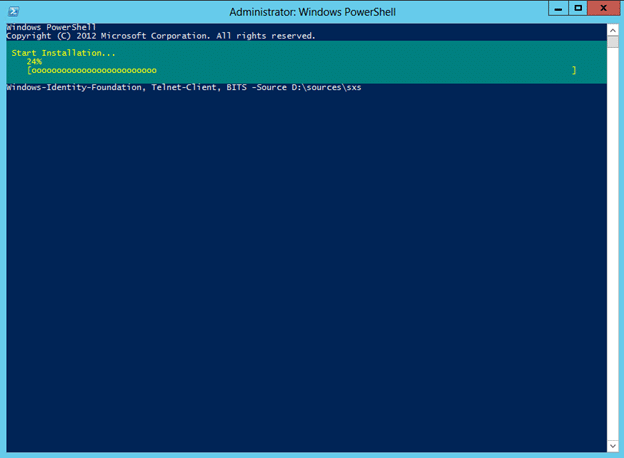
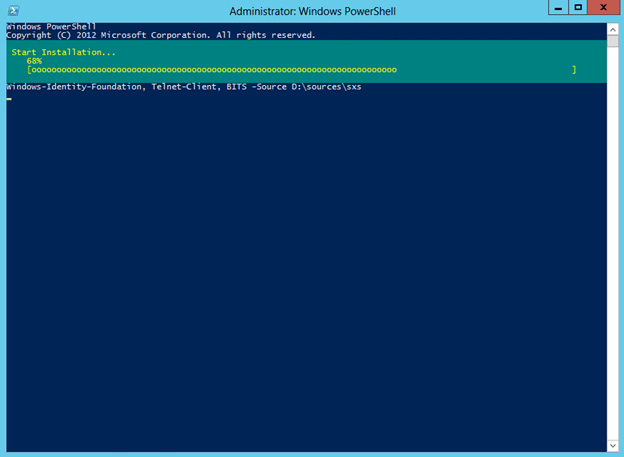
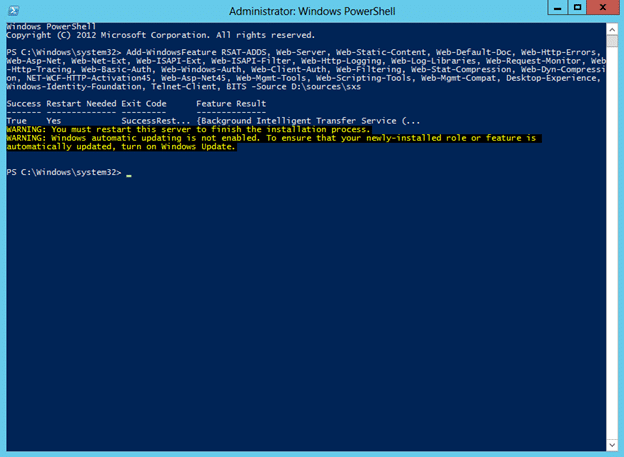
- Once complete, reboot your server and login with the account that has domain administrator privileges.
Lync 2013 Setup
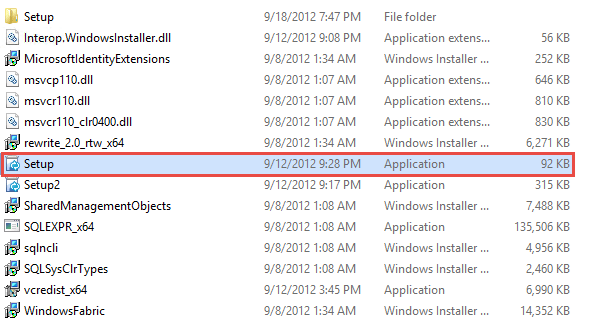
- From the Lync 2013 installation media, navigate to <Drive>\Setup\amd64 then select Setup.exe
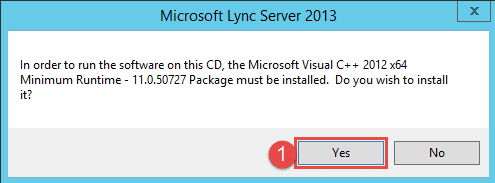
- When you have run the setup the window above to install Microsoft Visual C++ will show.
- Step 1 -> Click Yes to continue.
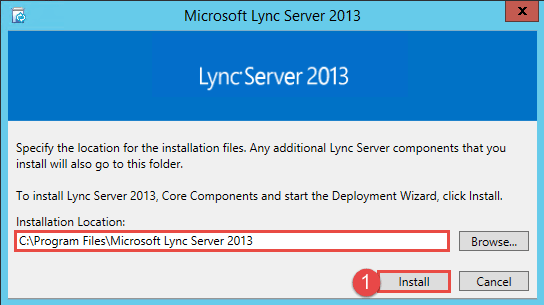
- The following screen will show.
- Step 1 -> Leave the default path.
- Step 2 -> Click on Install.
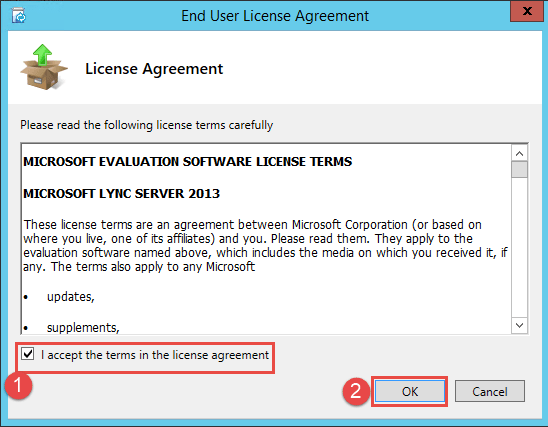
- Step 1 -> Accept the license Terms
- Step 2 -> Click on OK.
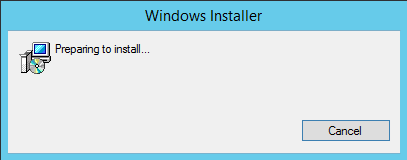
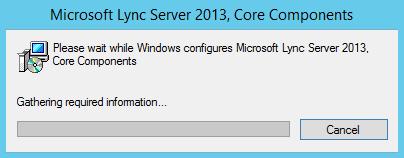
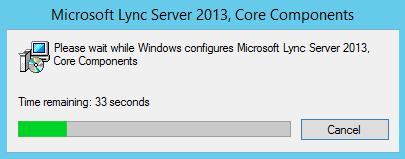
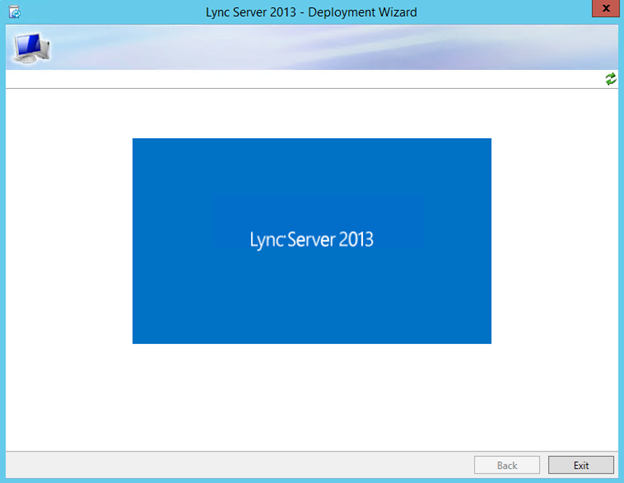
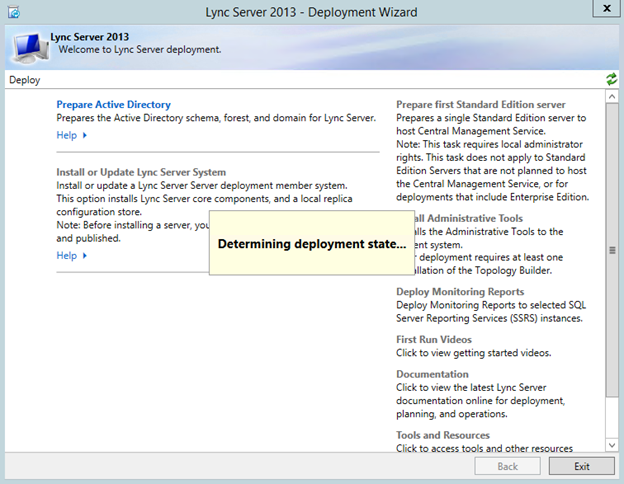
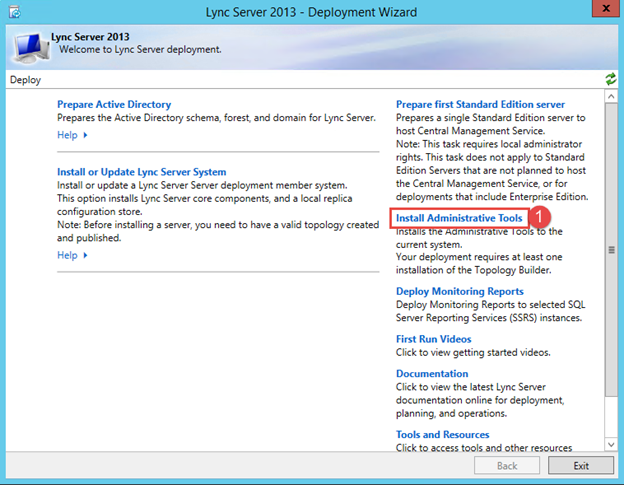
- Once the Setup has completed you will see the window above.
- Step 1 -> Click on Install Administrative Tools. A series of windows will show as per below:
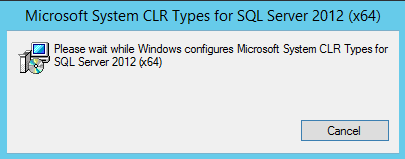
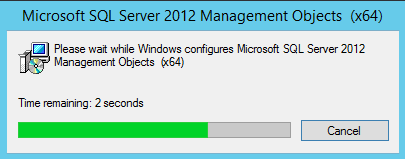
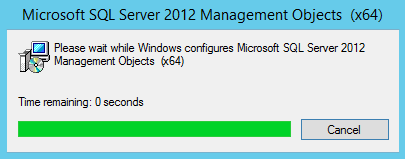
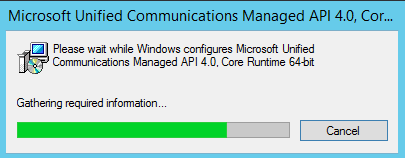
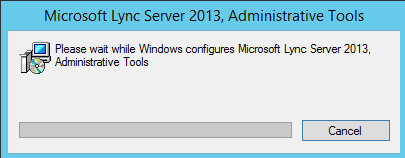
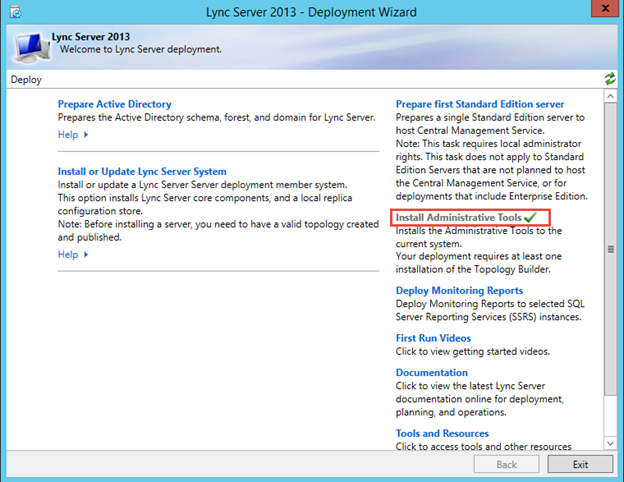
- As shown above, the Administrative Tools are now installed. The option will be greyed out and a green tick will display.
Prepare Active Directory
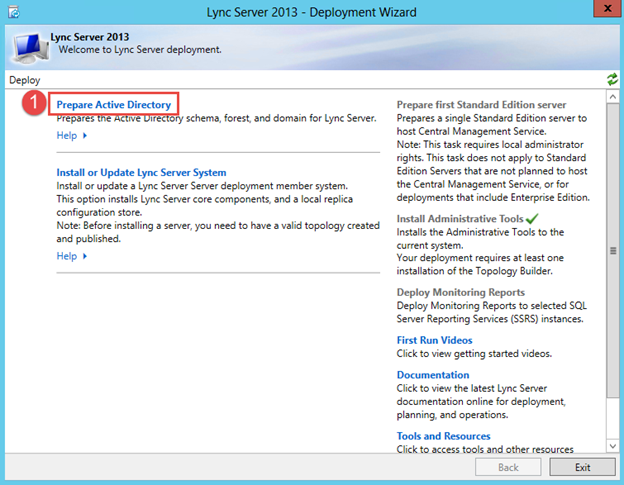
- In the Deployment Wizard, Click on Prepare Active Directory.
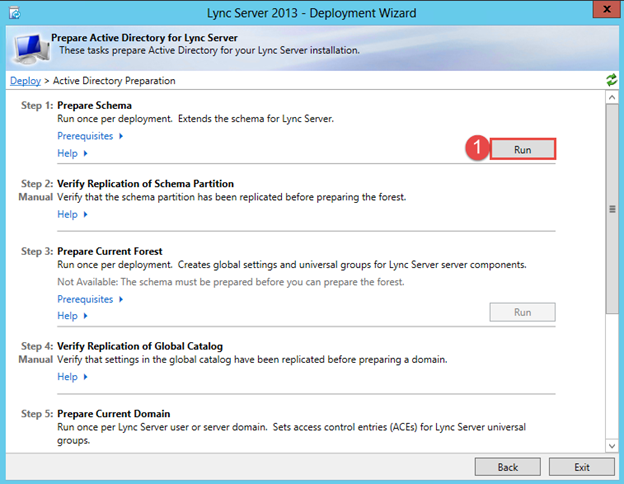
- Step 1 -> Click run to prepare the schema.
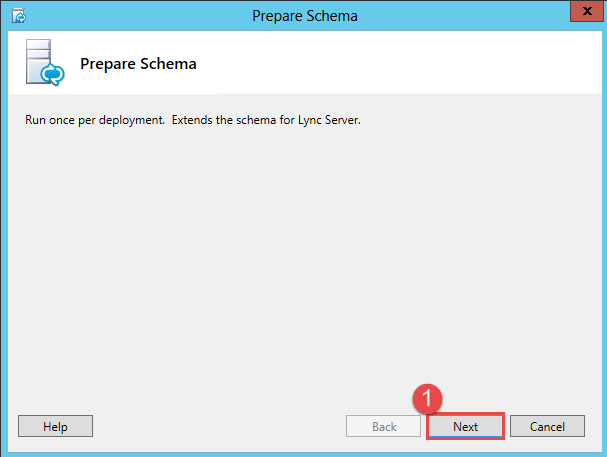
- Step 1 -> Click Next.
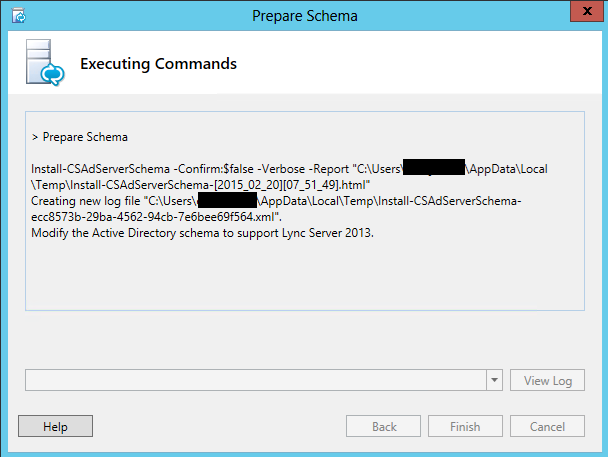
- Schema update in progress.
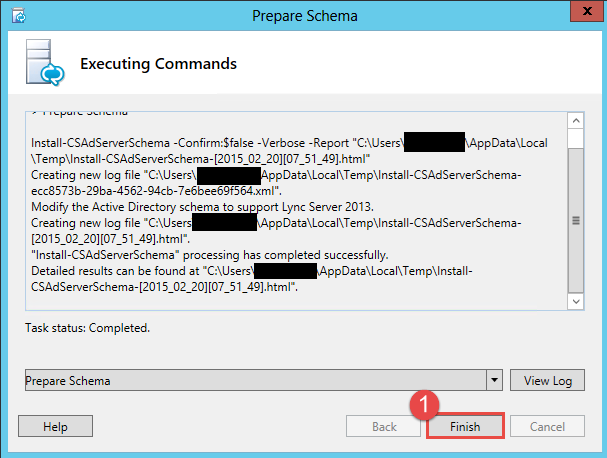
- Once the process has completed you can click the Finish button.
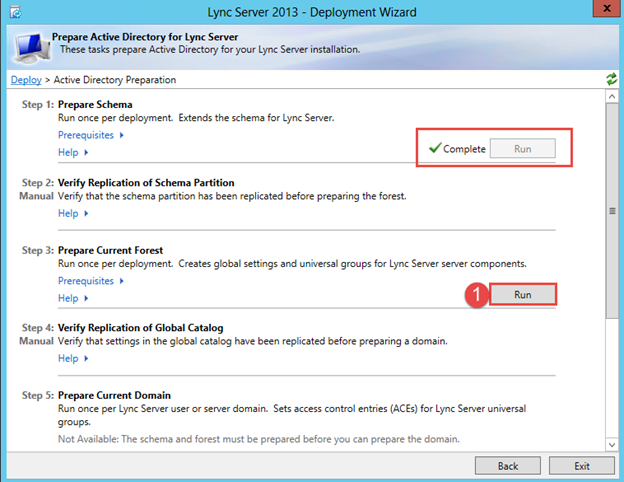
- As you can see above, the Schema update is complete and has a green tick, if you don’t have a green tick with a complete status you cannot carry on. Remember the account that you running the AD updates with needs to be part of the 3 admin groups.
- Step 1 -> Prepare the current Forest. Click the run button.
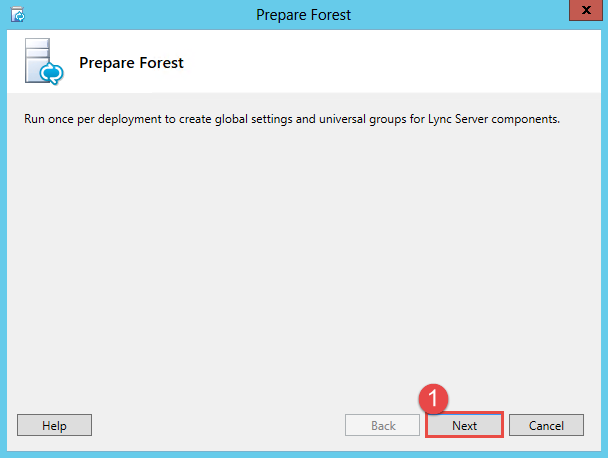
- Step 1 -> Click Next.
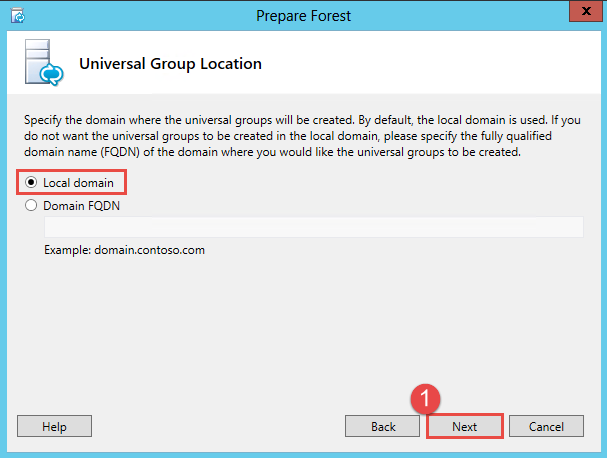
- Select the Local Domain.
- Step 1 -> Click Next.
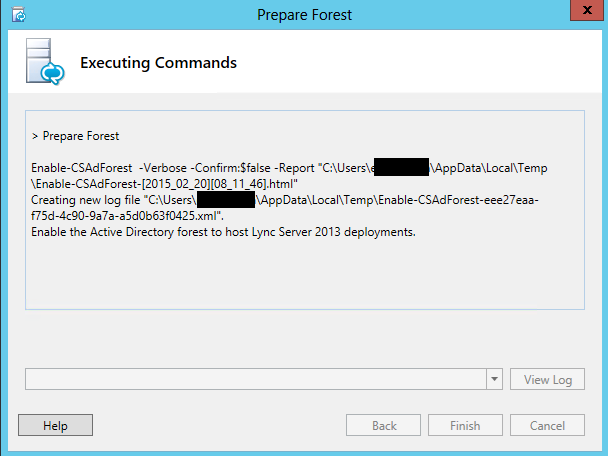
- Update in progress
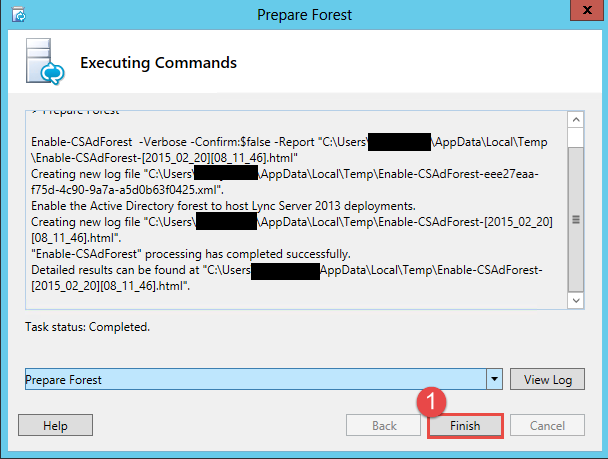
- Once the forest has been prepared the task status will show as complete.
- Step 1 -> Click Finish.
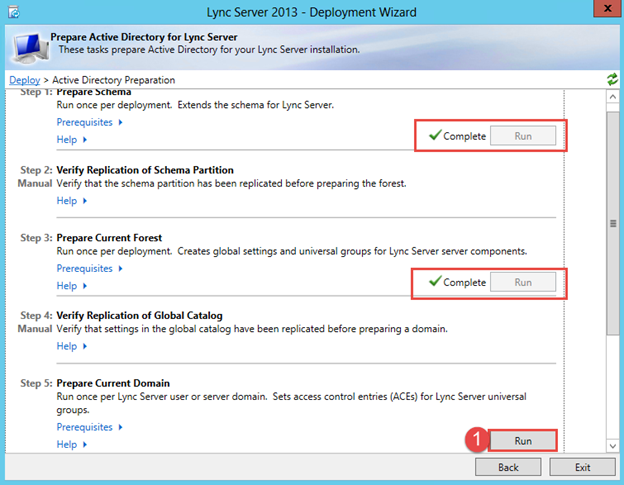
- As shown above, step 1 and step 2 are complete.
- To prepare the current domain (Step 5) click the run button.
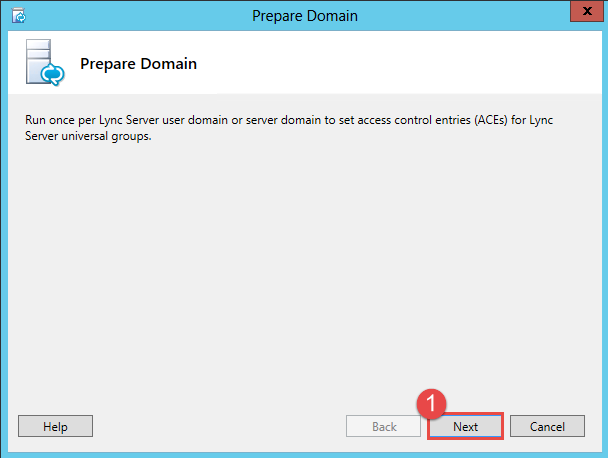
- Step 1 -> Click Next.
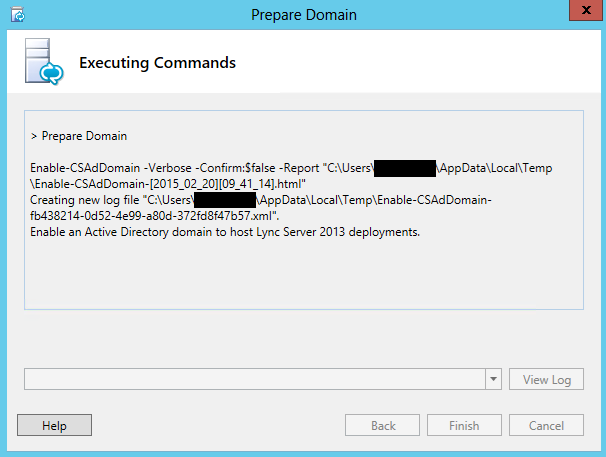
- Progress screen.
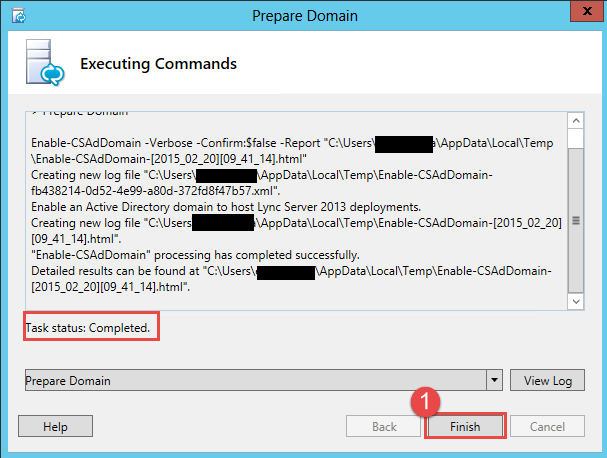
- Preparing the domain is now complete. Click the Finish button.
Add Lync Administrative User to Admin Group
- The final step is to add the administrator to the CSAdministrator group in Active Directory.
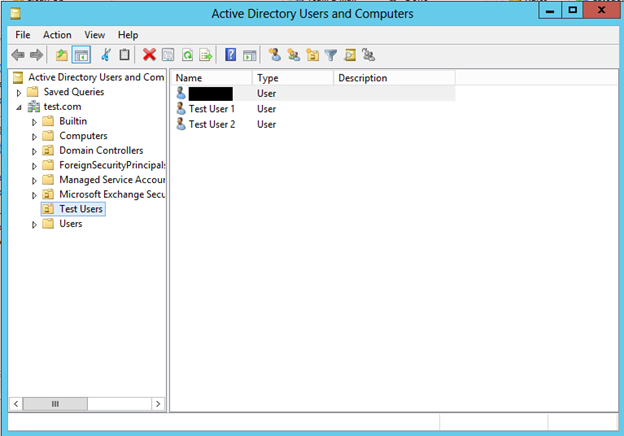
- Login to Active Directory Users and Computers.
- Double click the account that will manage Lync.
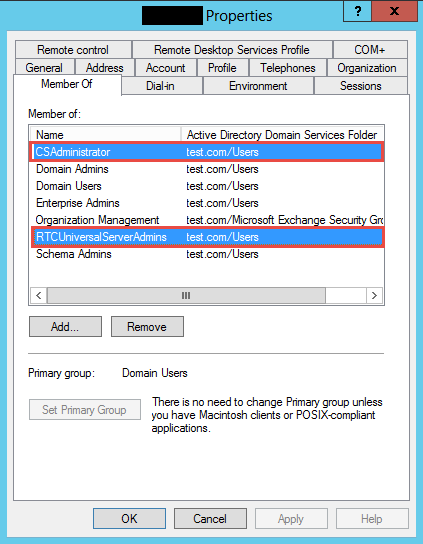
- Click the Member of Tab.
- Click the Add button and add CSAdministrator and RTCUniversalServerAdmins.
- As shown above the user is now a member of these 2 groups.
Prepare first Standard Edition Server
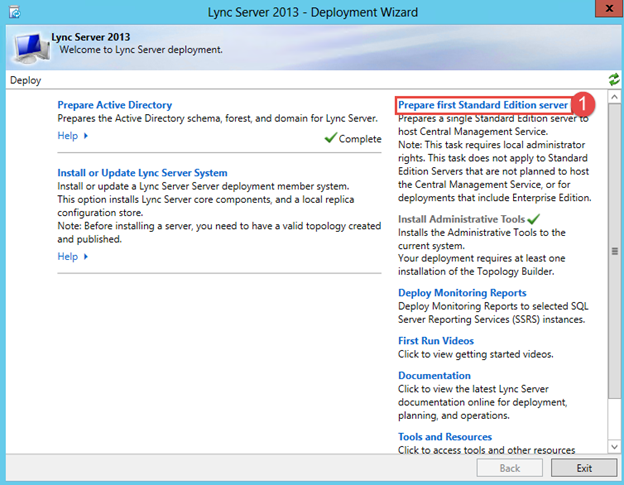
- On the top right of the Deployment wizard click on Prepare first Standard Edition Server.
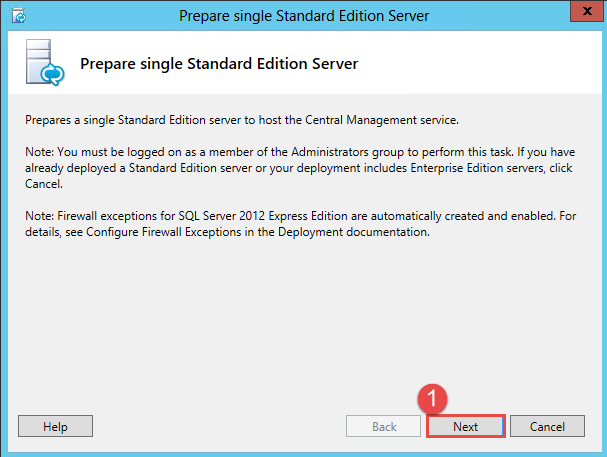
- Step 1 -> Click Next.
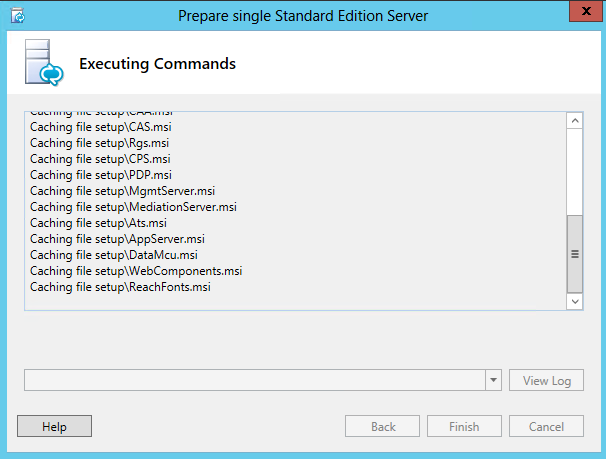
- Installation of components.
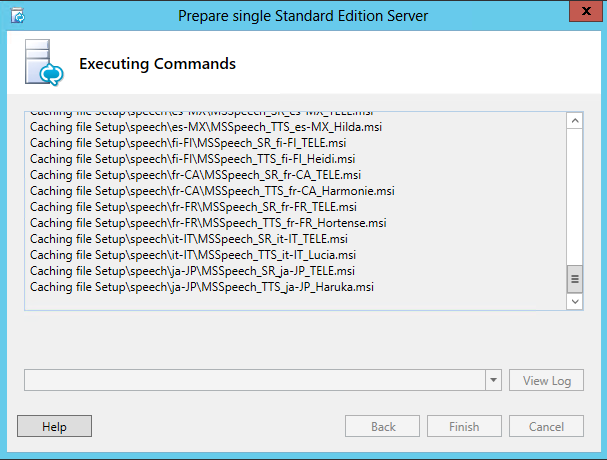
- Progress screen.
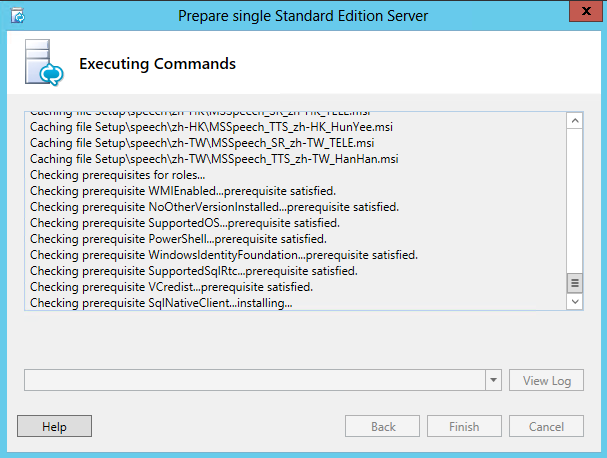
- Progress screen.
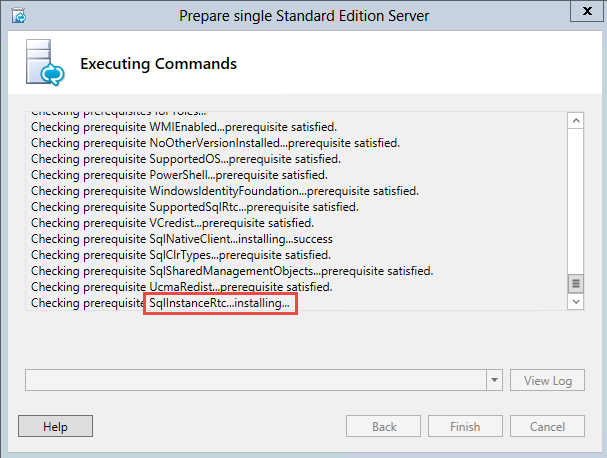
- Installing SQL Instance RTC.
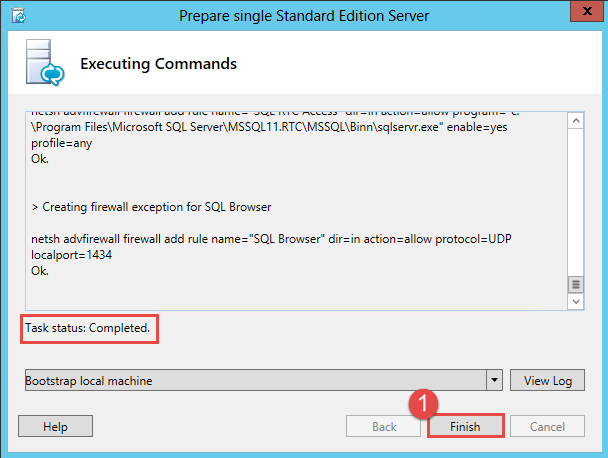
- As shown above the task completed successfully.
- Step 1 -> Click Finish.
Create DNS Records
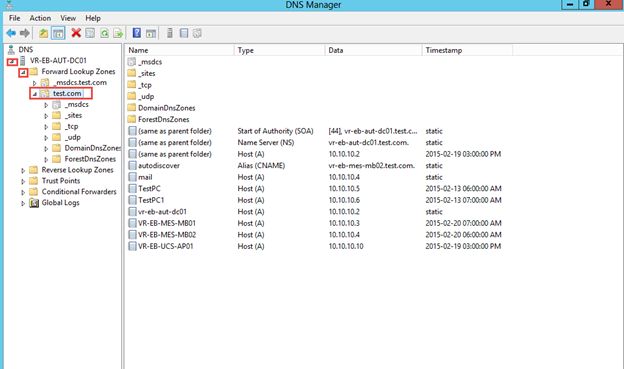
- Open up DNS Manager.
- Expand the domain controller.
- Expand Forward Lookup Zones.
- Click on your domain, in this case it is test.com
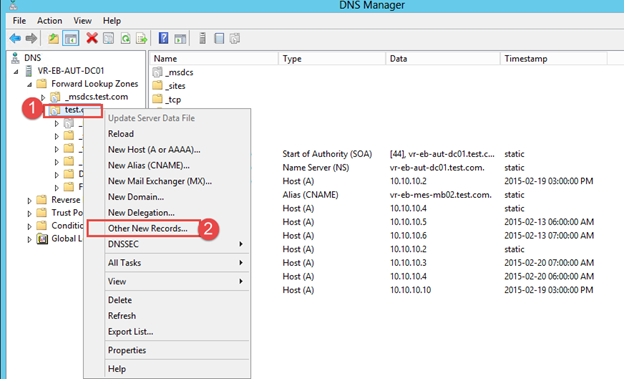
- Step 1 -> Right click on Test.com
- Step 2 -> Other New Records…
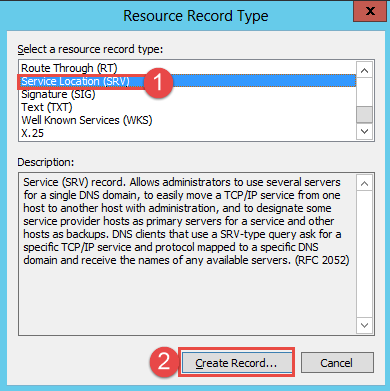
- Step 1 -> Click on Service Location (SRV)
- Step 2 -> Click on Create Record.
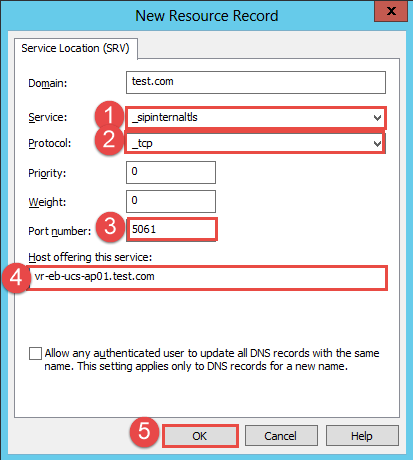
- Step 1 -> Service = _sipinternaltls
- Step 2 -> Protocol = _tcp
- Step 3 -> Port = 5061
- Step 4 -> Host offering this service = FQDN of Lync server, in this case it is vr-eb-ucs-ap01.test.com
- Step 5 -> Click on OK to create the records.
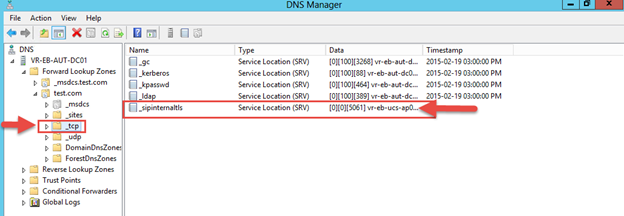
- As shown above the record has been created.
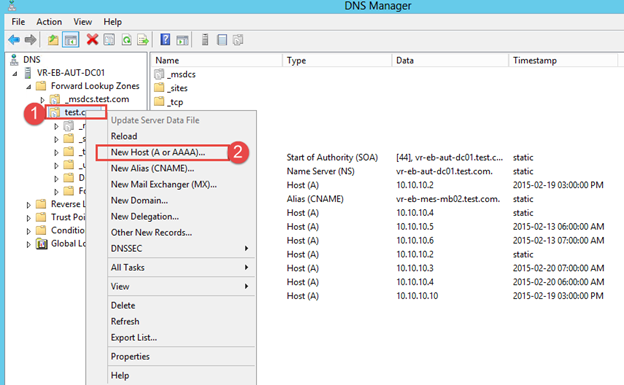
- We need to now create 3 Host A records for the following:
- Meet
- Dialin
- Admin
- This will point to the Lync Frontend Server.
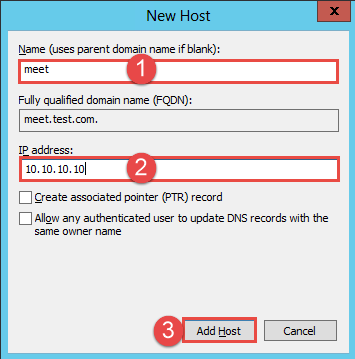
- Step 1 -> enter in the name -> meet
- Step 2 -> enter in the IP address, this will be the Lync Frontend server
- Step 3 -> Click Add Host
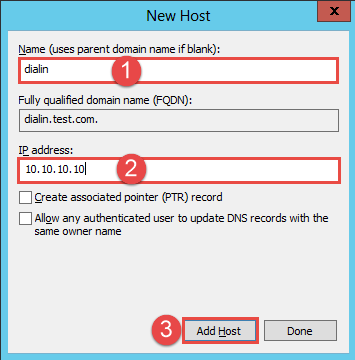
- Step 1 -> enter in the name -> dialin
- Step 2 -> enter in the IP address, this will be the Lync Frontend server
- Step 3 -> Click Add Host
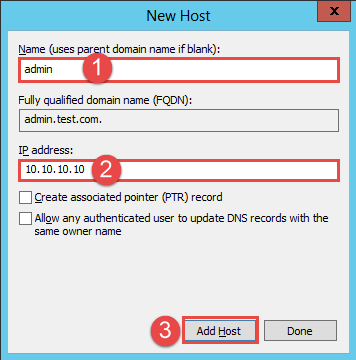
- Step 1 -> enter in the name -> admin
- Step 2 -> enter in the IP address, this will be the Lync Frontend server
- Step 3 -> Click Add Host
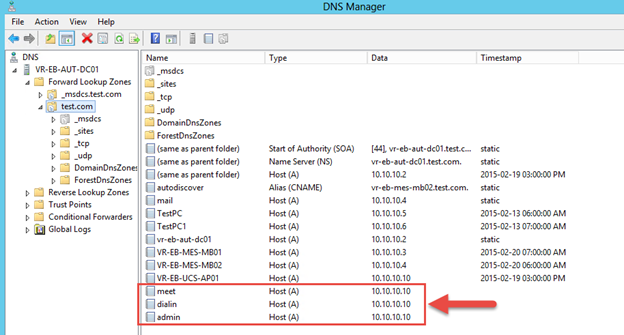
- Records created shown above.
Build and Publish Topology
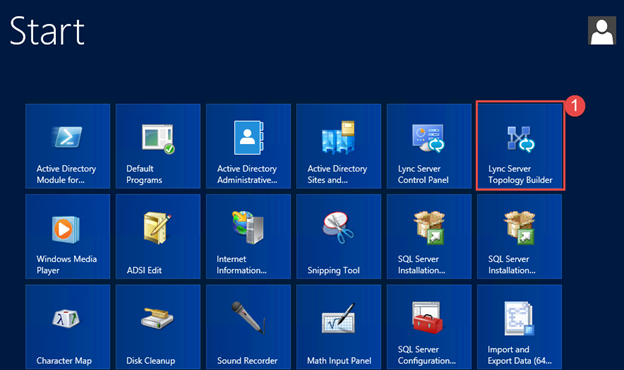
- Click on Start
- Step 1 -> Click on Lync Server Topology Builder.
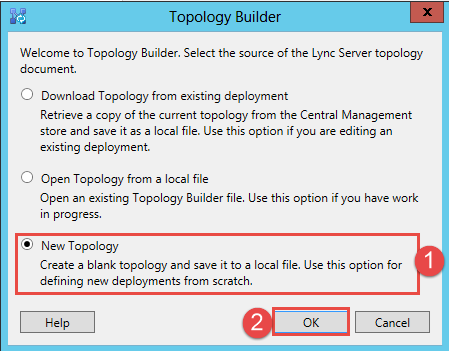
- Step 1 -> Click on the New Topology Radio button.
- Step 2 -> Click on OK.
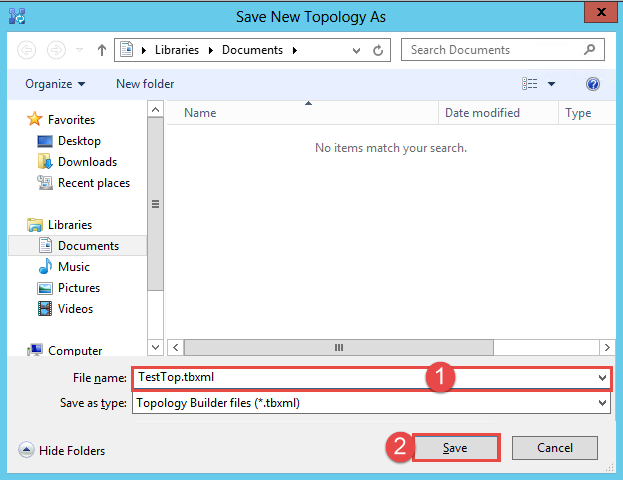
- Step 1 -> The Save New Topology As window will show, enter in a name, I used TestTop.tbxml in this example.
- Step 2 -> Click Save.
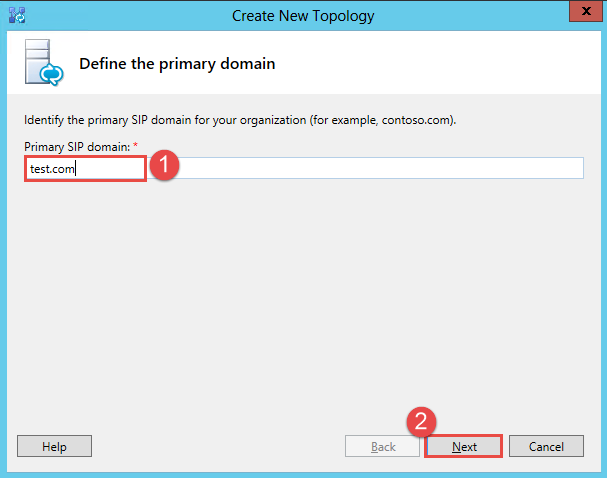
- Step 1 -> Enter in the primary SIP Domain, in this example it is test.com
- Step 2 -> Click Next.
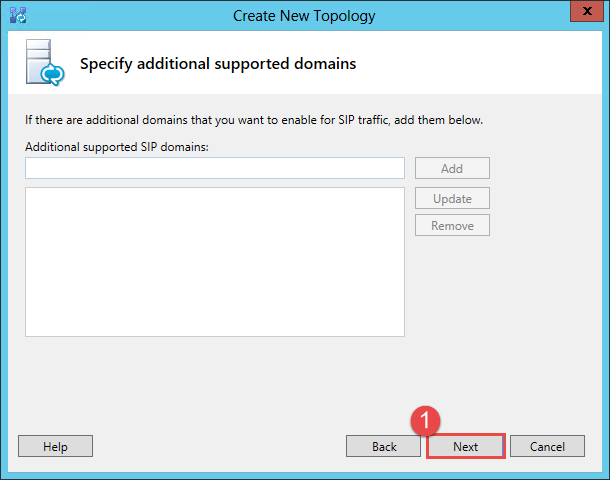
- Enter in any additional supported SIP domains. In this example we are not adding anything.
- Step 1 -> Click Next.
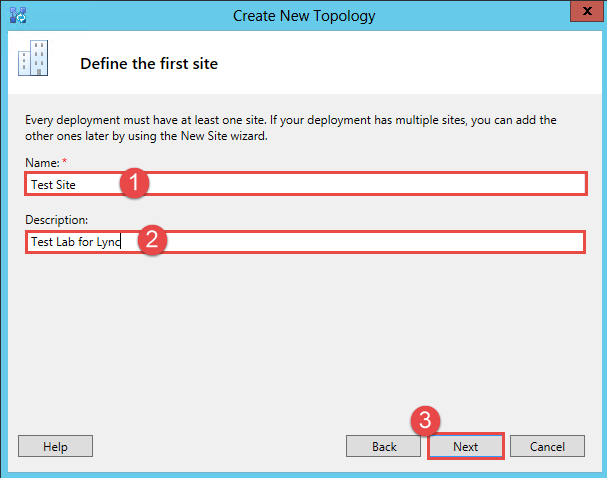
- Step 1 -> Enter in a name.
- Step 2 -> Enter a description.
- Step 3 -> Click Next.
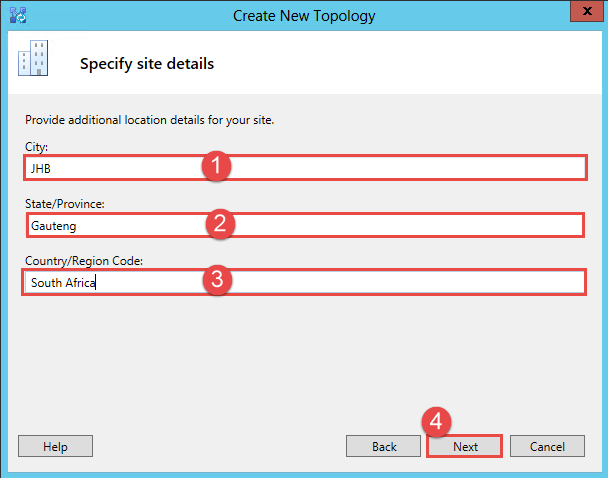
- Step 1 -> Enter in the City.
- Step 2 -> Enter in the State/Province.
- Step 3 -> Enter in the Country/Region Code.
- Step 4 -> Click Next.
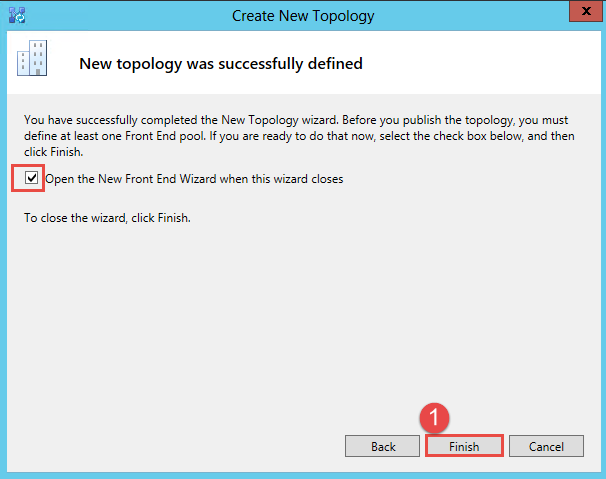
- Leave the checkbox selected and then click Finish to start the Wizard.
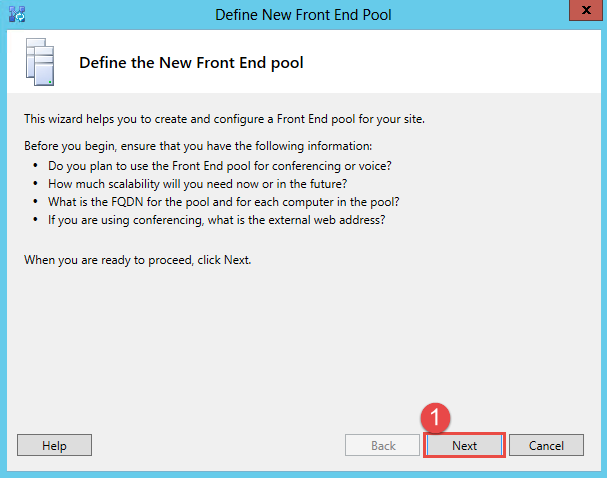
- Step 1 -> Click next to define a new front end pool.
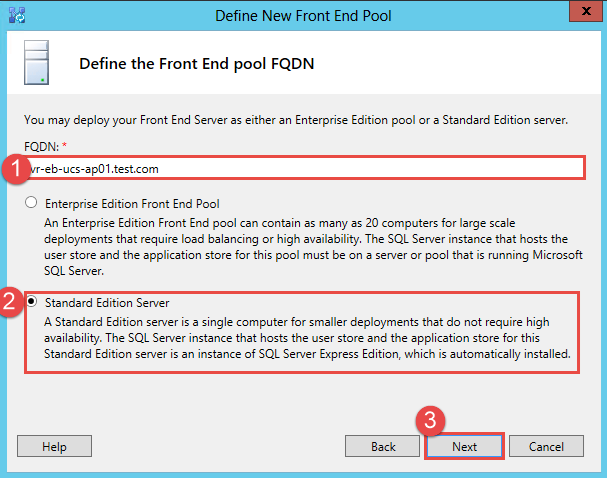
- Step 1 -> As this is standard edition the FQDN will be the same as the Lync Server.
- Step 2 -> Choose Standard Edition Server.
- Step 3 -> Click Next.
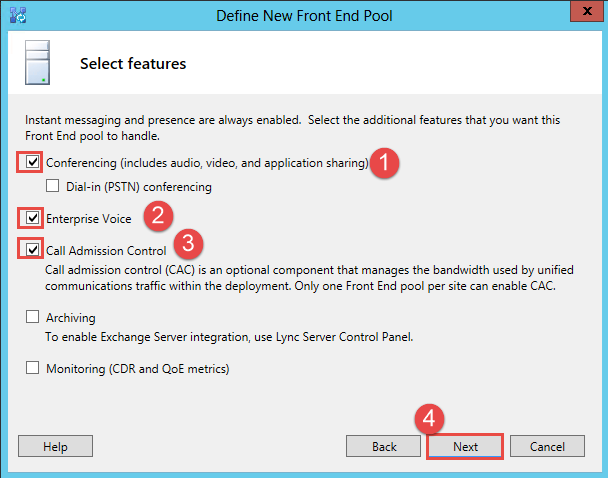
- Step 1 -> Select Conferencing
- Step 2 -> Select Enterprise Voice.
- Step 3 -> Select Call Admission Control.
- Step 4 -> Click Next.
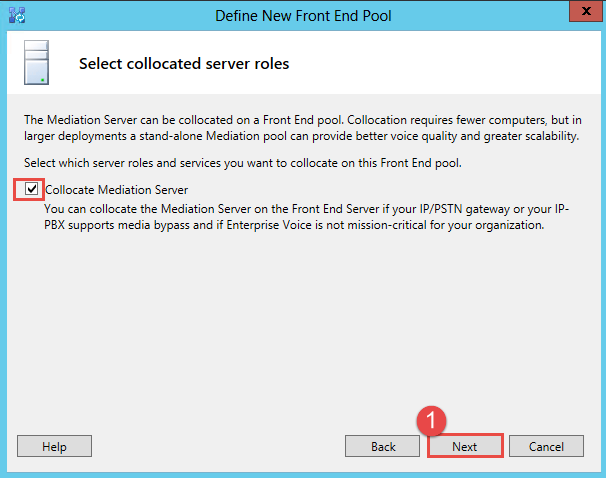
- Ensure that the checkbox is selected.
- Step 1 -> Click Next.
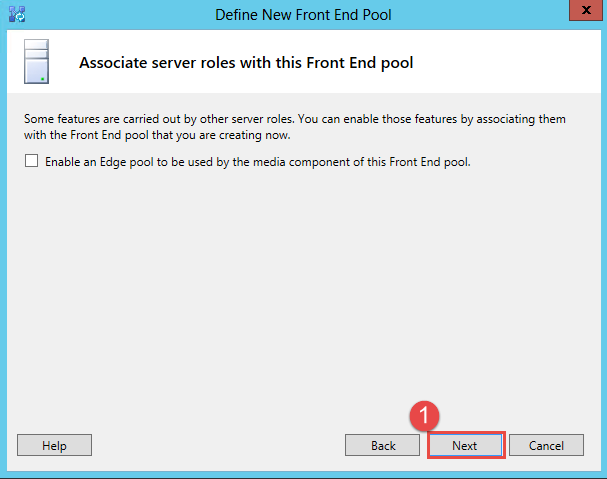
- Leave the screen as default. Do not select Enable an Edge pool.
- Step 1 -> Click Next.
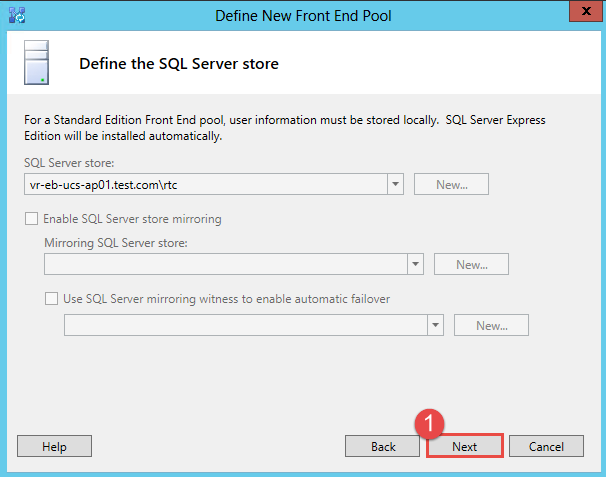
- Click Next.
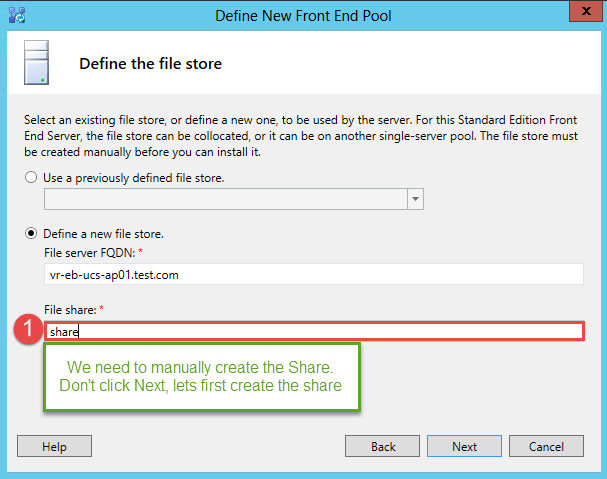
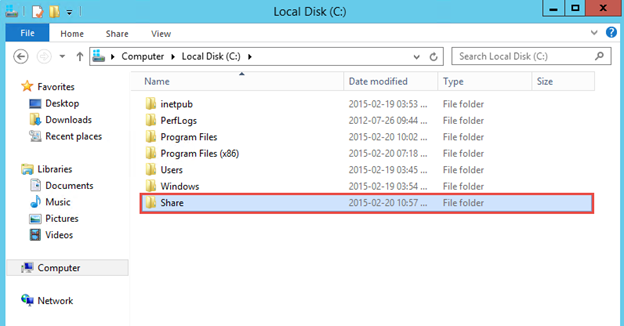
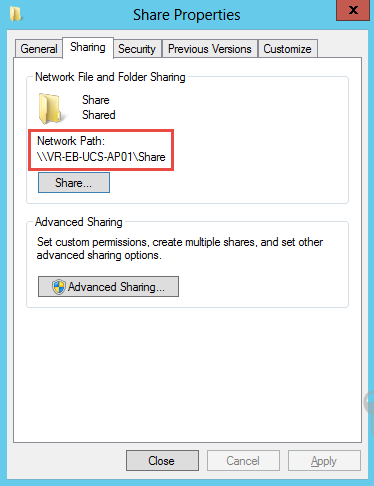
- Under the C:\ Drive I created a new folder called Share
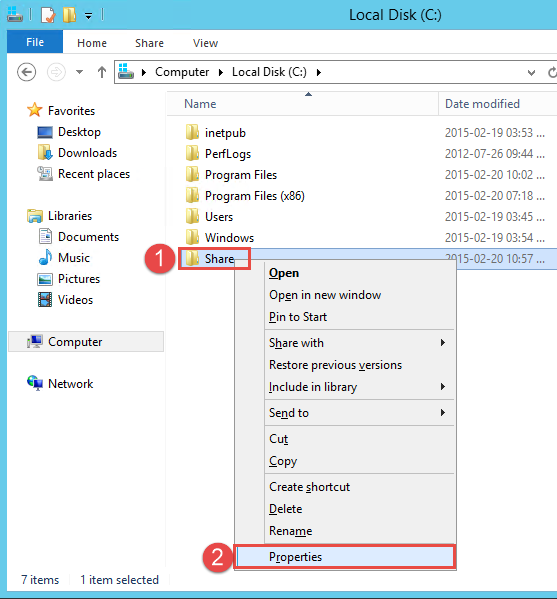
- Step 1 -> Right Click the Folder called Share.
- Step 2 -> Click on Properties.
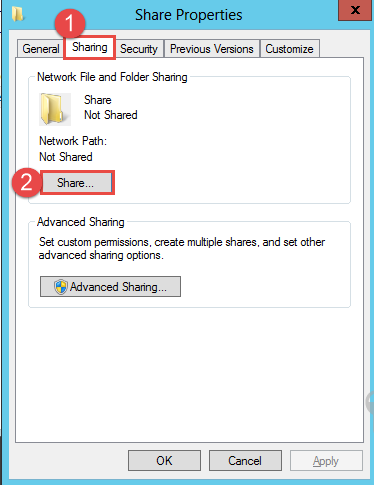
- Step 1 -> Click the Sharing Tab.
- Step 2 -> Click on Share.
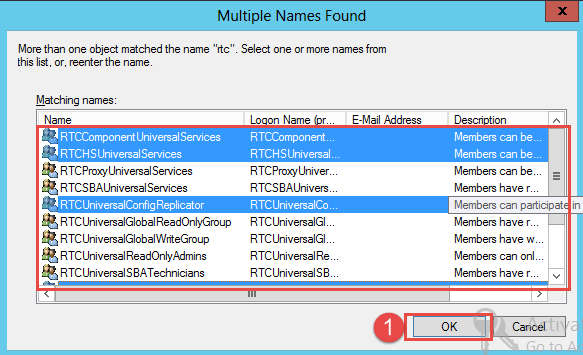
- Enter in RTC and then click find. Select the groups as above.
- RTCComponentUniversalServices
- RTCHSUniversalServices
- RTCUniversalConfigReplicator.
- RTCUniversalServerAdmins
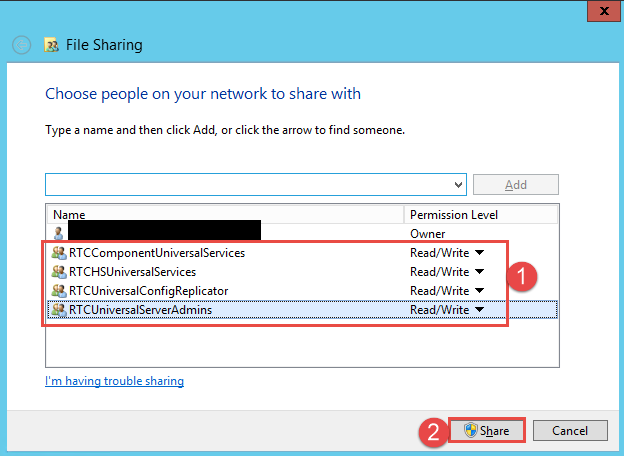
- Step 1 -> Ensure that the 4 groups have Read/Write Access.
- Step 2 -> Click on the Share button.
- Step 3 -> Also make sure under advanced sharing that the 4 groups are added with Full Access.
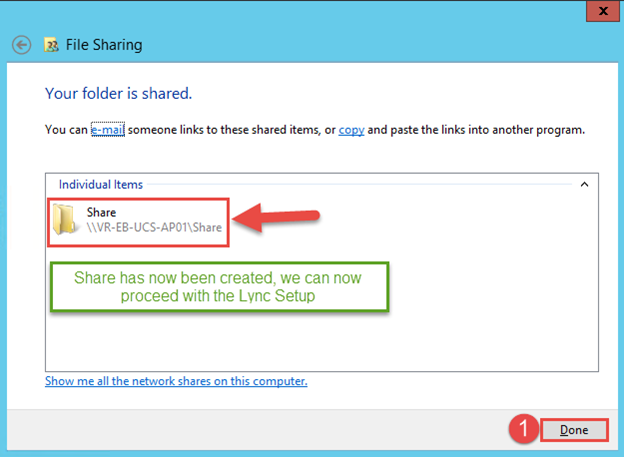
- Step 1 -> Click the Done button.
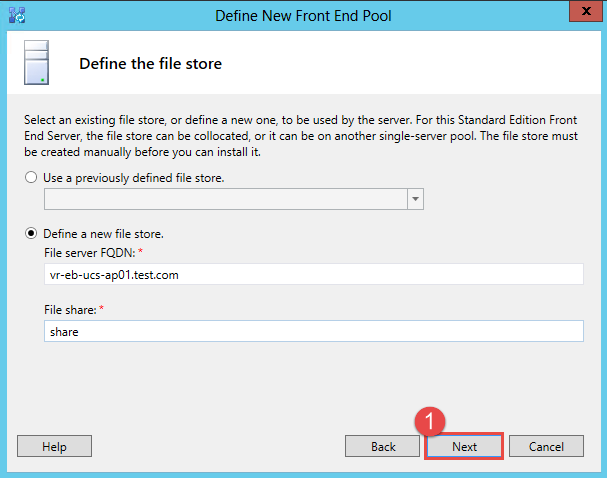
- Step 1 -> Click Next
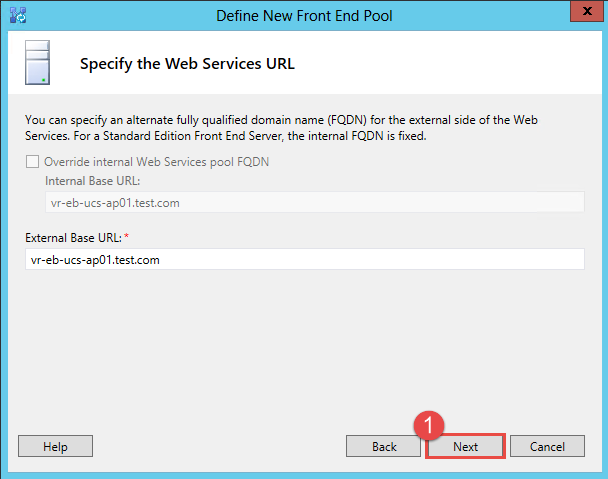
- Click Next.
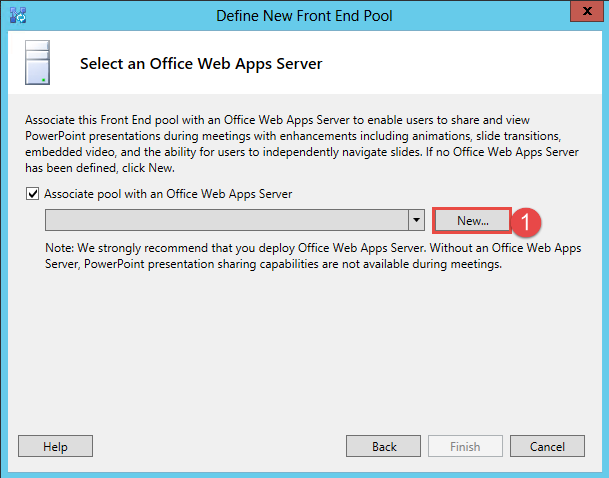
- As we don’t have an office web apps server yet we can use owa that is in the environment. In this environment owa points to mail.test.com
- Step 1 -> click the New button.
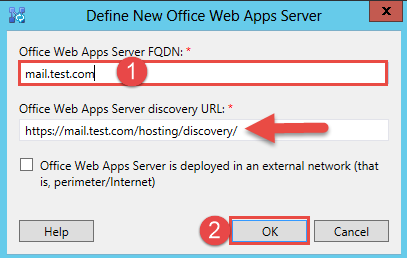
- Step 1 -> Enter in mail.test.com, as you can see the URL automatically creates.
- Step 2 -> Click on OK.
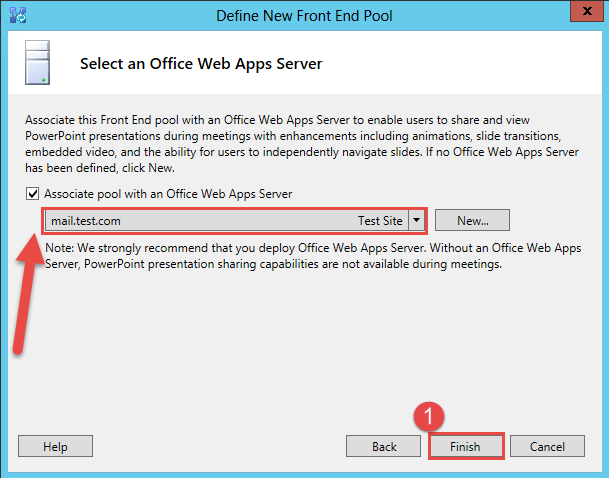
- The information we just created is now shown in the box above.
- Step 1 -> Click the Finish button.
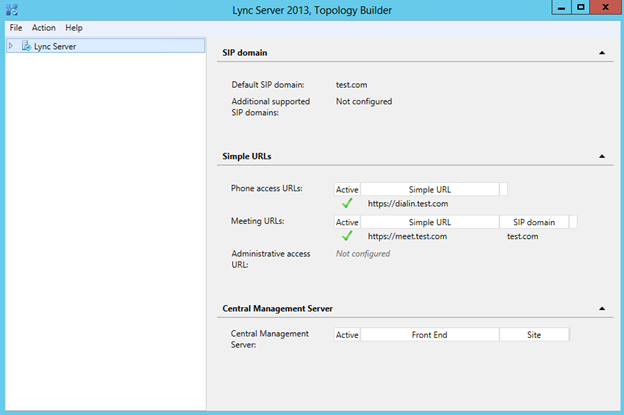
- When you have clicked finish the topology builder window will show.
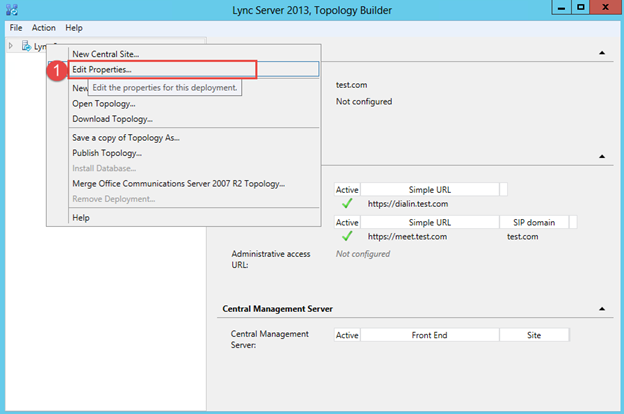
- Right click on Lync Server.
- Step 2 -> Click on Edit Properties.
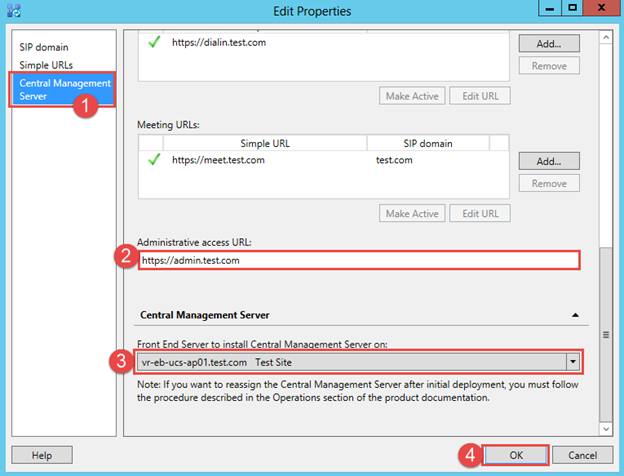
- Step 1 -> Click on Central Management Server.
- Step 2 -> Enter in the Administrative access URL.
- Step 3 -> Select the Front End Server from the drop down.
- Step 4 -> Click OK.
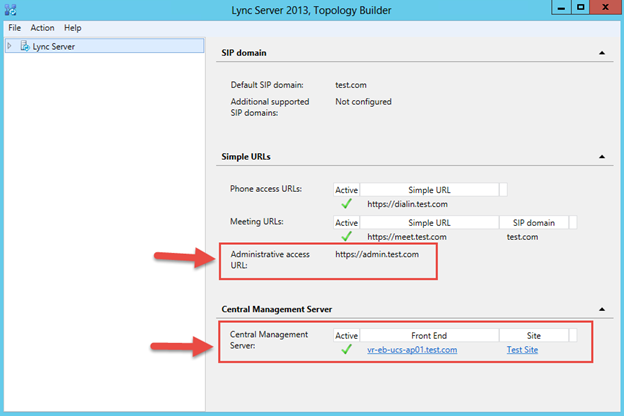
Publish Topology
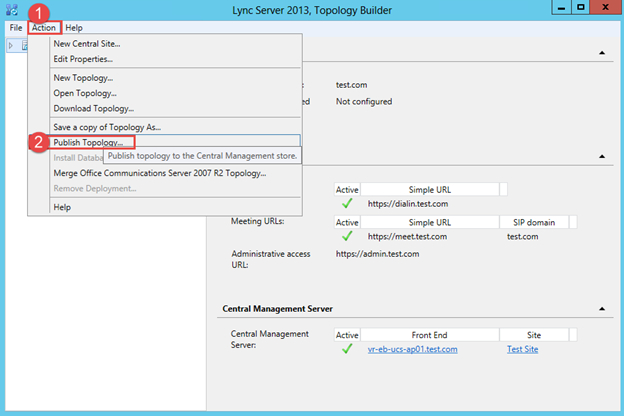
- Step 1 -> Click on the Action Menu
- Step 2 -> Click on Publish Topology
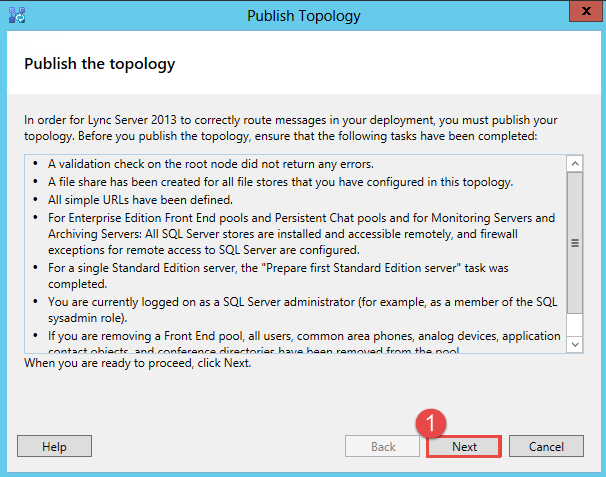
- Step 1 -> Click Next
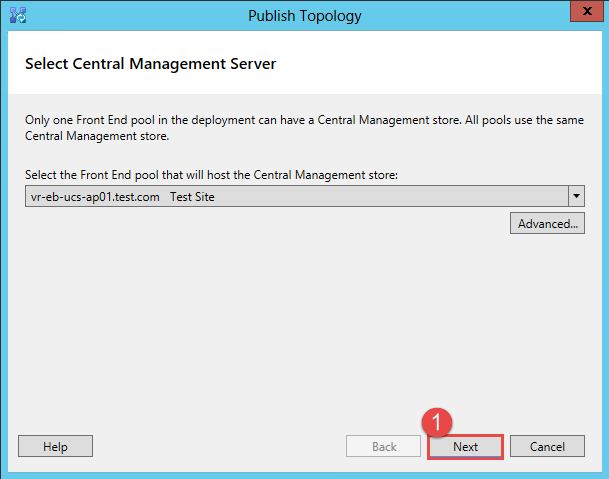
- Step 1 -> Click Next
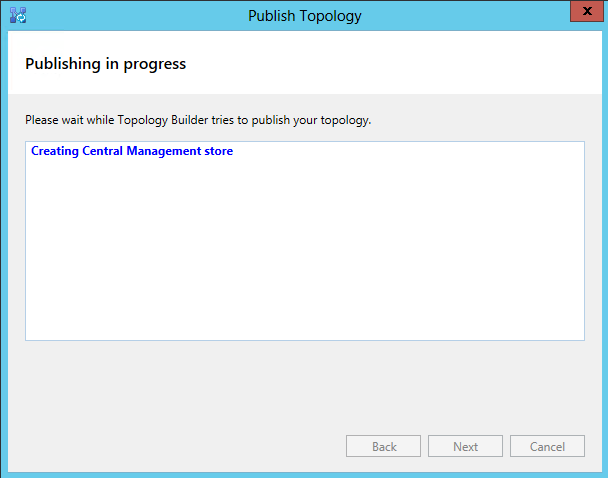
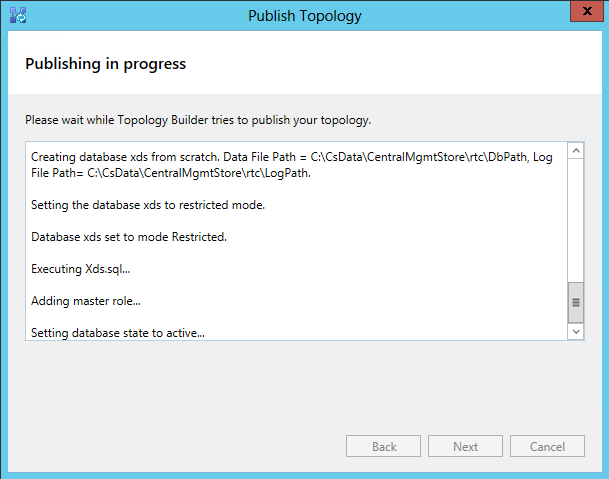
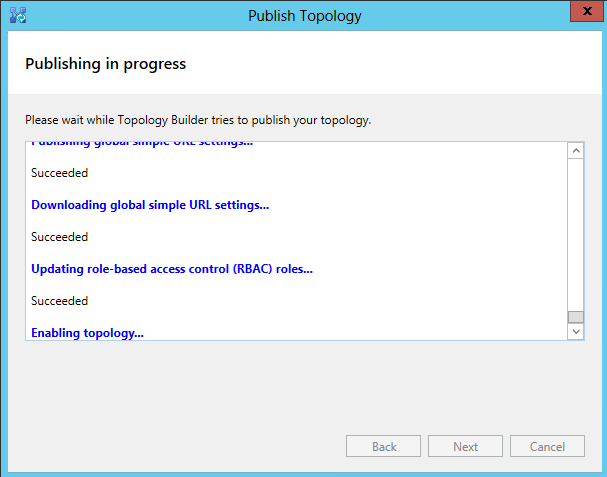
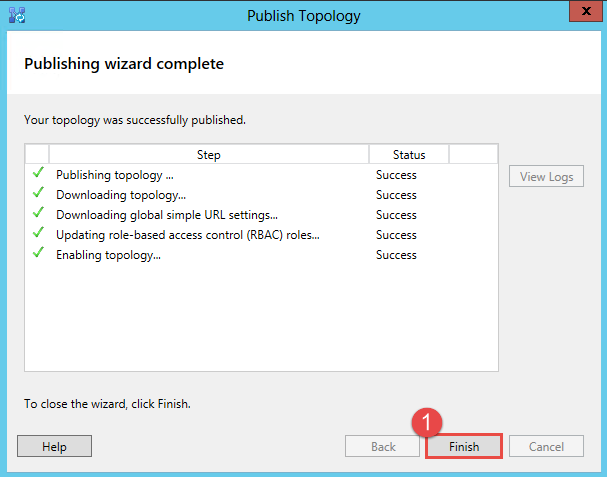
- The topology successfully published.
- Step 1 -> Click the Finish button.
Install Lync Server System
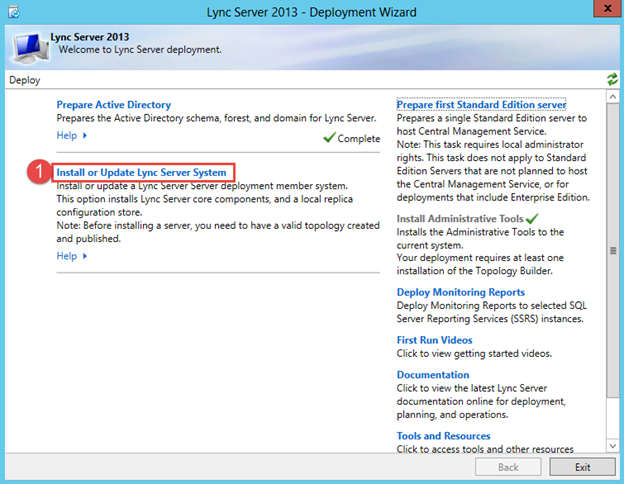
- Go back to the Deployment Wizard and click on Install or Update Lync Server System.
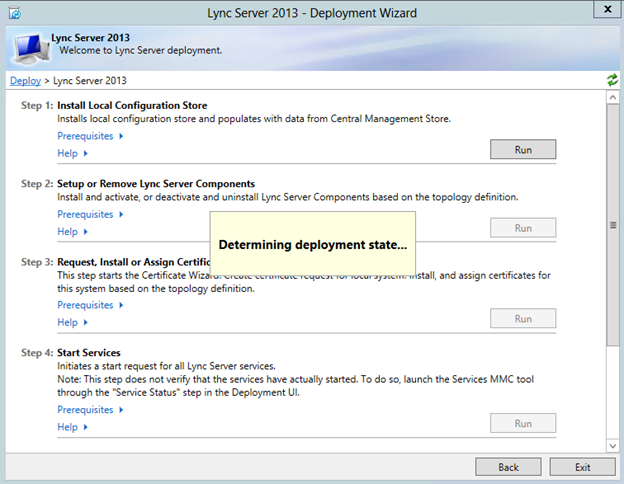
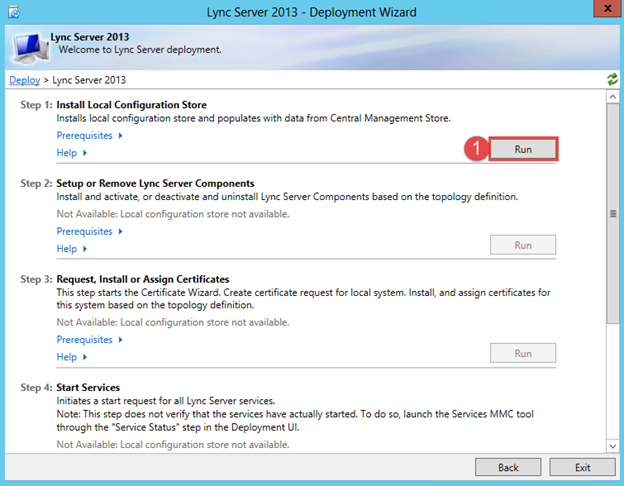
- Step 1 -> Click the run button to Install the Local Configuration Store.
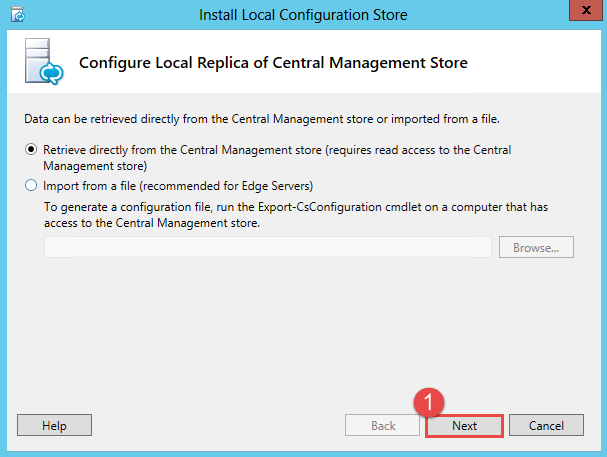
- Leave the default to retrieve info from the Central Management Store.
- Step 1 -> Click Next.
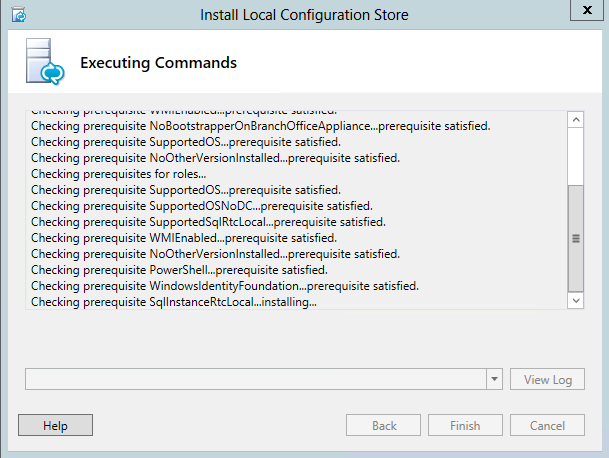
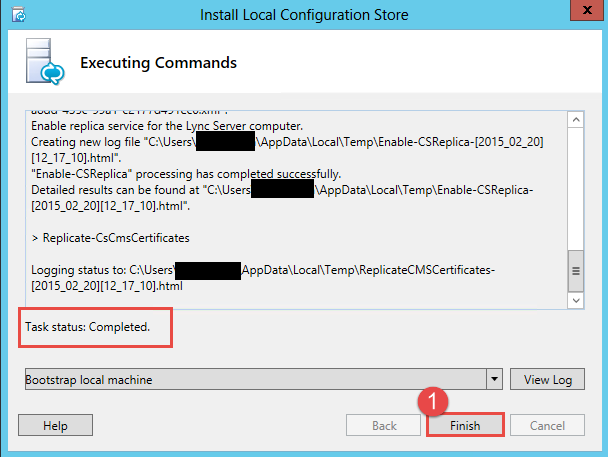
- As shown above, the Task completed successfully.
- Step 1 -> Click the Finish button
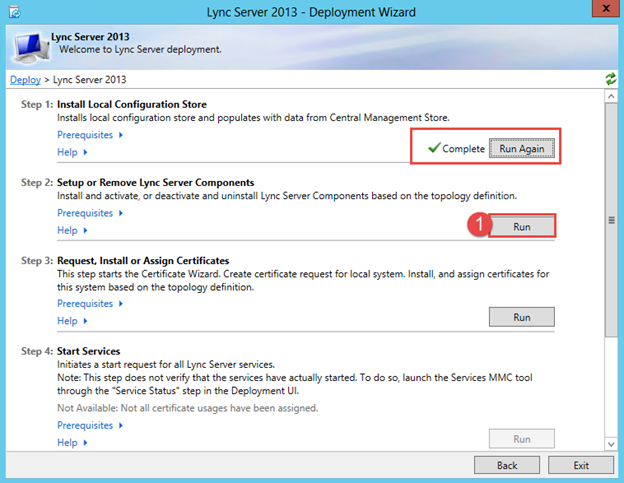
- Step 1 completed, now click the Run button under Step 2.
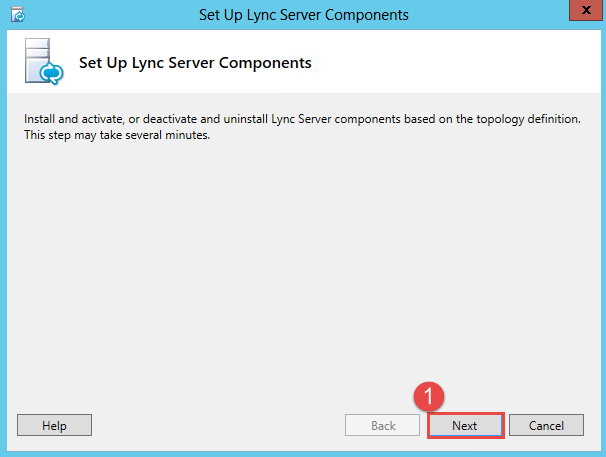
- Step 1 – > Click Next.
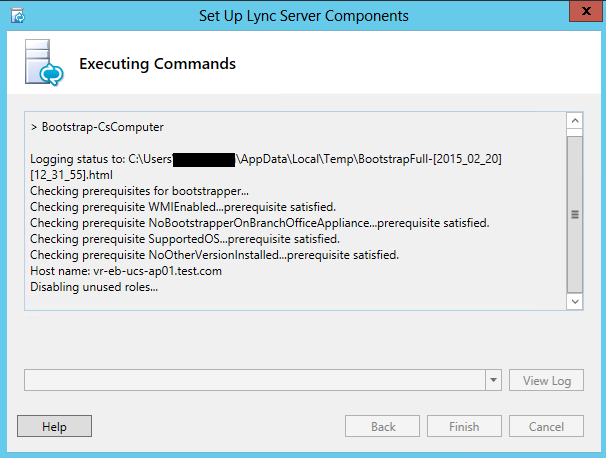
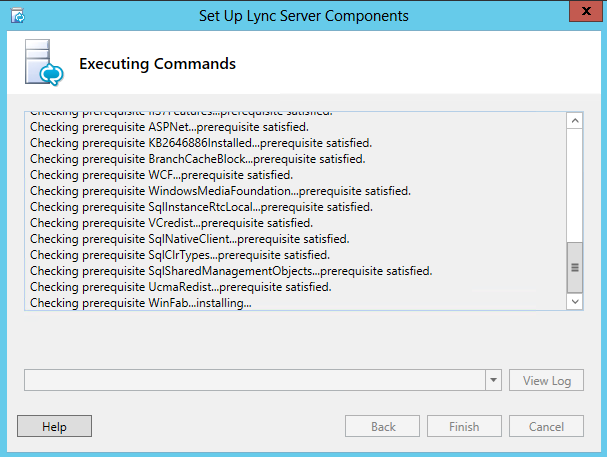
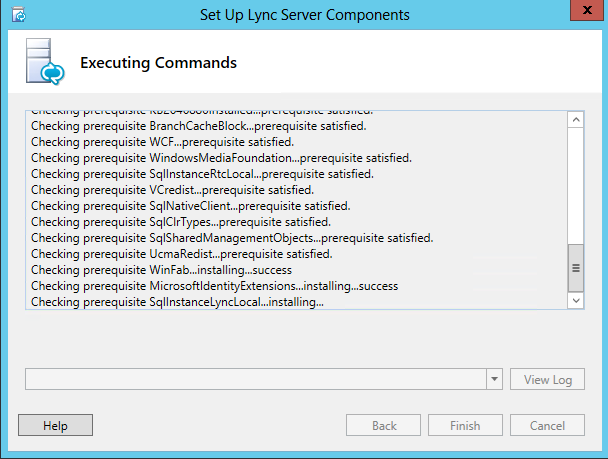
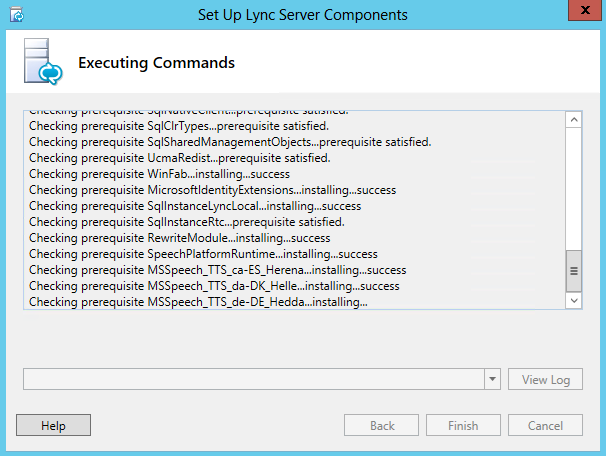
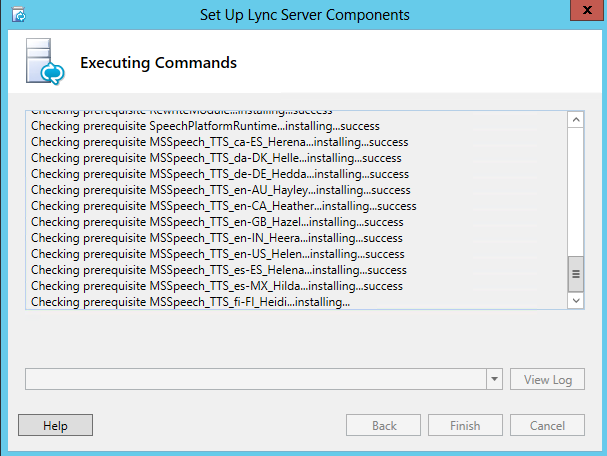
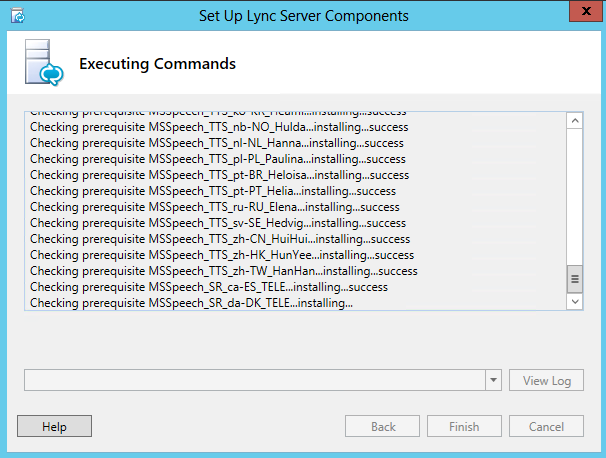
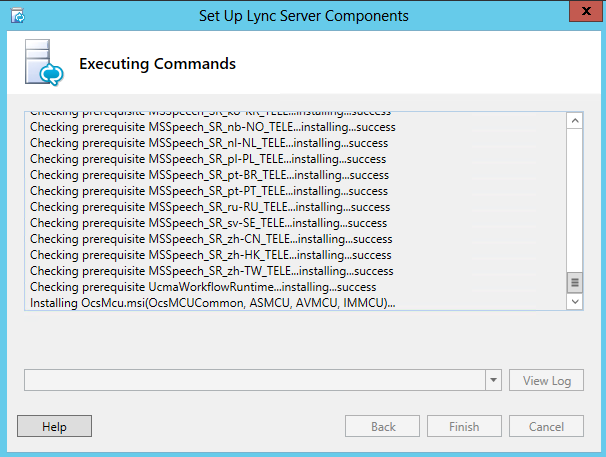
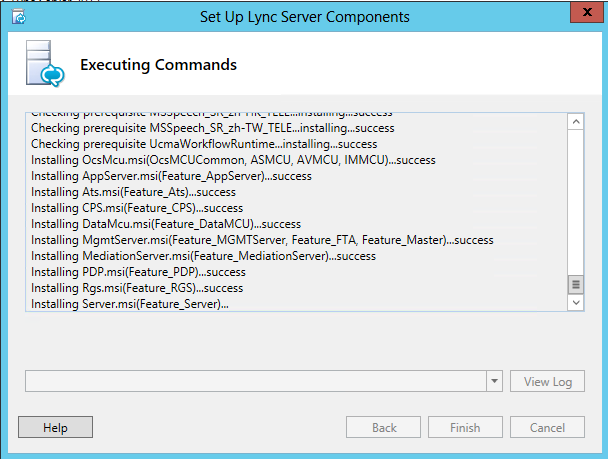
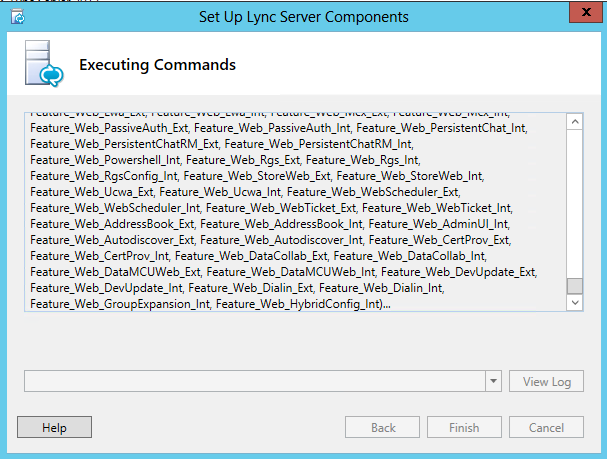
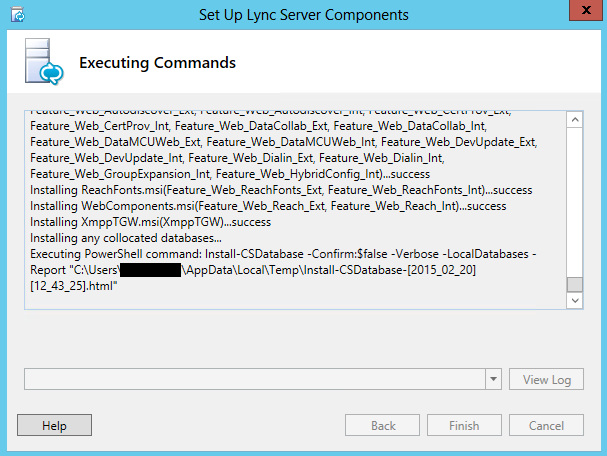
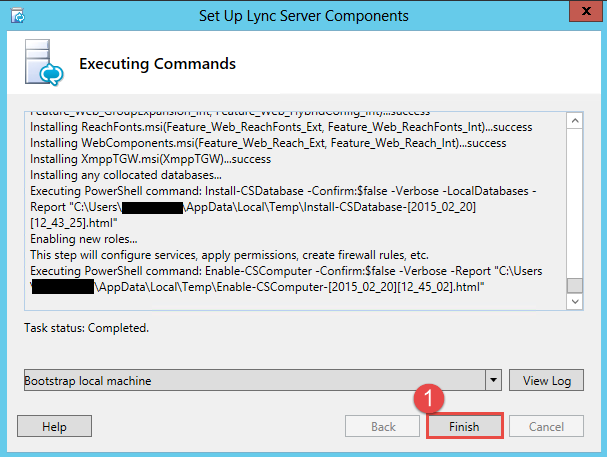
- The setup takes a few minutes, click the Finish button.
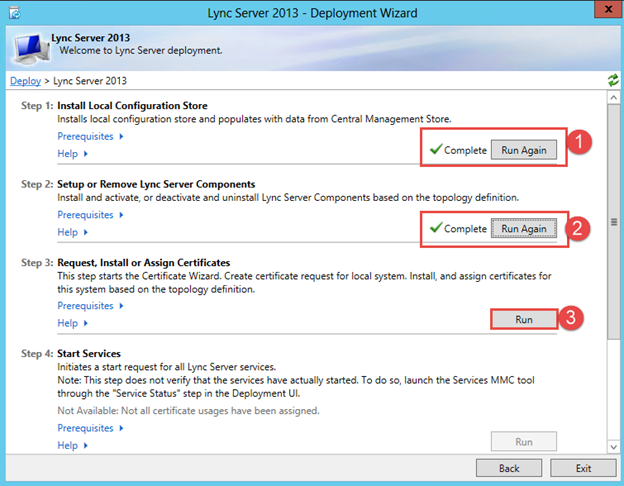
- Now that Step 1 and Step 2 are complete we can move on to Step 3 – Request, Install or Assign Certificates.
- In this lab environment my Domain Controller is also a Certificate Authority and we will use this DC for our certificates.
- Click the Run button.
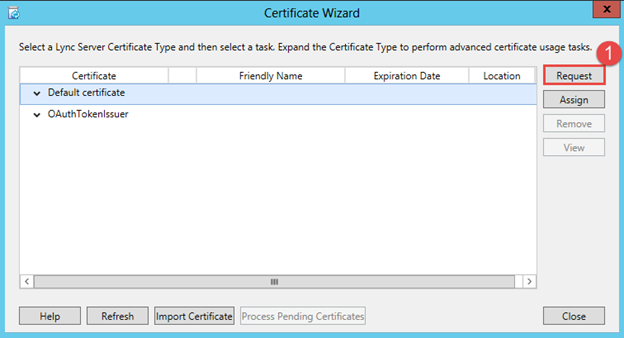
- On the Certificate Wizard page, click the Request button on the top right. (Step 1)
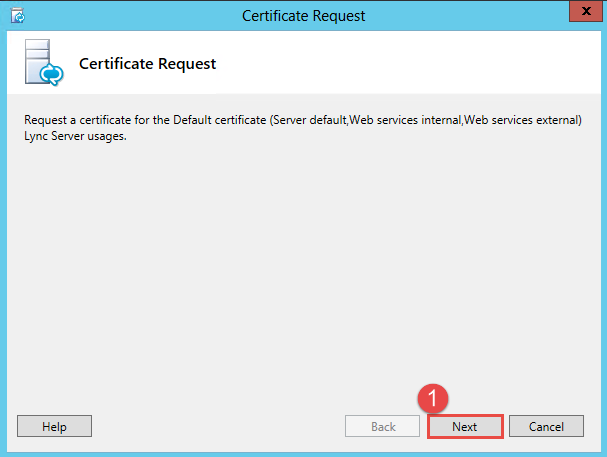
- Step 1 -> Click Next.
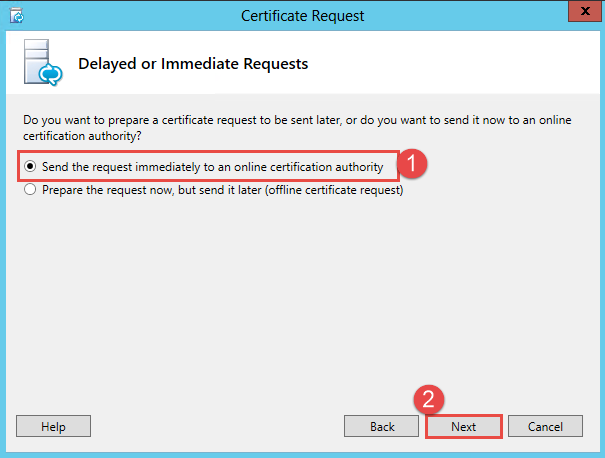
- As we are running an internal CA we will use the first option.
- Step 2 -> Click Next.
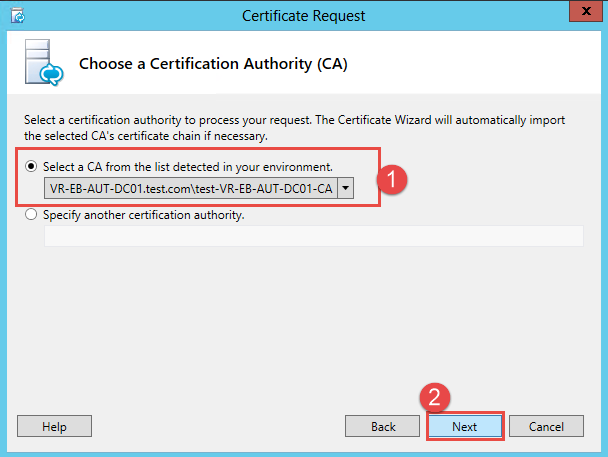
- As shown above, my internal CA is listed already.
- Step 2 – Click Next.
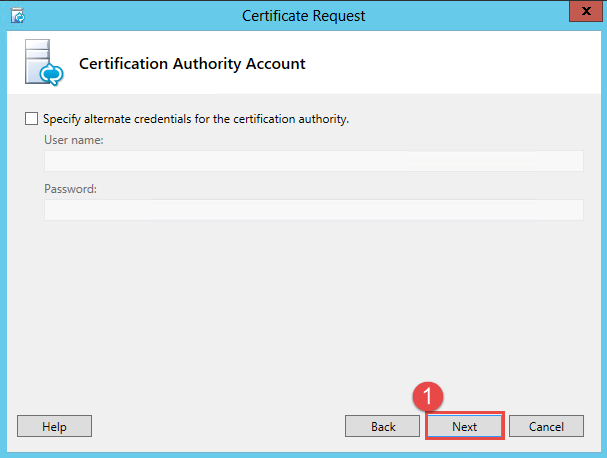
- Leave the default, click Next.
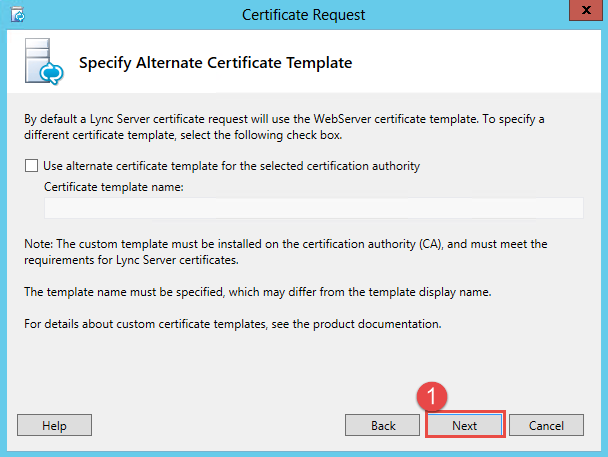
- Click Next.
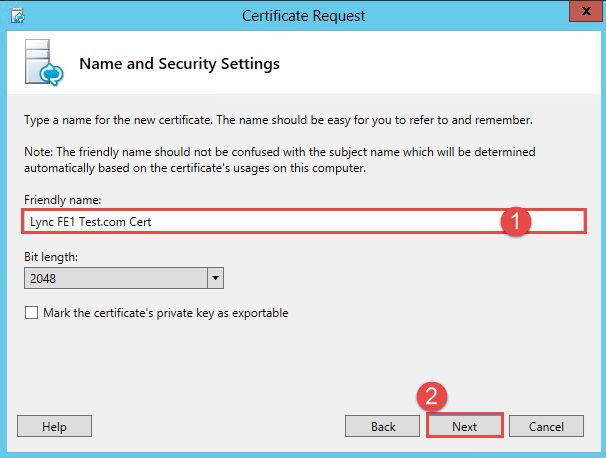
- Step 1 -> Enter in a friendly name for the certificate.
- Step 2 -> Click Next.
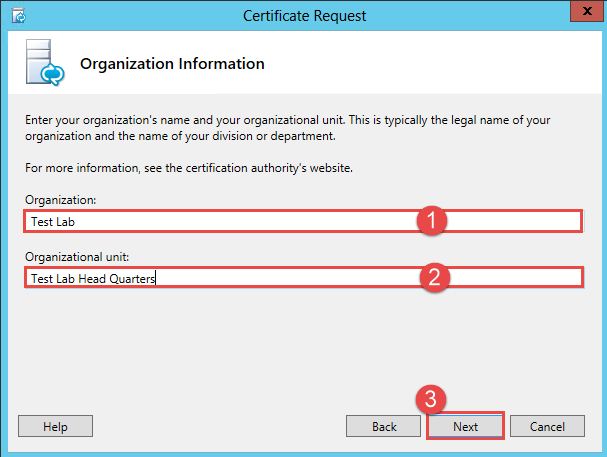
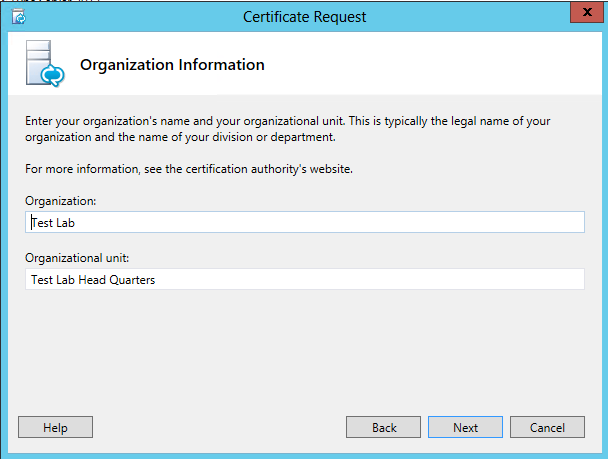
- Step 1 -> Enter in your Organization Name.
- Step 2 -> Enter in the Organizational Unit.
- Step 3 -> Click Next.
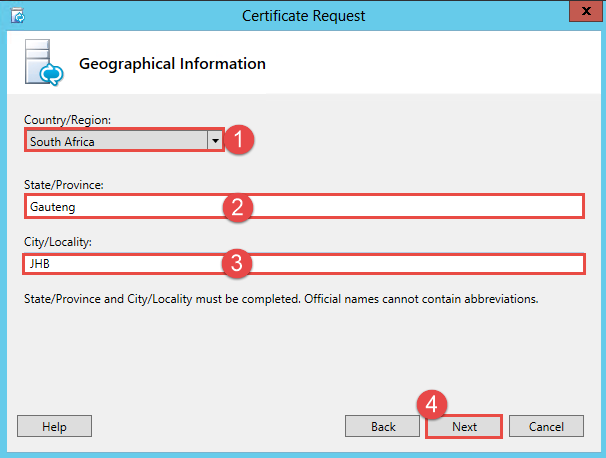
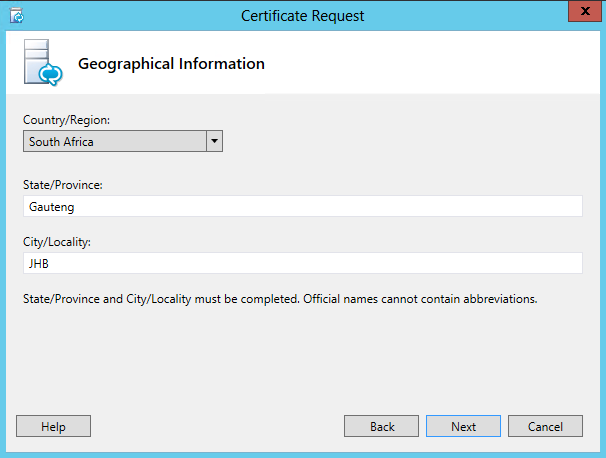
- Step 1 -> Select the Country/Region.
- Step 2 -> Enter in the State/Province.
- Step 3 -> Enter in the City/Locality.
- Step 4 -> Click Next.
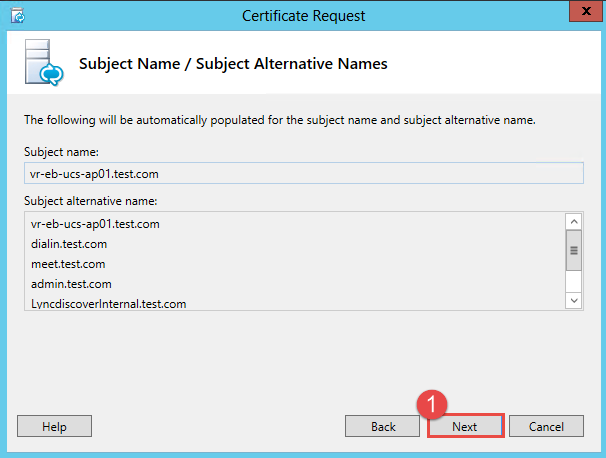
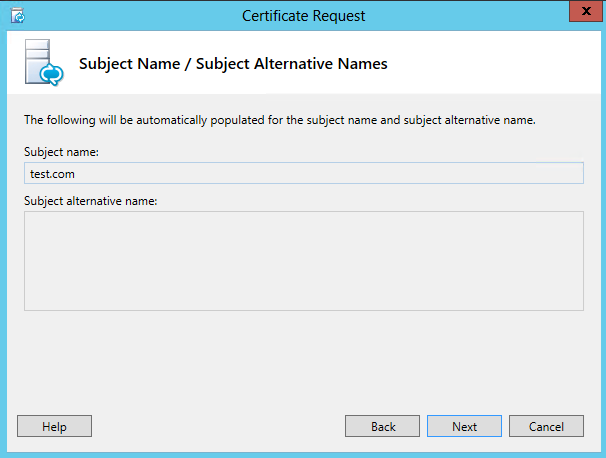
- Step 1 -> Click Next
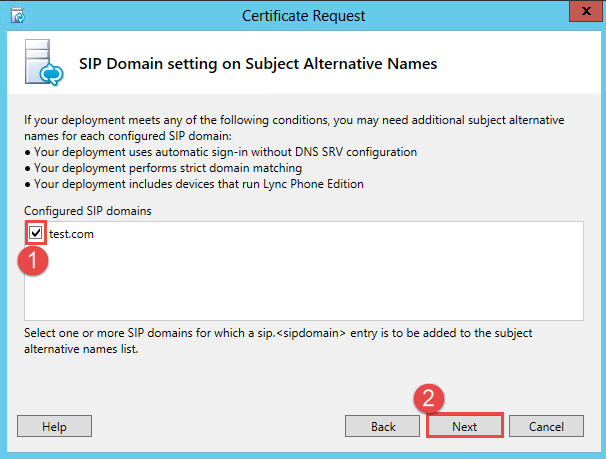
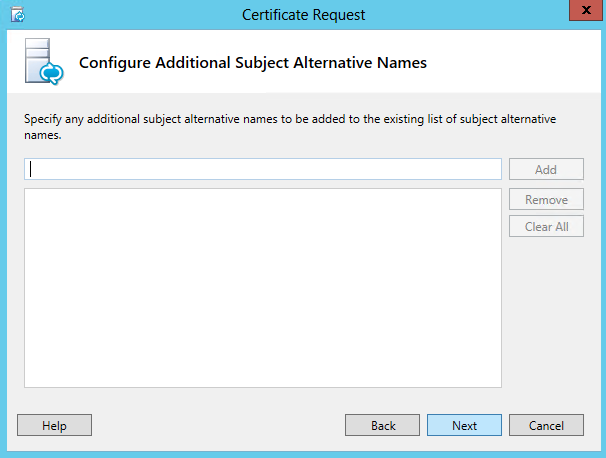
- Step 1 -> Ensure the checkbox below Configured SIP domains is selected.
- Step 2 -> Click Next.
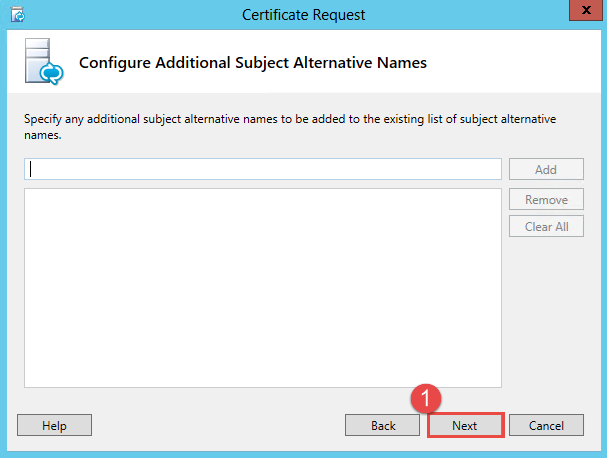
- Step 1 -> Click Next.
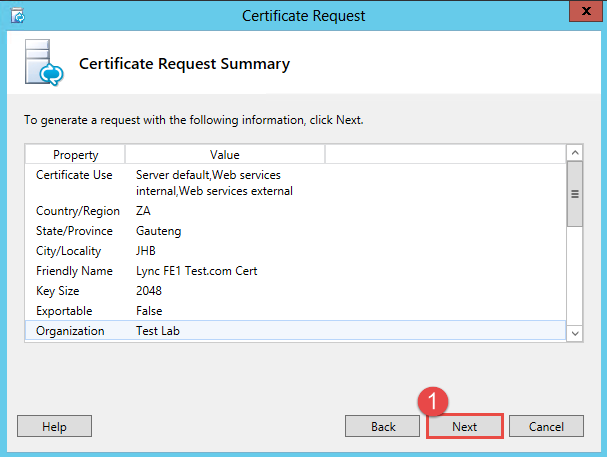
- Step 1 -> Click Next.
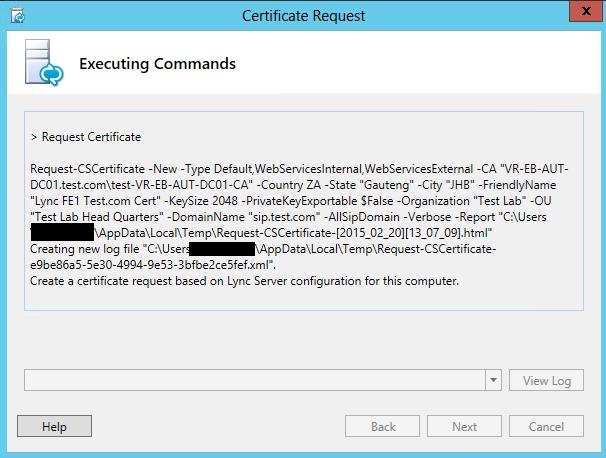
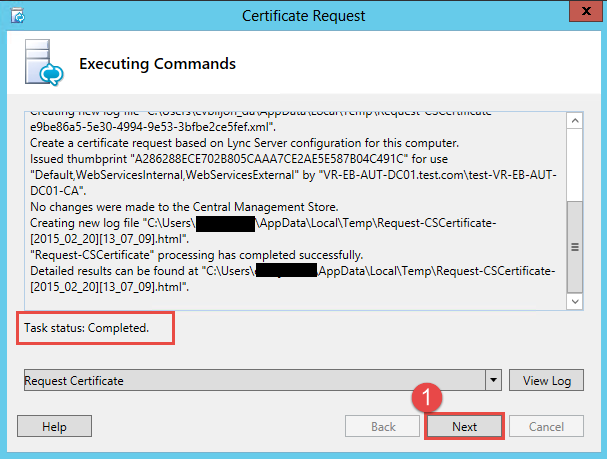
- Once the task has completed, click the Next button.
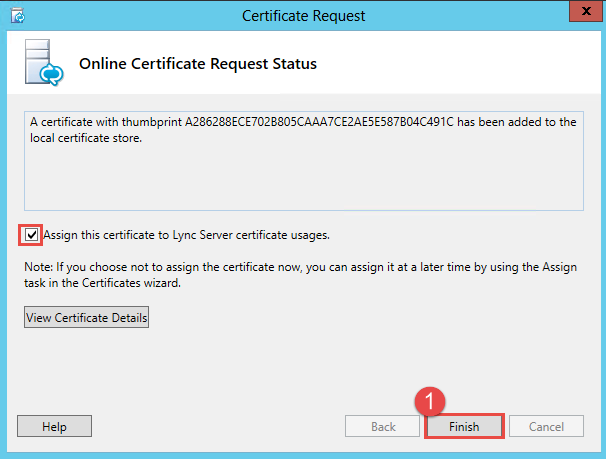
- Ensure the checkbox above is selected and then click the Finish button.
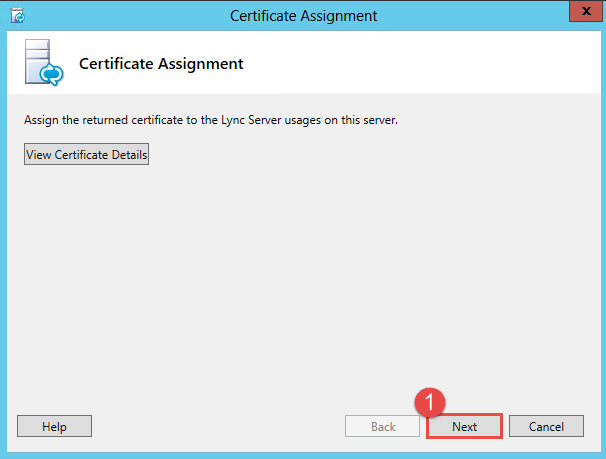
- Step 1 -> Click Next.
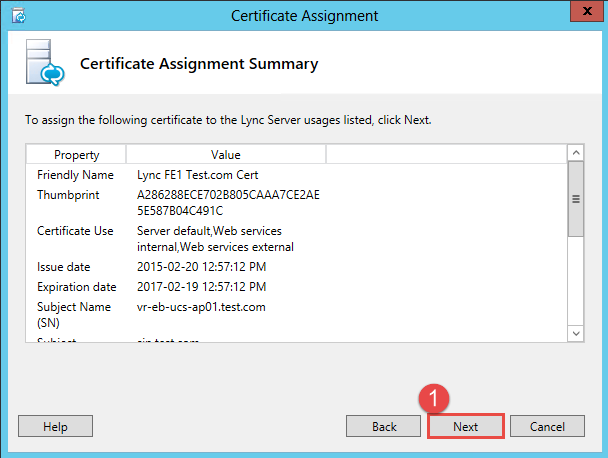
- Step 1 -> Click Next.
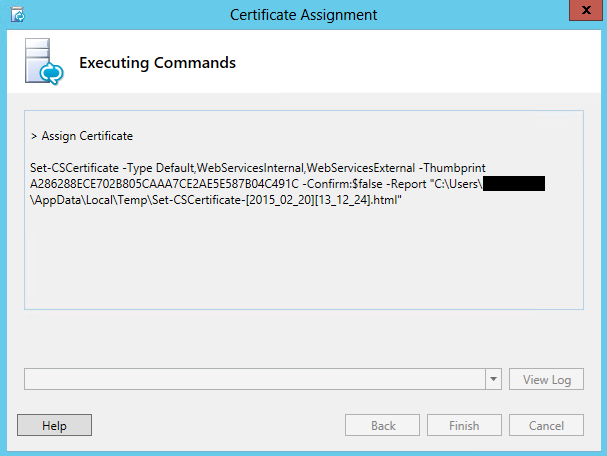
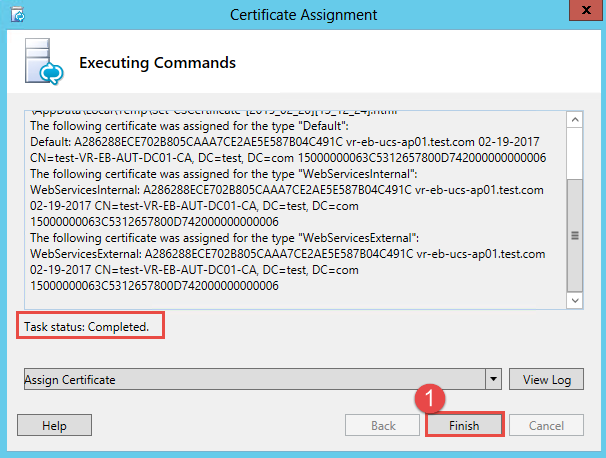
- The Task completed successfully. Click the Finish button.
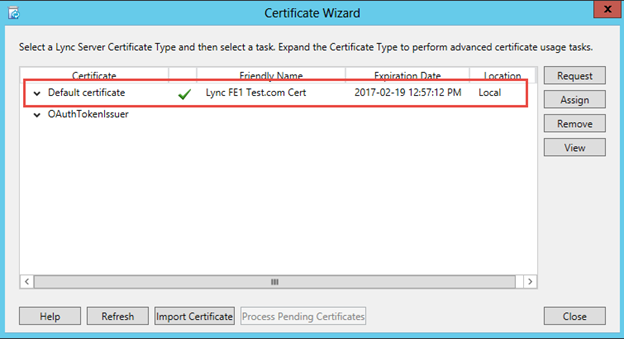
- As you can see above the Default Certificate Request and Assignment is complete, notice the green tick.
- Now click on OAuthTokenIssue and click the Request button.
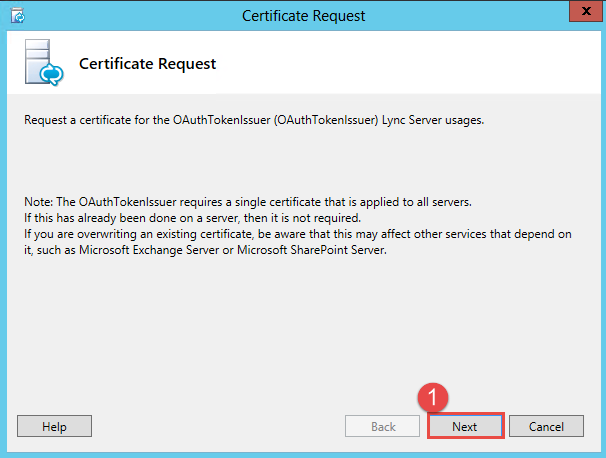
- Step 1 -> Click Next.
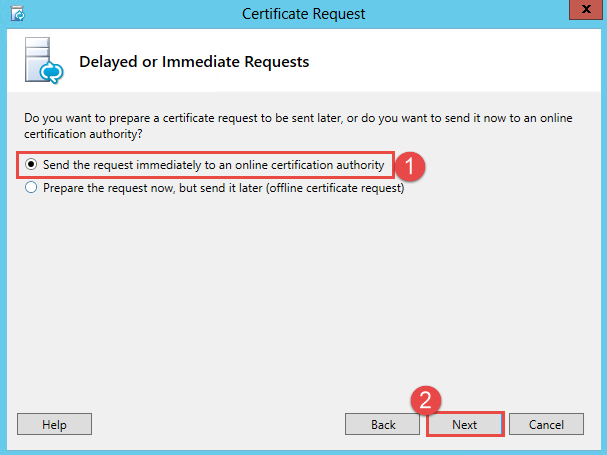
- As we are sending the request to our internal CA, leave the default setting.
- Step 2 -> Click Next.
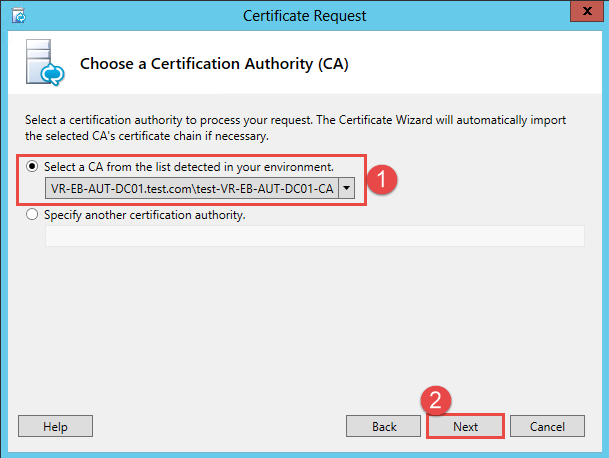
- Leave the option above as the default.
- Step 2 -> Click Next.
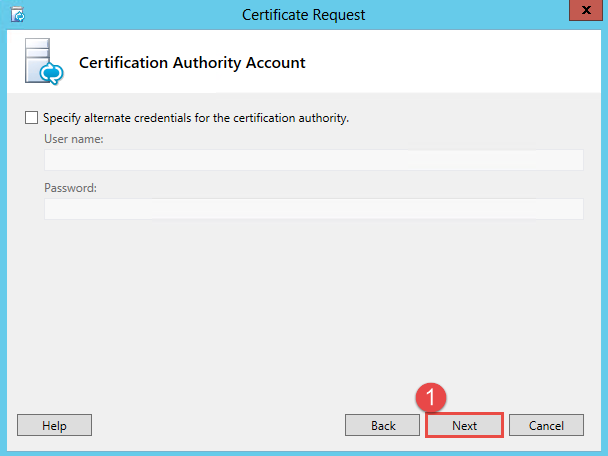
- Step 1 – Click Next.
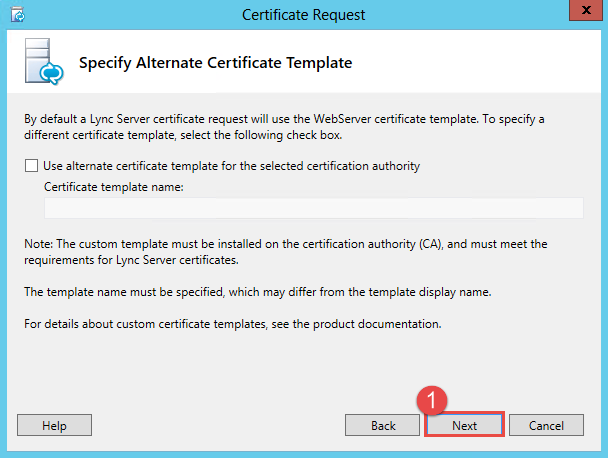
- Step 1 -> Click Next.
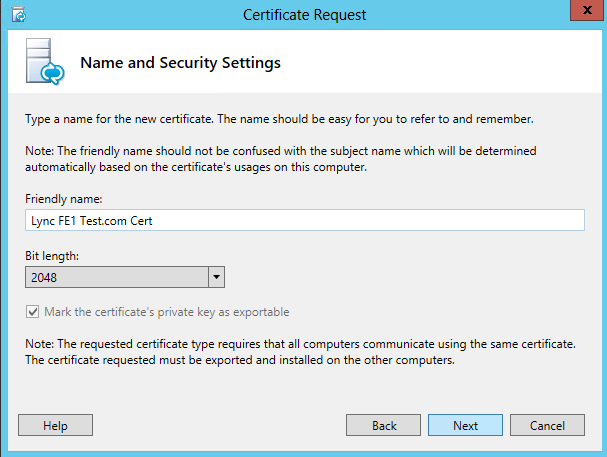
- Click Next.
- Click Next.
- Click Next.
- Click Next.
- Click Next.
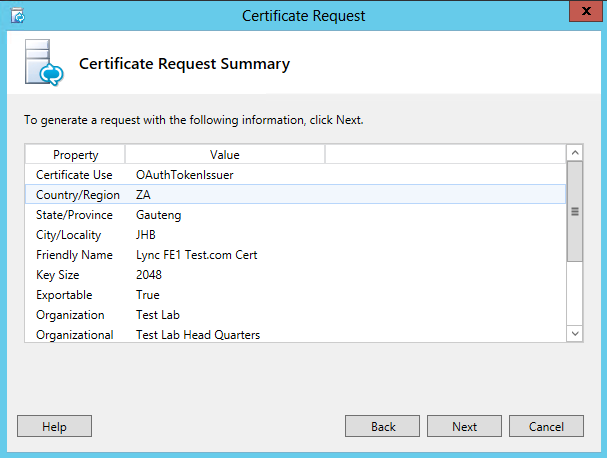
- Click Next.
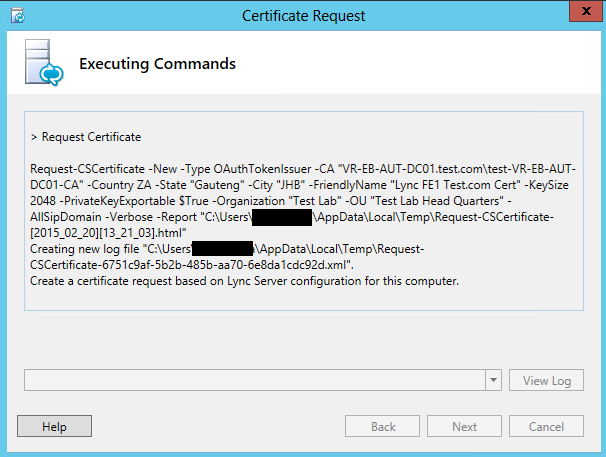
- In Progress…
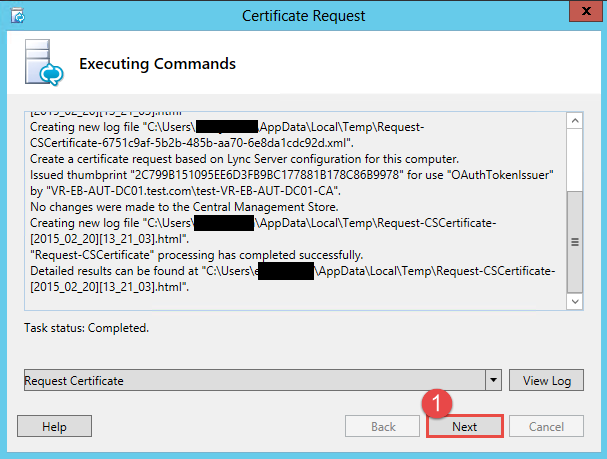
- Step 1 -> Click Next.
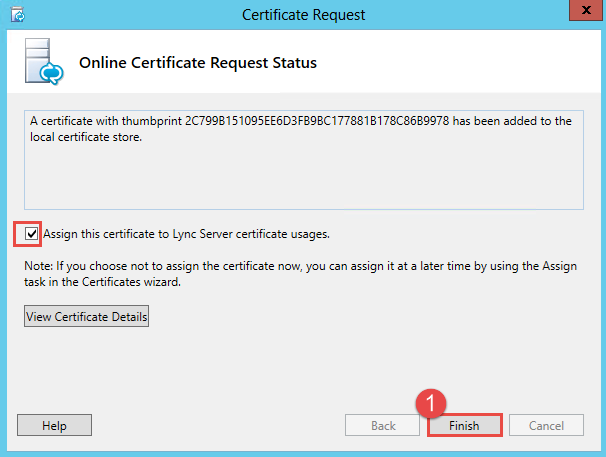
- Leave the checkbox enabled as shown above.
- Step 1 -> Click the Finish button.
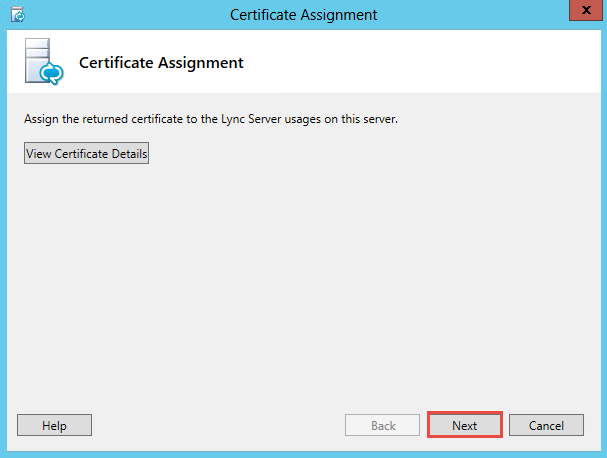
- Click Next.
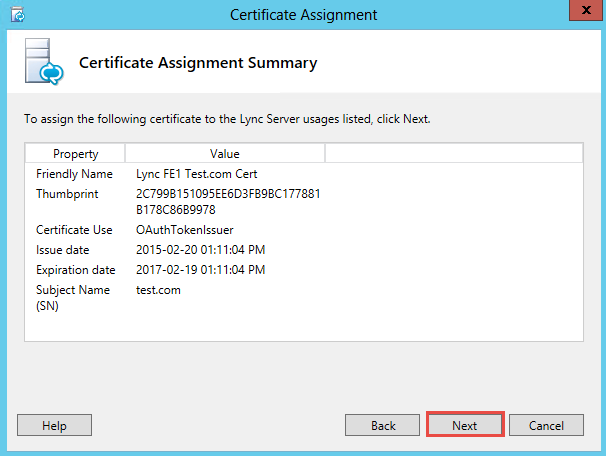
- Click Next.
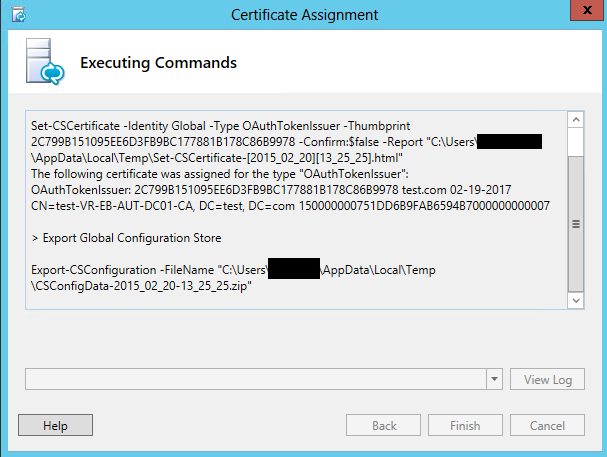
- In progress.
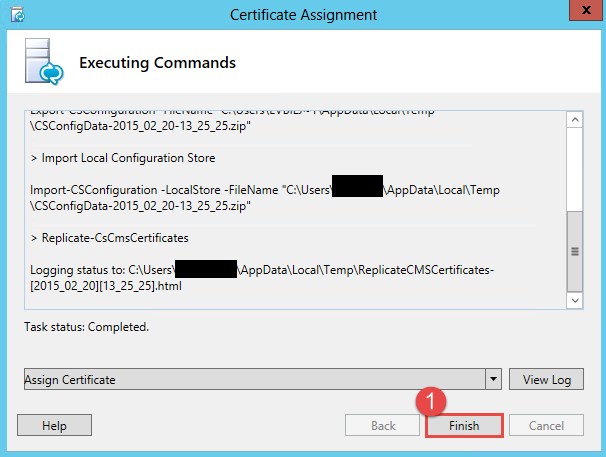
- Certificate assignment complete.
- Step 1 -> Click Finish.
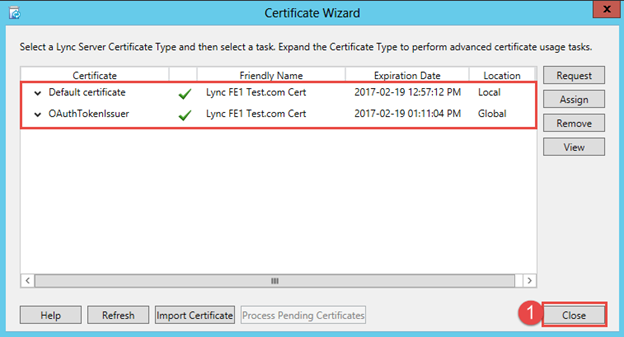
- As shown above both certificates have been requested and assigned.
- Step 1 -> Click the close button.
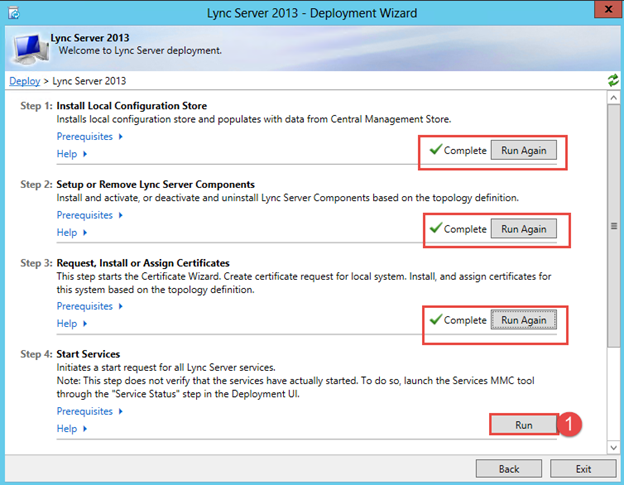
- As you can now see all 3 steps have been completed. Now it is time to start the Lync Services.
- Step 1 -> Click the Run button as shown above.
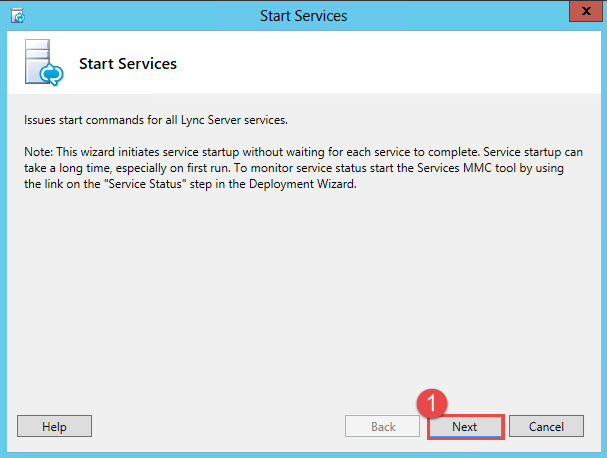
- Step 1 -> Click Next.
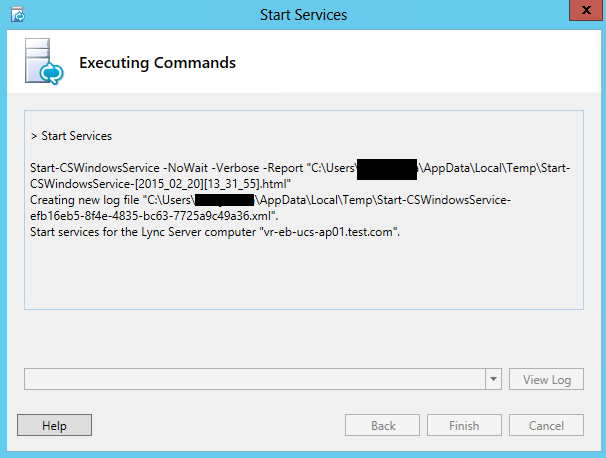
- Progress Window.
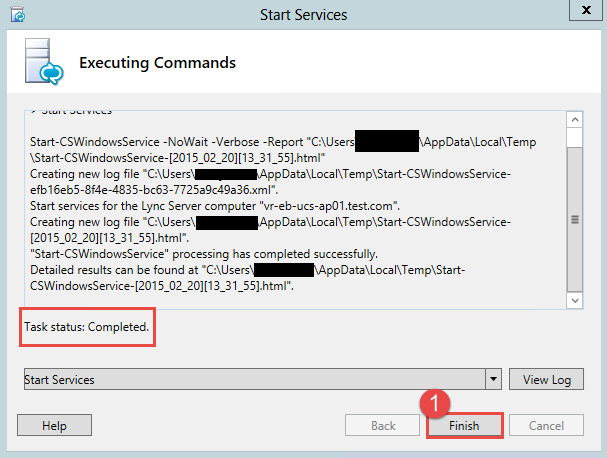
- As Shown above, the task completed successfully.
- Step 1 -> Click the Finish button.
- Open up Services.msc now to verify that the services have started.
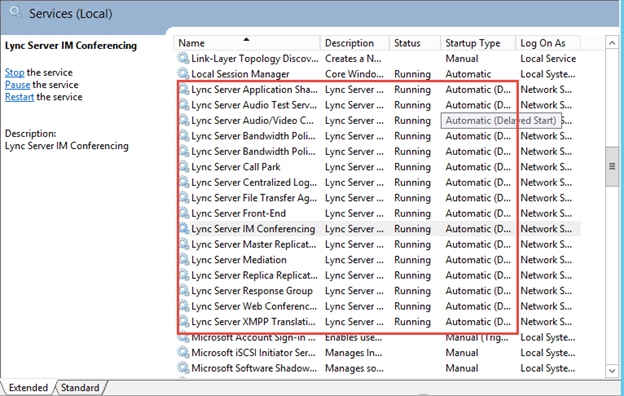
- As shown above you can see all the Lync Services are started.
Lync Control Panel
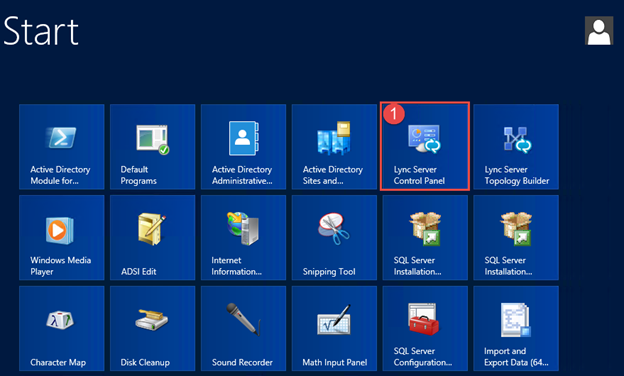
- Click on Start
- Step 1 -> Click on Lync Server Control Panel.
- Splash screen when Lync Control Panel starts.
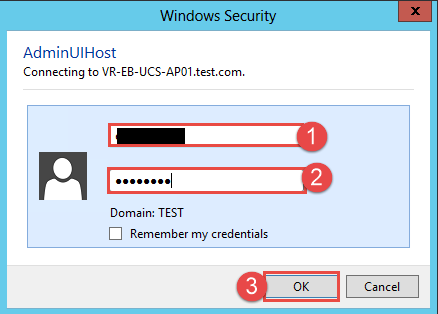
- Once the Lync Control Panel start you will be presented with a Windows Security Window.
- Step 1 -> Enter in the username that has access.
- Step 2 -> Enter in the password.
- Step 3 -> Click Ok.
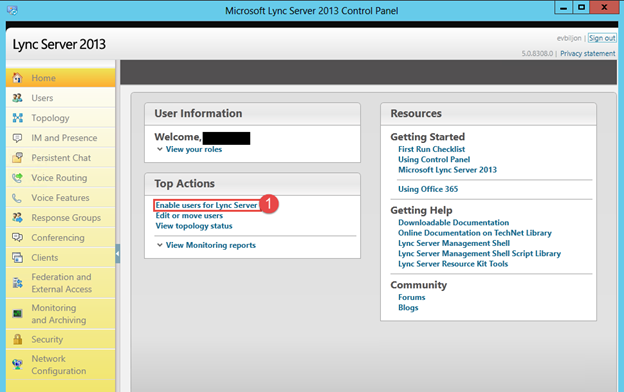
- Step 1 -> Click on Enable users for Lync Server.
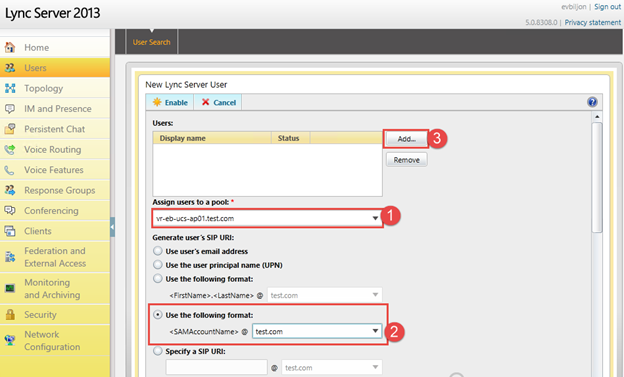
- Step 1 -> Select the Pool from the drop down list.
- Step 2 -> In this exercise we will be using the following format: SamAccountName
- Step 3 -> Click the Add button.
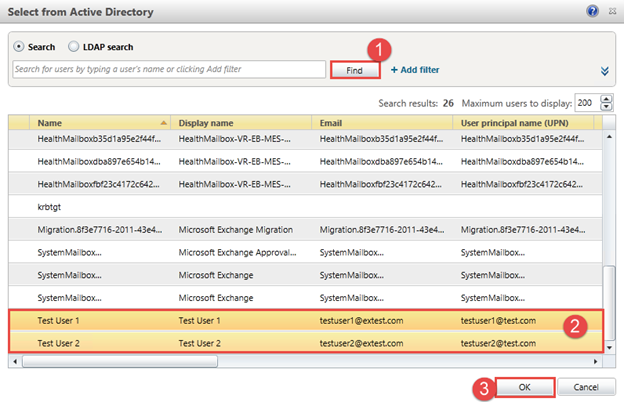
- Step 1 -> Click the find button. This will do a search in Active Directory for all accounts that don’t have a Lync Account.
- Step 2 -> Select the users that you want to add, you can choose multiple users by holding down the control button and selecting them.
- Step 3 -> Click OK.
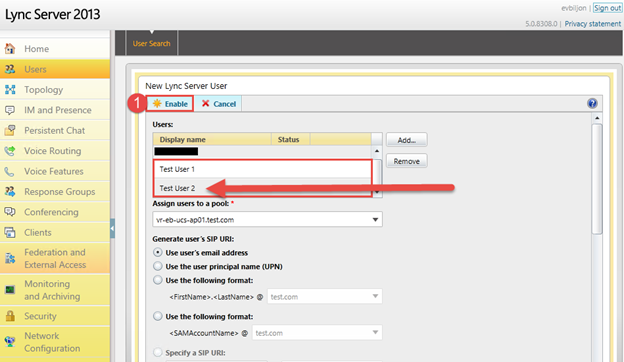
- As you can see the users now show under the Users List.
- Step 1 -> Click on the Enable Button.
Logging into Lync on a Client Machine
In this exercise we will be upgrading Office 2010 to Office 2013 and then using the Lync 2013 Client.
- Double click the Setup file and start the installation.
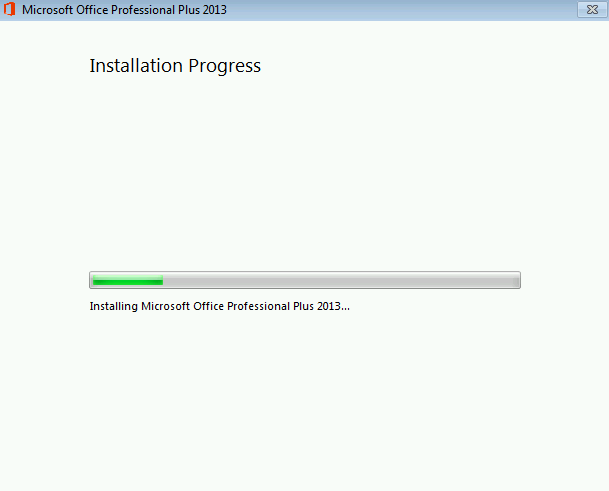
- Progress screen.
- Lync Client starting.
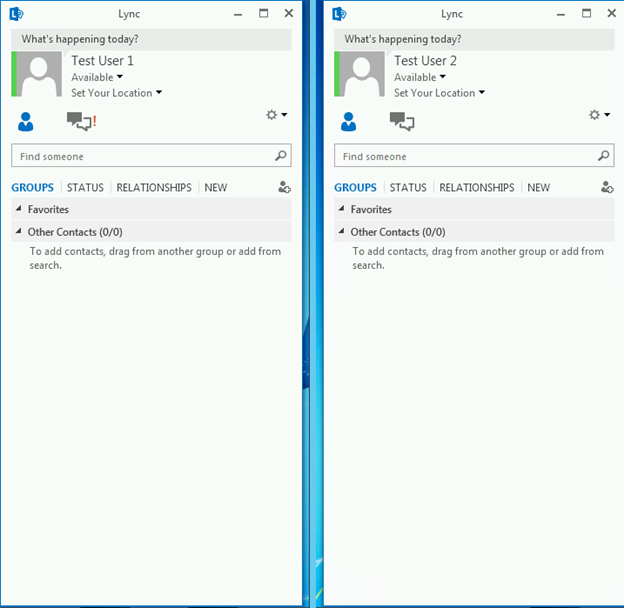
- As you can see Test User 1 and Test User 2 is online.
Hope it helps.
