Microsoft have made it easier to upgrade Lync Server 2013 to Skype for Business 2015. There are a few prerequisites which need to be addressed first before attempting the installation. In this guide we will go through each of the steps of upgrading the server.
| Step 1: |
Install the patch for your windows version. We will be installing the R2 update.
|
| Step 2: |
|
| Step 3: |
|
| Step 4: |
|
| Step 5: |
|
| Step 6: |
|
| Step 7: |
|
| Step 8: |
|
As Step 1 is pretty straight forward lets jump to Step 2:
In this step we need to install the Admin Tools on a Server that doesn’t have Lync 2013 Server installed. As this is a lab I have run the setup on my DC as it is the only server I have that doesn’t have Lync Installed. Open the folder and run the setup as you would have done with a Lync 2013 Server Installation.
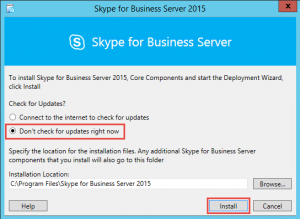
- Select the option you wish for checking for updates and then click the Install button.
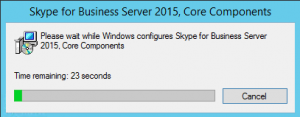
- Progress screen.
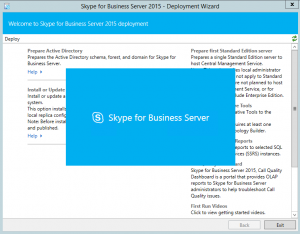
- The above new splash will show and then the system will initialize.
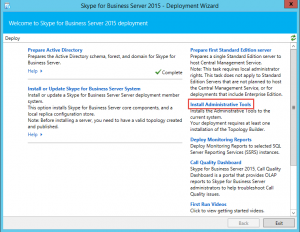
- Once the deployment wizard has initialized, click on Install Administrative Tools as above.
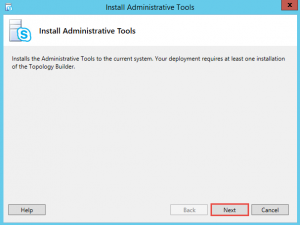
- When the wizard starts click the Next button.
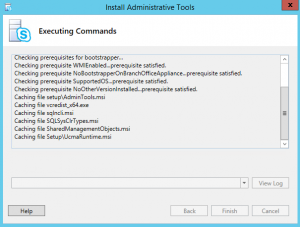
- Progress window for installing the Admin Tools.
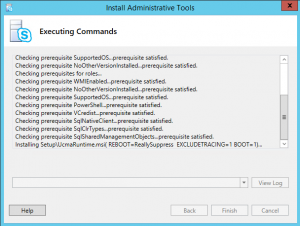
- Installation continued.
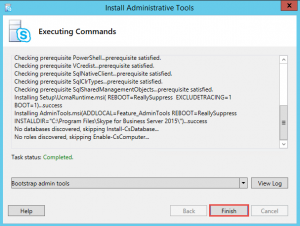
- Once successfully completed you will see the window above. Click the Finish button.
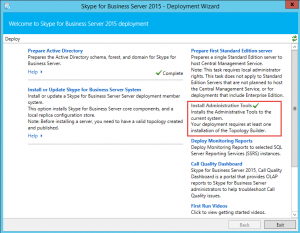
- As shown above the Admin Tools now have a green tick as the installation is complete.
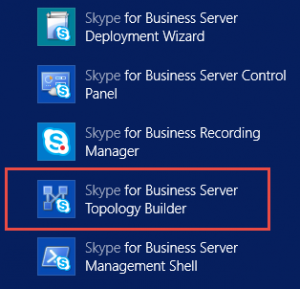
- Click on the start button or press the windows key and then type in Skype, once you see Skype for Business Server Topology Builder click on the icon.
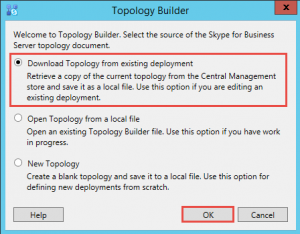
- Once the Topology Builder opens, select the first option as shown above and then click OK.

- Progress Screen.
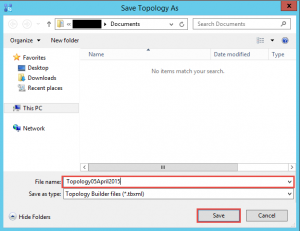
- Select the destination and then type in a file name for the topology you downloading and then click the Save button.
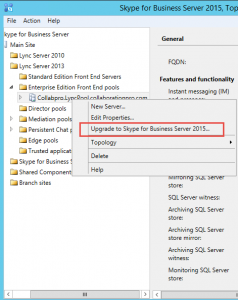
- Expand your topology and then expand your pool.
- Right click on the pool and then select the option “Upgrade to Skype for Business Server 2015”
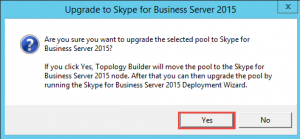
- When you are prompted to upgrade click the Yes button.
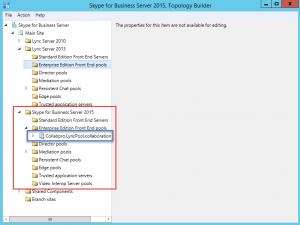
- As you can now see the pool moved from Lync Server 2013 to Skype for Business Server 2015.
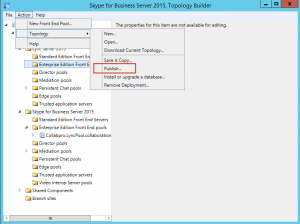
- Now it is time to Publish the Topology.
- Click the Action Menu in Topology Builder and then click on Topology and then on Publish.
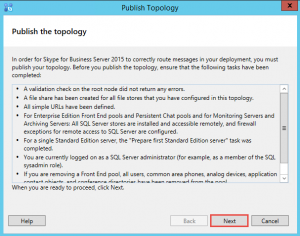
- Once the wizard has started click the Next button.
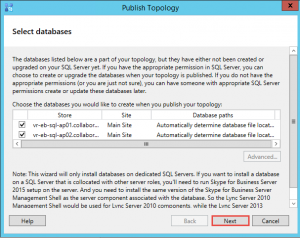
- Click Next.

- Publishing progress window.
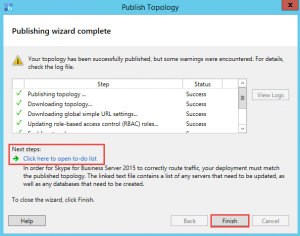
- Once the Topology has published you can view the Next Steps as highlighted above.
- Once done click Finish.
Step 3 – Stopping Services
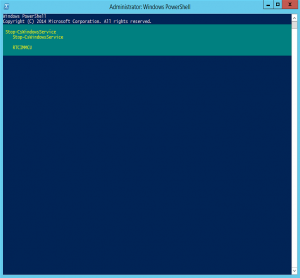
- On your Lync 2013 Servers we now need to stop the Lync Services, if you have an Enterprise Pool all the servers need to have there services stopped.
- Open up a PowerShell window and run the following command: Stop-CsWindowsService
- This will take a few minutes, in my case it did as this is just a lab.
- Continue this on all other FE Servers.
Step 4: Perform the in-place upgrade to Skype for Business Server 2015
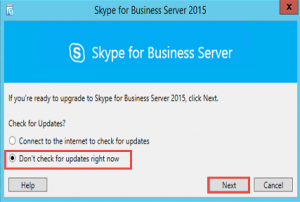
- On your FE, open up the ISO and run the setup.
- The above window will show, you can select to check for update or not.
- Click Next.
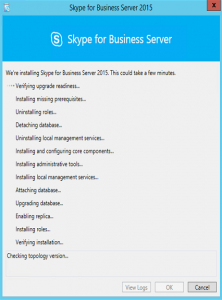
- Progress window.
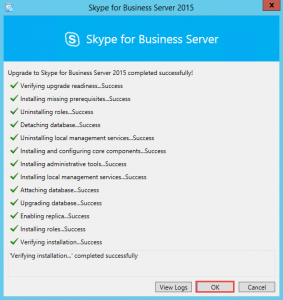
- Once the installation is complete, verify you have no errors and then click OK.
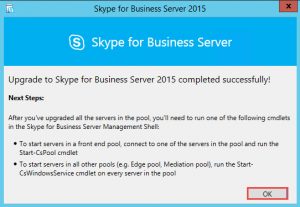
- Once you have clicked OK in the previous window you will see the splash above. Click OK.
- Repeat this on all your other FE Servers in your Pool.
Step 5 – Starting the Services.
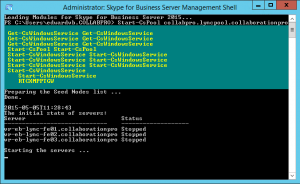
As we are running an enterprise pool with multiple servers we can start all the services on all servers at the same time to avoid quorum loss. To do this open up the Shell and run the following command:
- Start-CSPool -fqdn <Your Server pool>
Now open up the Services MMC and verify that all services have started.
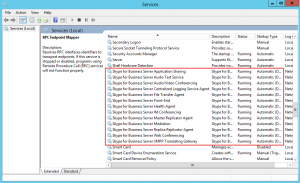
- As shown above all the Skype for Business Services have started and all are running.
Step 6 – Logging into the Skype for Business Server 2015 Control Panel.
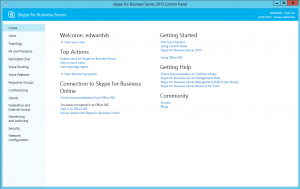
- As shown above the look and feel is now “Skype”. Basically the menus are the same/similar to Lync Server 2013.
- I enabled a user and noticed an improvement in speed, this is not the fastest box.
Step 7 – Upgrading the Edge Server.
- First step is to login to topology builder as shown in Step 2, expand your edge pool and right click and select to upgrade to Skype for Business Server.
- The same prompt as previously shown will appear. Click OK.
- Now publish the topology again and wait for it to complete.
- Open up PowerShell Elevated (As Administrator) and then run the following command: Stop-CsWindowsService
Launch the setup file on the Edge Server. You might come across the error below:
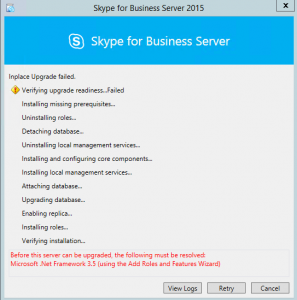
- Not a problem actually, you just need to install the .net 3.5 feature and once done click the retry button above.

- The setup will complete as above.
- After the setup is complete then you need to start the services again, at the same PowerShell prompt run the following command: Start-CsWindowsService
- Wait for the services to start. Your Edge server is now started an up-to-date.
Step 8 – Upgrading the Mediation Server.
For the Mediation Server, the same steps apply as the Edge Server upgrade.Take note that you need .NetFrameWork 3.5 for the Mediation server. You need to upgrade the pool first in Topology builder and then follow the steps like the Edge install.
Happy upgrading.

Hi,
Do you have any comments relating to the process of upgrading the ancillary SQL instances (such those used to house Archiving, Monitoring or Persistent Chat) from previous SQL version to SQL 2014? After the SfB server has been upgraded, I wanted to update the external SQL instance, and whilst this upgrade completed successfully, I am left with errors.
This problem was due to the the firewall rule scope being restricted the the “SQLserver.exe” of the specific instance. During the SQL upgrade, the path to the instance changed and although the SQL Agent was left unaffected (as it is has been located at “%ProgramFiles% (x86)\Microsoft SQL Server\90\Shared\sqlbrowser.exe” forever an a day), which mean that the SQL database could be discovered. the SfB server couldn’t actually connect to the instance.
I was still seeing a few “LS Storage Service” issues (32019, 32021 and 32023) even after resolving the SQL firewall issue, but running “Stop-CsWindowsService”, then “Start-CsWindowsService” of the SfB FE and it looks as though all is now good.
Thanks for the feedback, as Skype for Business is still very new these kind of problems will probably be raised by MS shortly
I started upgrading Lync server 2013 recently and got to the point where I ran the setup.exe on the Lync Server after stopping the services. The upgrade failed at the third checkpoint on the checklist and threw an error stating: “Microsoft.Rtc.Internal.Tools.Deploy.Exceptions.MsiErrorException: The MSI Bootstrapper returned error code 402.”
The error is returned when attempting to install server.msi from the Lync Server 2013 folder.
Has anyone experienced this issue and is there a solution?
Have you tried starting the services and running the setup and let it handle it? Are you running the setup as administrator? I found if an admin has a GPO set on ISO files, best would be to copy the ISO to a folder then run the setup again.