This simple guide shows you how to grant a user access to an admin role in Exchange 2013:
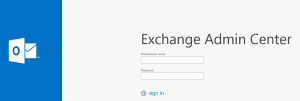
- Login to the Exchange Admin Center.
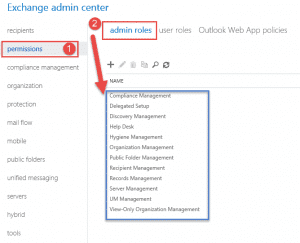
- Step 1 ->Click on Permissions on the left hand side.
- Step 2 -> Click on admin roles.
- A list of roles are shown. In this example we will grant a user access to View-Only Organization Management.
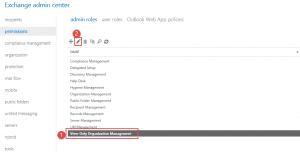
- Step 1 -> Click on View-Only Organization Management.
- Step 2 -> Click the Pencil to edit the properties, you can also double click the name and it will give you the same result.
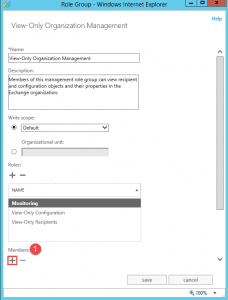
- The following splash screen will come up.
- To add a member to this list scroll down till you see Members and then click the + button as shown above.
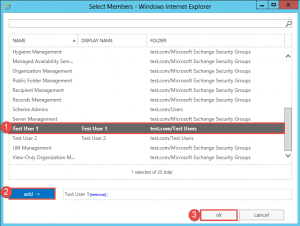
- In this example we are going to add Test User 1.
- Step 1 -> Click on the user as shown above.
- Step 2 -> Click on the add button.
- The name will populate in the box next to the add button.
- Click on ok.
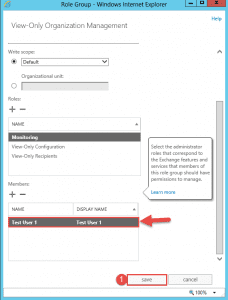
- As shown above Test User 1 now shows under the list of Members.
- Step 1 -> Click Save.
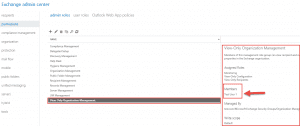
- Back in the EAC if you click on View-Only Organization Management, the right hand side window will show the list of members.
Hope it helps.
[yasr_overall_rating]
