Exchange 2016 Preview has been released. For those enthusiasts that would like to test you can download it from the Technet site: Exchange 2016
Please take note, this build is only to be installed in a lab and NOT a production environment.
There are a few things required:
- Prerequisites to be installed.
- .NET Framework 4.5.2 (Offline Installer)
- Unified Communications Managed API 4.0 Runtime
- Exchange 2016 Preview Installation.
Post Installation Tasks:
- Enable MapiHttp
- Check ECP on Exchange 2016
- Move a Mailbox
- Verify connectivity on the outlook client after mailbox move
___________________________________________________________
Prerequisites Installation:
I hyperlinked the prereqs above to the site where you can find the info and below is the list you can run from an elevated powershell prompt:
Install-WindowsFeature AS-HTTP-Activation, Desktop-Experience, NET-Framework-45-Features, RPC-over-HTTP-proxy, RSAT-Clustering, RSAT-Clustering-CmdInterface, RSAT-Clustering-Mgmt, RSAT-Clustering-PowerShell, Web-Mgmt-Console, WAS-Process-Model, Web-Asp-Net45, Web-Basic-Auth, Web-Client-Auth, Web-Digest-Auth, Web-Dir-Browsing, Web-Dyn-Compression, Web-Http-Errors, Web-Http-Logging, Web-Http-Redirect, Web-Http-Tracing, Web-ISAPI-Ext, Web-ISAPI-Filter, Web-Lgcy-Mgmt-Console, Web-Metabase, Web-Mgmt-Console, Web-Mgmt-Service, Web-Net-Ext45, Web-Request-Monitor, Web-Server, Web-Stat-Compression, Web-Static-Content, Web-Windows-Auth, Web-WMI, Windows-Identity-Foundation
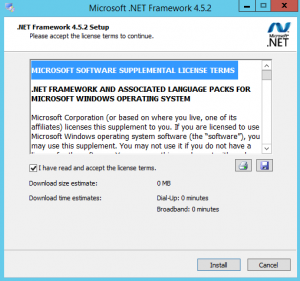
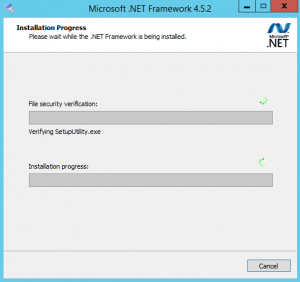
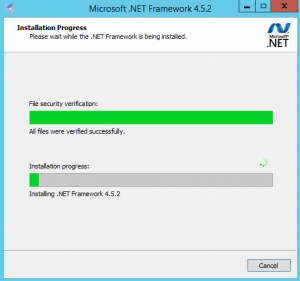
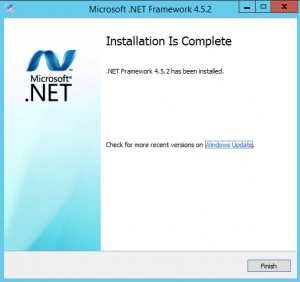
The next step is to install .NETFramework 4.5.2:Once you have installed the above and if needs be you can add in RSAT-ADDS then reboot the server.
Launch the file you downloaded above. The steps are pretty basic.

Once done lets install the UC component:
Again, launch the file you downloaded above.
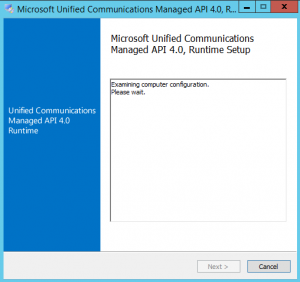
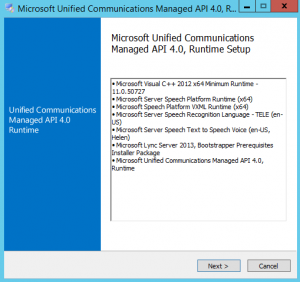
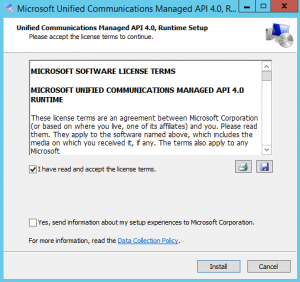
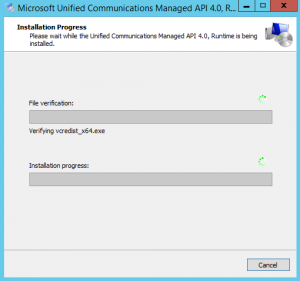
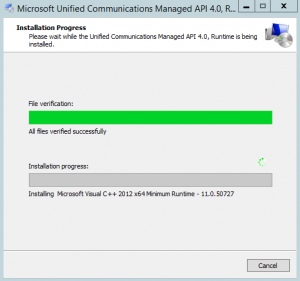
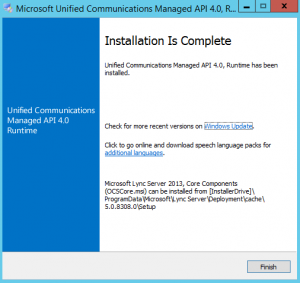
After this step, reboot your server.
Exchange 2016 Preview installation:
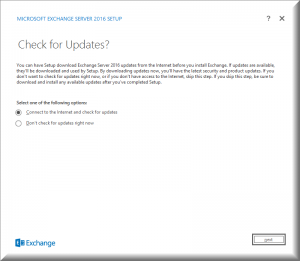
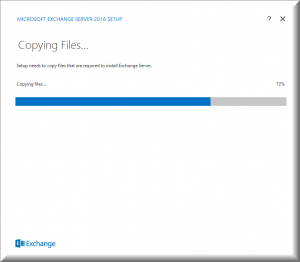
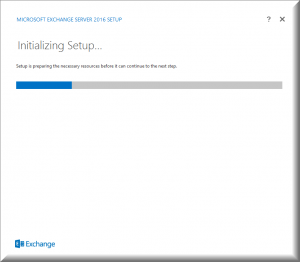
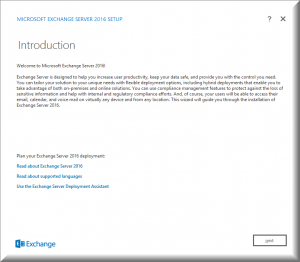
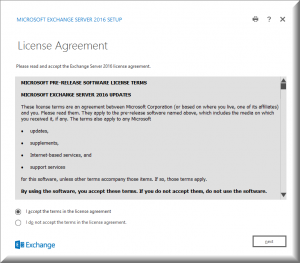
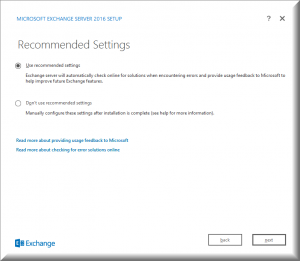
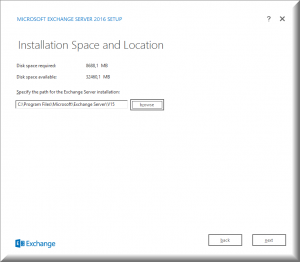
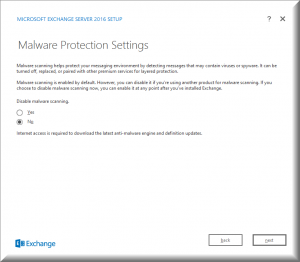
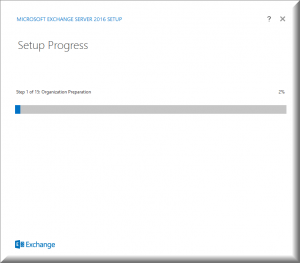
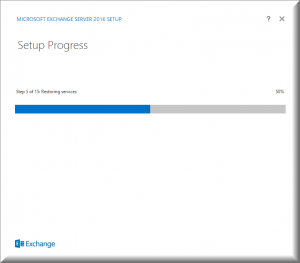
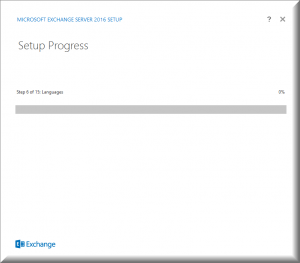
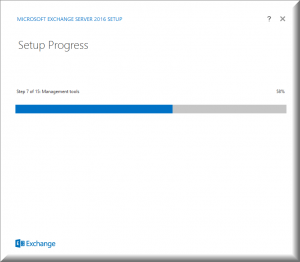
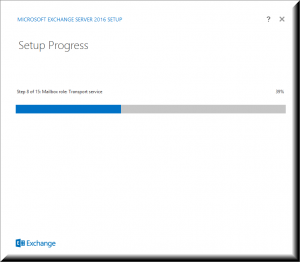
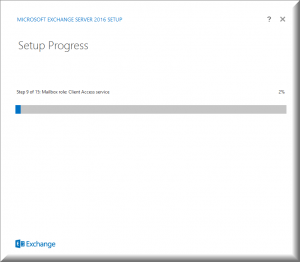
Double click the install file you downloaded and extract the files to a folder. Once done right click the setup file and “Run as Administrator”
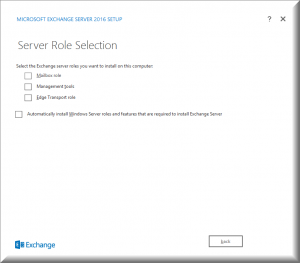
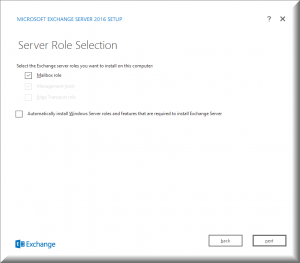
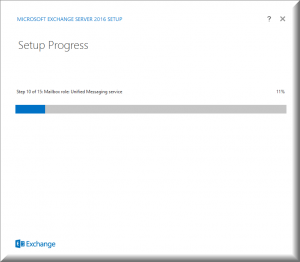
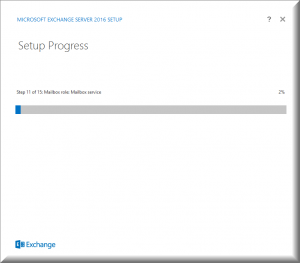
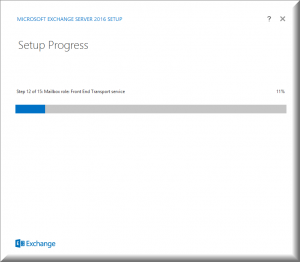
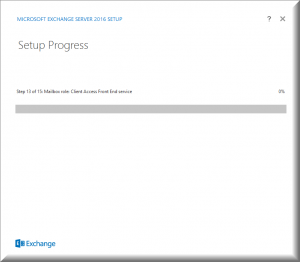
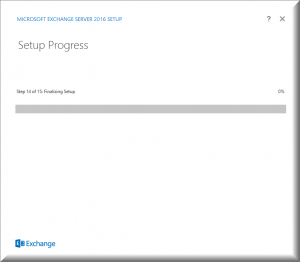
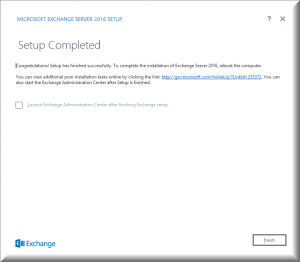
The steps are pretty much the same as Exchange 2013 except when you select the roles. You will notice that you don’t have a Client Access Role, UM Role and Mailbox Role Separate. Everything is now just in the Mailbox Role. Once you select this role the management tools are automatically added. The Edge Role which was only introduced in Exchange 2013 CU5 is now available in this version as well.
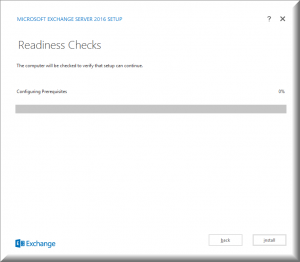
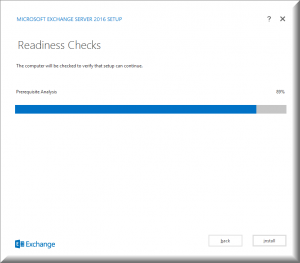
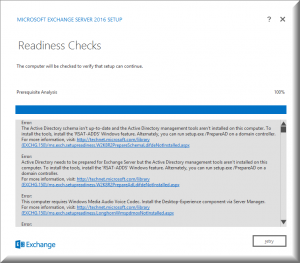
Also notice I ran the install without any Prereqs to show you how it fails.
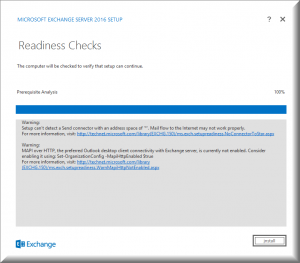
Under the Readiness checks the second time you will notice 2 warnings as well. One where this lab doesn’t have a send connector defined so it gives a warning and the second warning is covered in the post installation setup.
___________________________________________________________________________
Post Installation and configuration:
Enable MapiHttp
Check ECP on Exchange 2016
Move a Mailbox
Verify connectivity on the outlook client after mailbox move
___________________________________________________________________________
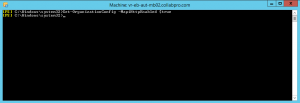
The above command is run to enable MapiHttp:
- Set-OrganizationConfig -MapiHttpEnabled $true
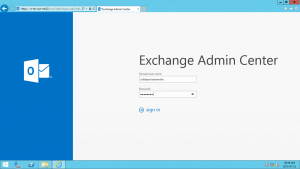
Now lets launch the Exchange Admin Center, Click on Start and then start typing in Exchange to find it:
Once logged in you can click on Servers and you can now see the new version of the Exchange 2016 server. Build is now 225.17, Version 15.1
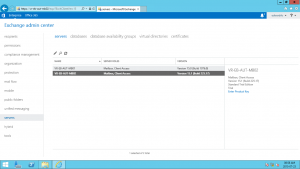
Moving a mailbox:
The same process as Exchange 2013:
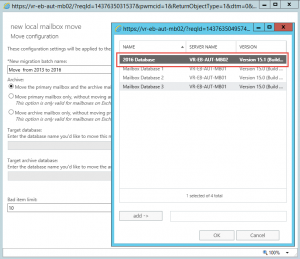
As show above, select the 2016 Database and follow the rest of the steps.

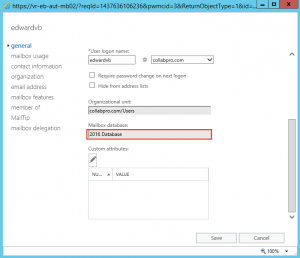
Now if we go to the EAC and check the properties of the mailbox then you can see its on the new server.
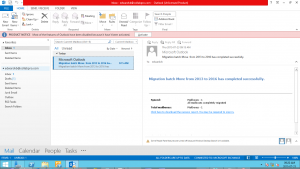
On the Outlook client now, mailbox was moved without any prompts or interruption:
Hope it helps.
