In your Exchange 2010 Environment, you may be performing Rollup Upgrades from time to time to fix certain issues in previous Rollups or just moving to the latest version Microsoft provides.
While this is a pretty straight forward installation, you do need to ensure that you follow the correct steps in applying it.
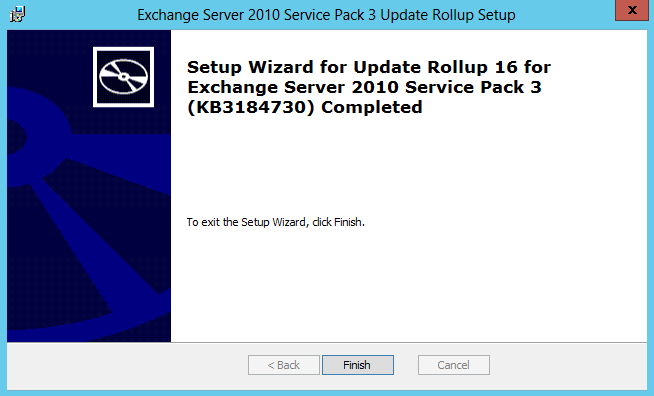
I strongly do not recommend applying a Rollup from Windows Updates but rather installing each server at a time so you can track if there are any failures and not bring down your environment. Also make sure that the Rollup you are installing gives you a success status at the end and don’t assume all is well if it just completes.
You can also verify that it installed by going to Program and Features in the Control Panel and checking the Installed updates. It should show your previous Rollup version plus the new one on top.
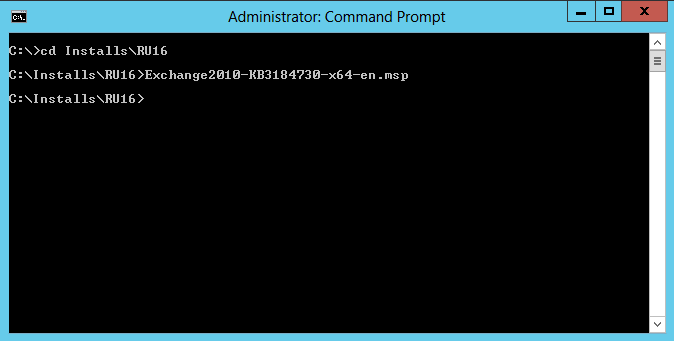
To start the Exchange 2010 SP3 Rollup, launch an Elevated Command Prompt and Navigate to the folder where you downloaded the file to, these are generally around the 50MB mark.
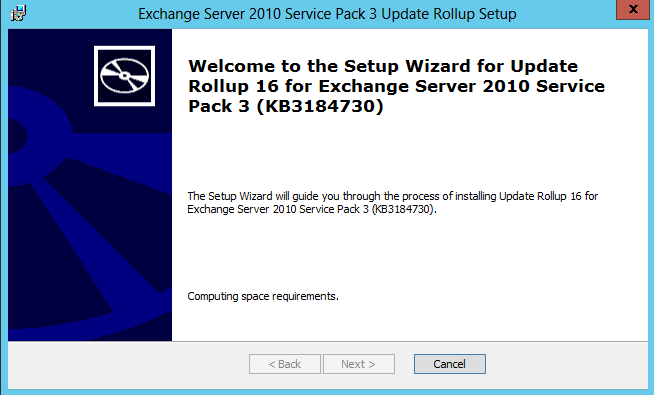
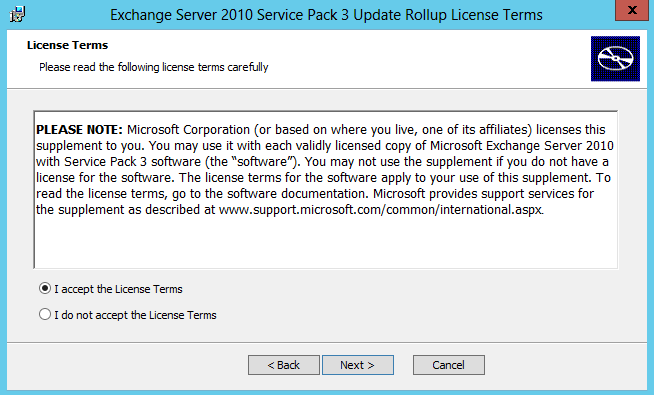
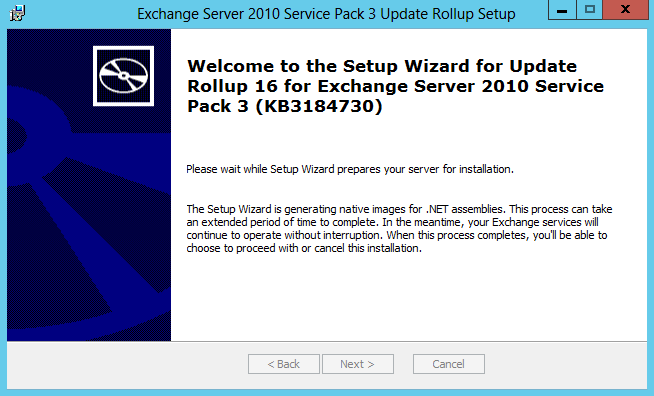
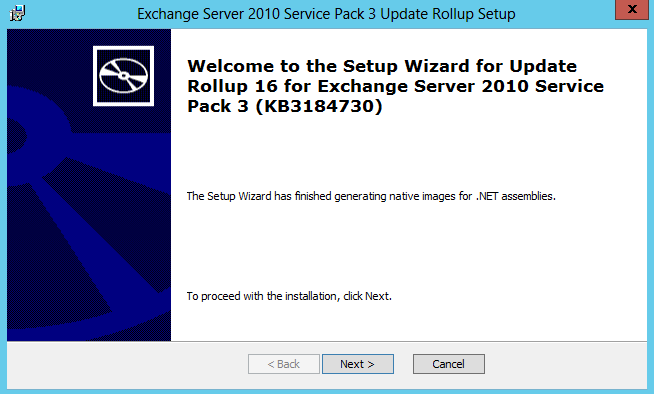
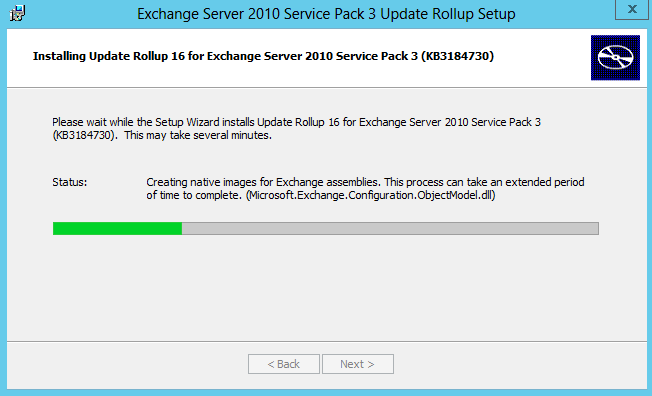
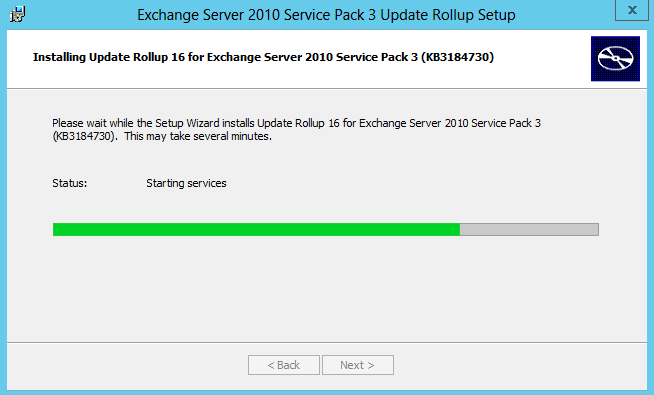
Here are a few screenshots of Rollup 16 we installed on our Exchange 2010 SP3 Servers:
(As you can see, the setup is launched elevated, the installation is pretty straight forward)
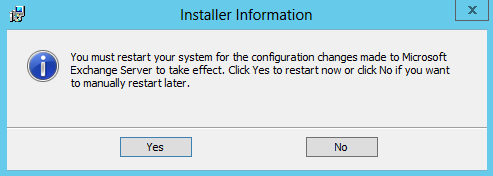
Ensure you reboot so the changes can be processed.
Hope it helps.
