This simple guide shows you how to create a Send Connector in Exchange 2013.
In the ECP click on Mail Flow -> send connectors.
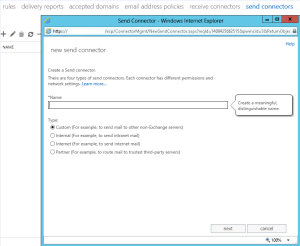
- Click on the + to add a new Send Connector.
- Type in a descriptive name and then select the Type.
- Click Next.
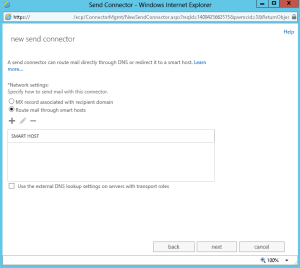
- Select your Network settings, if you routing mail through a smarthost then click the + button.
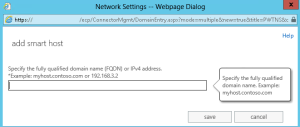
- Type in the smart host info and then click save.
- After that click Next.
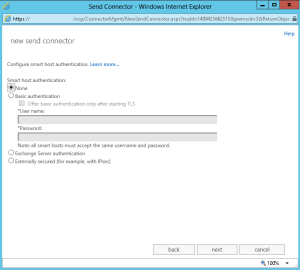
- Specify the authentication as per your ISP and click Next.
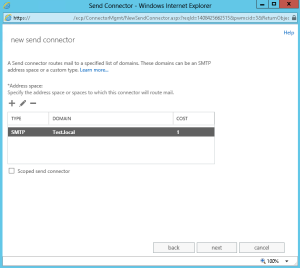
- Click on the + button to setup the Address Space.
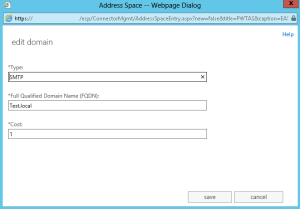
- Enter your FQDN and your Type.
- Click Save.
- Click Next.
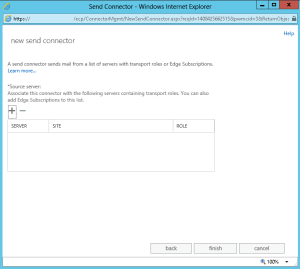
- Click on the + button to add in a Source server. When the window comes up select your exchange server, click the Add -> button and then click ok.
- Click finish and you have now have a send connector setup.
