This simple guide shows how to create a distribution group in Exchange.
- Open up the Exchange Management Console
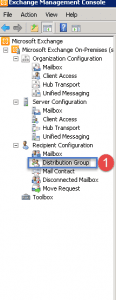
- Expand Recipient Organization
- Click on Distribution Groups
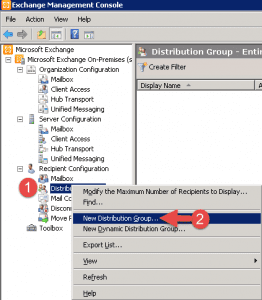
- Step 1 -> Right click on Distribution Groups.
- Step 2 -> Click on New Distribution Group.
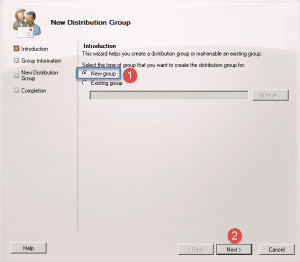
- Step 1 -> Click on New Group.
- Step 2 -> Click Next.
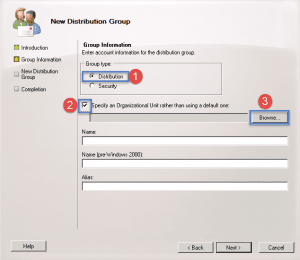
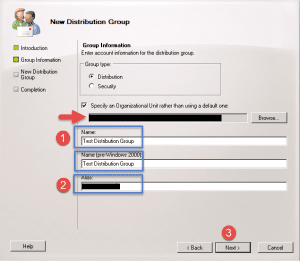
- Step 1 -> Select Distribution
- Step 2 -> Select the option button to place this in a specific group.
- Step 3 -> Click the browse button
- Once you have clicked the Browse button the window above will show.
- Scroll down and select the group you want to add this to.
- Click the Ok button.
- Click the Next button.
- Once you have selected the container it will show as above.
- Step 1 -> Type in a name for the group.
- Step 2 -> Provide an alias name.
- Step 3 -> Click Next.
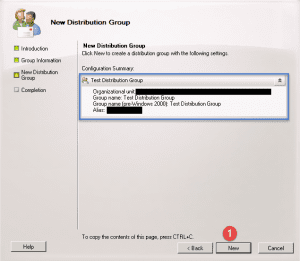
- Click on the New button to complete the process.
- In the EMC it will now highlight the newly created Distribution list.
Hope it helps.

