This simple guide shows you how to create a DAG in Exchange 2013:
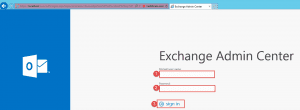
Open up the Exchange Admin Center:
- Step 1 -> Enter in the user that has access to create databases. E.g. Domain\username
- Step 2 -> Enter in the password
- Step 3 -> Click Sign in
Prerequisites: – AD
- Create a computer account in Active Directory; you can call it EX2013DAG for example.
- Disable the computer account.
- Open up Active Directory Users and Computers. Make sure you have Advanced Features Enabled. Right click on the computer account just created and select properties. Click on the Security Tab.
- Grant the Exchange Trusted Subsystem Full Control.
- Add the DAG Members with Full Control.
Prerequisites: – Network
- One NIC that has Internet Access.
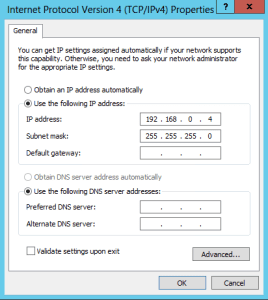
- Second NIC purely for DAG traffic. No Default Gateway to be setup or DNS servers. (Shown Above)
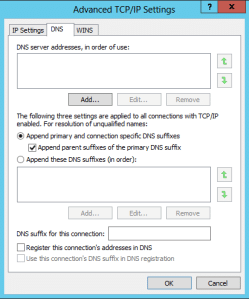
**Vitally important that you remove the checkbox that says “Registers this connection’s addresses in DNS on the Second NIC.
- Make sure that your Binding Order is correct with NIC 1 first on the list.
For example, if you setup this server NIC 2 IP as 192.168.0.1 then your second server should be 192.168.0.2 with the same subnet.
Remember that the Second NIC needs to be on a different subnet to that of your LAN.
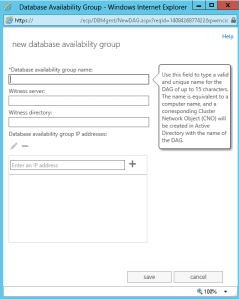
DAG IP:
- This is an IP address assigned to the DAG that is separate from the Server itself. Reserve an IP address in DHCP or give it an IP that is part of an exclusion range.
Witness Server:
- Best practice is to use an Exchange 2013 CAS server. Any windows server will do, but you need to add the Exchange Trusted Subsystem as an administrator to that local PC before you can use it.
- The file share witness also requires the File Server feature installed. (if not an exchange server)
Assign Permissions:
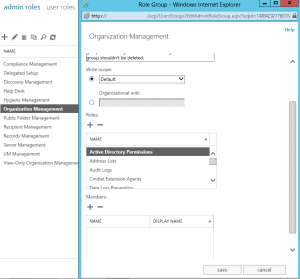
Login to the EAC -> Click on Permissions -> Admin Roles
- Click on Organization Management and click the Pencil button next to the + button.
- Scroll down and by Members click the + button and add in the users that will be managing exchange.
- Click on “Outlook Web App Policies and modify or create a policy.
- You can also define user roles.
Create a DAG:
GUI Setup: Click on Servers -> Database Availability Groups -> + button.
Exchange Management Shell Setup:
Open up the EMS and type in the following command:
- New-DatabaseAvailabilityGroup –Name <DAGNAME> –WitnessServer <ServerName> –WitnessDirectory “C:FSW” – DatabaseAvailabilityGroupIPAddresses <IP Address>
Add Servers to the DAG:
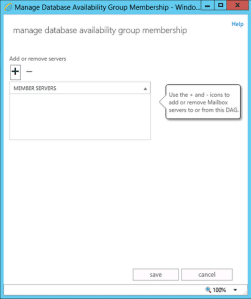
GUI -> Add Servers:
Exchange Management Shell Command:
- Add-DatabaseAvailabilityGroupServer –Identity <DAGNAME> –MailboxServer <ServerName>
Once the command completes add in the second server.
Create Database Copies:
Now that your DAG has been created, you can add copies of mailbox databases to other mailbox servers.
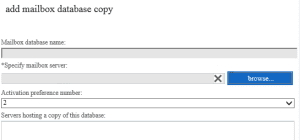
GUI Setup.
- Click browse to select the server.
If you have a Database called Database1 you can add it to Ex2013b server as an example.
Exchange Management Shell Command:
- Add-MailboxDatabaseCopy –Identity <DatabaseName> –MailboxServer <ServerName>
Hope it helps.

