In this example we will create a Room Mailbox and configure it.
Open up the Exchange Admin Center.
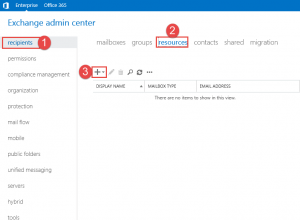
- Step 1 -> Click the Recipients Tab
- Step 2 -> Click Resources
- Step 3 -> Click the + button
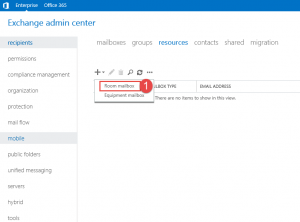
- Step 1 -> From the dropdown, click on Room Mailbox.
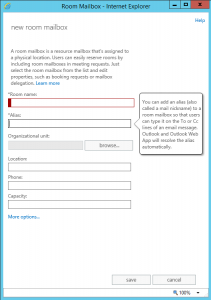
- Here you need to enter a few things.
- Enter the Room Name
- Enter the Alias
- Click the Browse button to select the Organizational unit where you want to place the Mailbox.
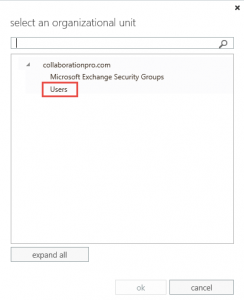
- Make your selection and then click Ok.
- You will be taken back to the previous screen.
- Enter in your location
- Enter in the phone number
- Enter in the number of seats in the room.
- Click the More Options button.
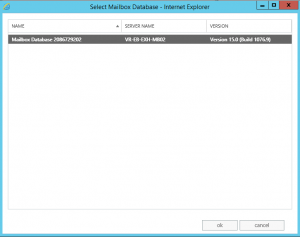
- When you have the option to select the mailbox database click the browse button. The above window will show.
- Select the database and then click ok.
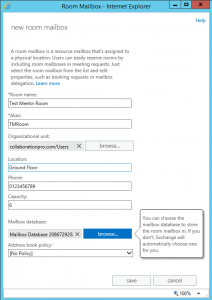
- As shown above, all fields are filled in, click the save button.
- The room mailbox will now be created.
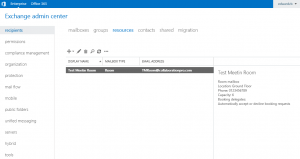
- As shown above the new room mailbox is now visible in the EAC.
Configure Room Mailbox.
Click on the room mailbox and then click the pencil to modify the option.
There are 7 tabs where you can configure meeting room options for the mailbox:
- General
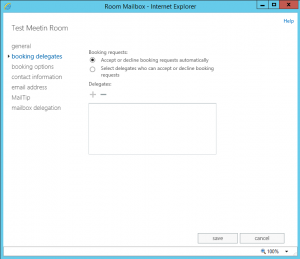
- Booking Delegates
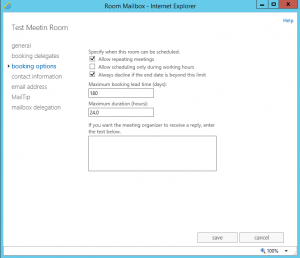
- Booking Options
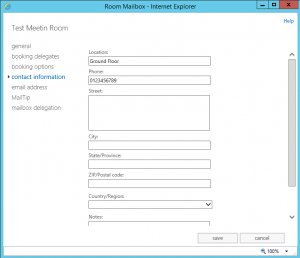
- Contact Information
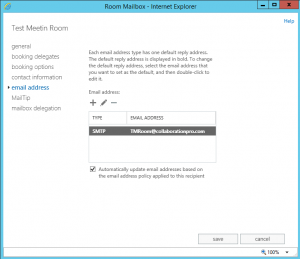
- Email Address
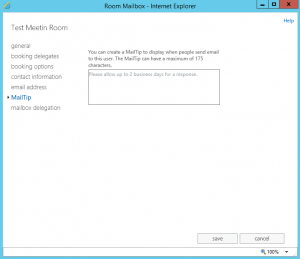
- MailTip
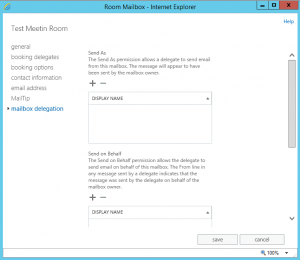
- Mailbox Delegation.
In this example we not going to go through each option as they are self-explanatory. Screen shots included for each option.
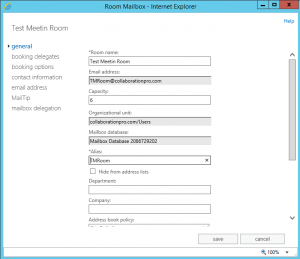
Hope it helps.
