This simple guide shows you how to create and configure a send connector.
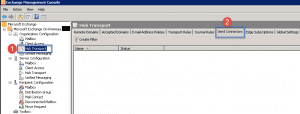
- Open up the EMC (Exchange Management Console) and Expand Organization Configuration. Click on Hub Transport then on the right click on the Send Connectors Tab.
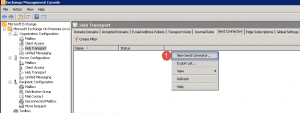
- Right click anywhere in the white space or on Hub Transport and click on “New Send Connector”.
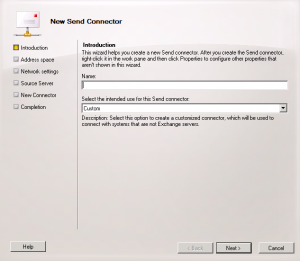
- The New Send Connector window will come up.
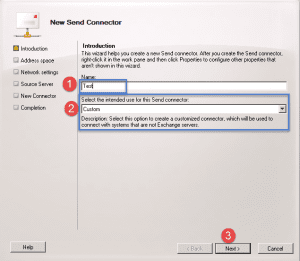
- Step 1 -> Give the Send connector a friendly name.
- Step 2 -> Make your selection.
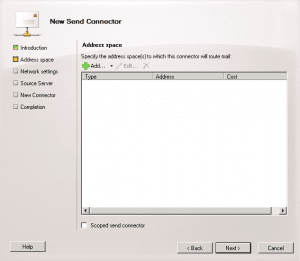
- The Address Space page will be presented.
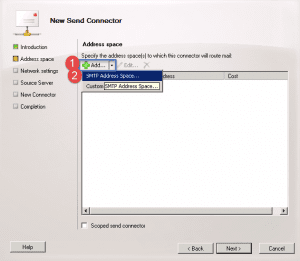
- Step 1 -> Click on the drop down arrow next to Add.
- Step 2 -> Select SMTP Address Space…
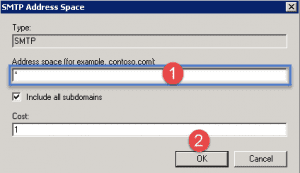
- Once you have made your selection in the previous screen the above window will show.
- Step 1 -> Enter in * in the Address space.
- Step 2 -> Click Ok.
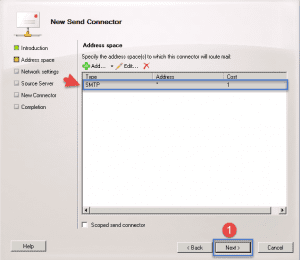
- Once you completed the previous the information will show now as above.
- Step 1 -> Click Next.
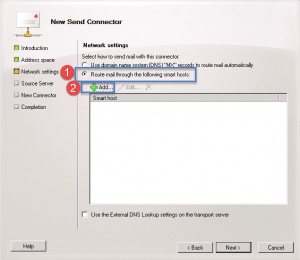
- Step 1 -> Click on “Route mail through the following smart hosts:
- Step 2 -> Click the Add button.
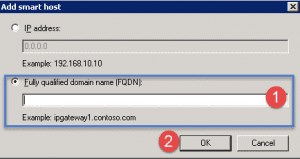
- Step 1 -> Select the radio button to enter in the FQDN. This information will be provided by your ISP.
- Step 2 -> Once done, click the OK button.
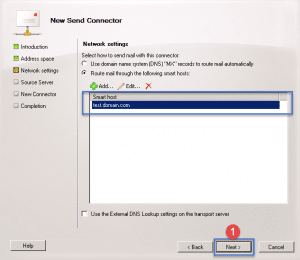
- Once you have entered in the information of the FQDN in the previous window it will show as above, in this example we I just entered in test info.
- Step 1 -> Click Next.
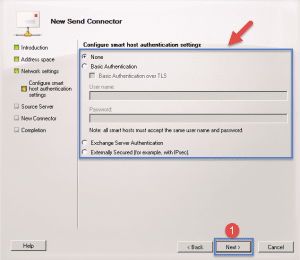
- If your ISP required authentication then select it above.
- Step 1 -> Click Next.
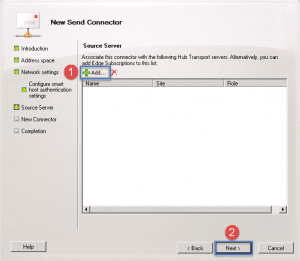
- Step 1 -> Click the Add button to select your HUB servers.
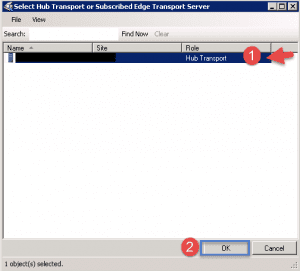
- Step 1 -> Select your HUB Server.
- Step 2 -> Click on the OK button.
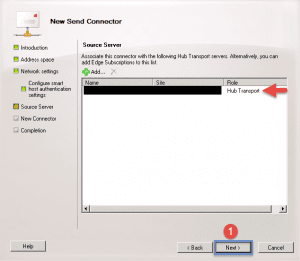
- Once you made your selection in the previous screen it will show above.
- Step 1 -> Click the Next button.
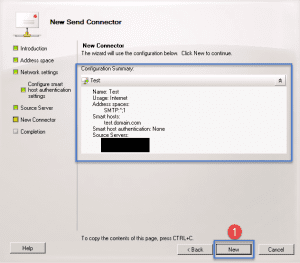
- The summary screen will show, you can verify the information and then click the New button.
- Once completed, click the Finish button.
Hope it helps.

